Usage
Working Modes
After pressing Start session, the screen that the operator will see depends on the HMI mode selected by the supervisor during the operation configuration.
Workflow Mode
In this mode, the operator is required to perform the operation following the steps set by the supervisor and the required ordering.
Therefore, the screen will show the first step.
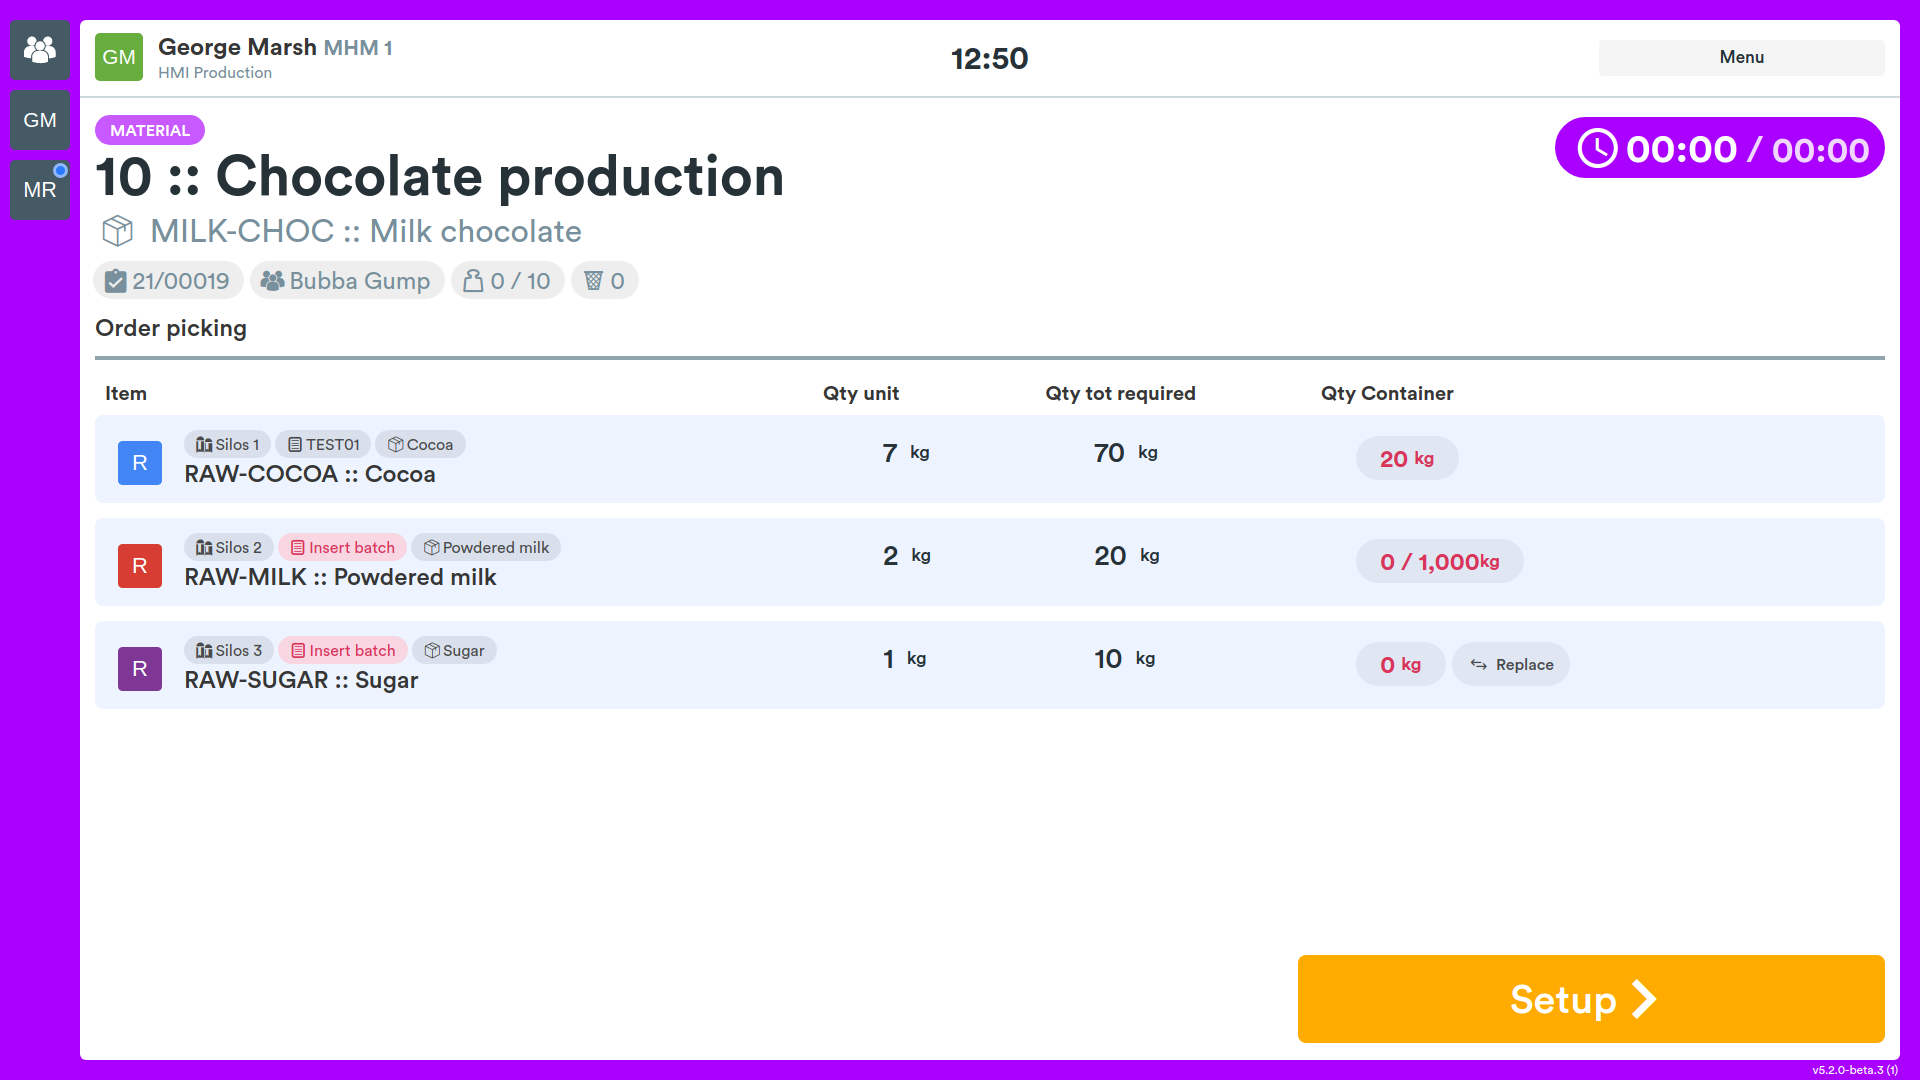
Free Mode
Through this mode, the operator can independently choose the steps to perform through a menu.
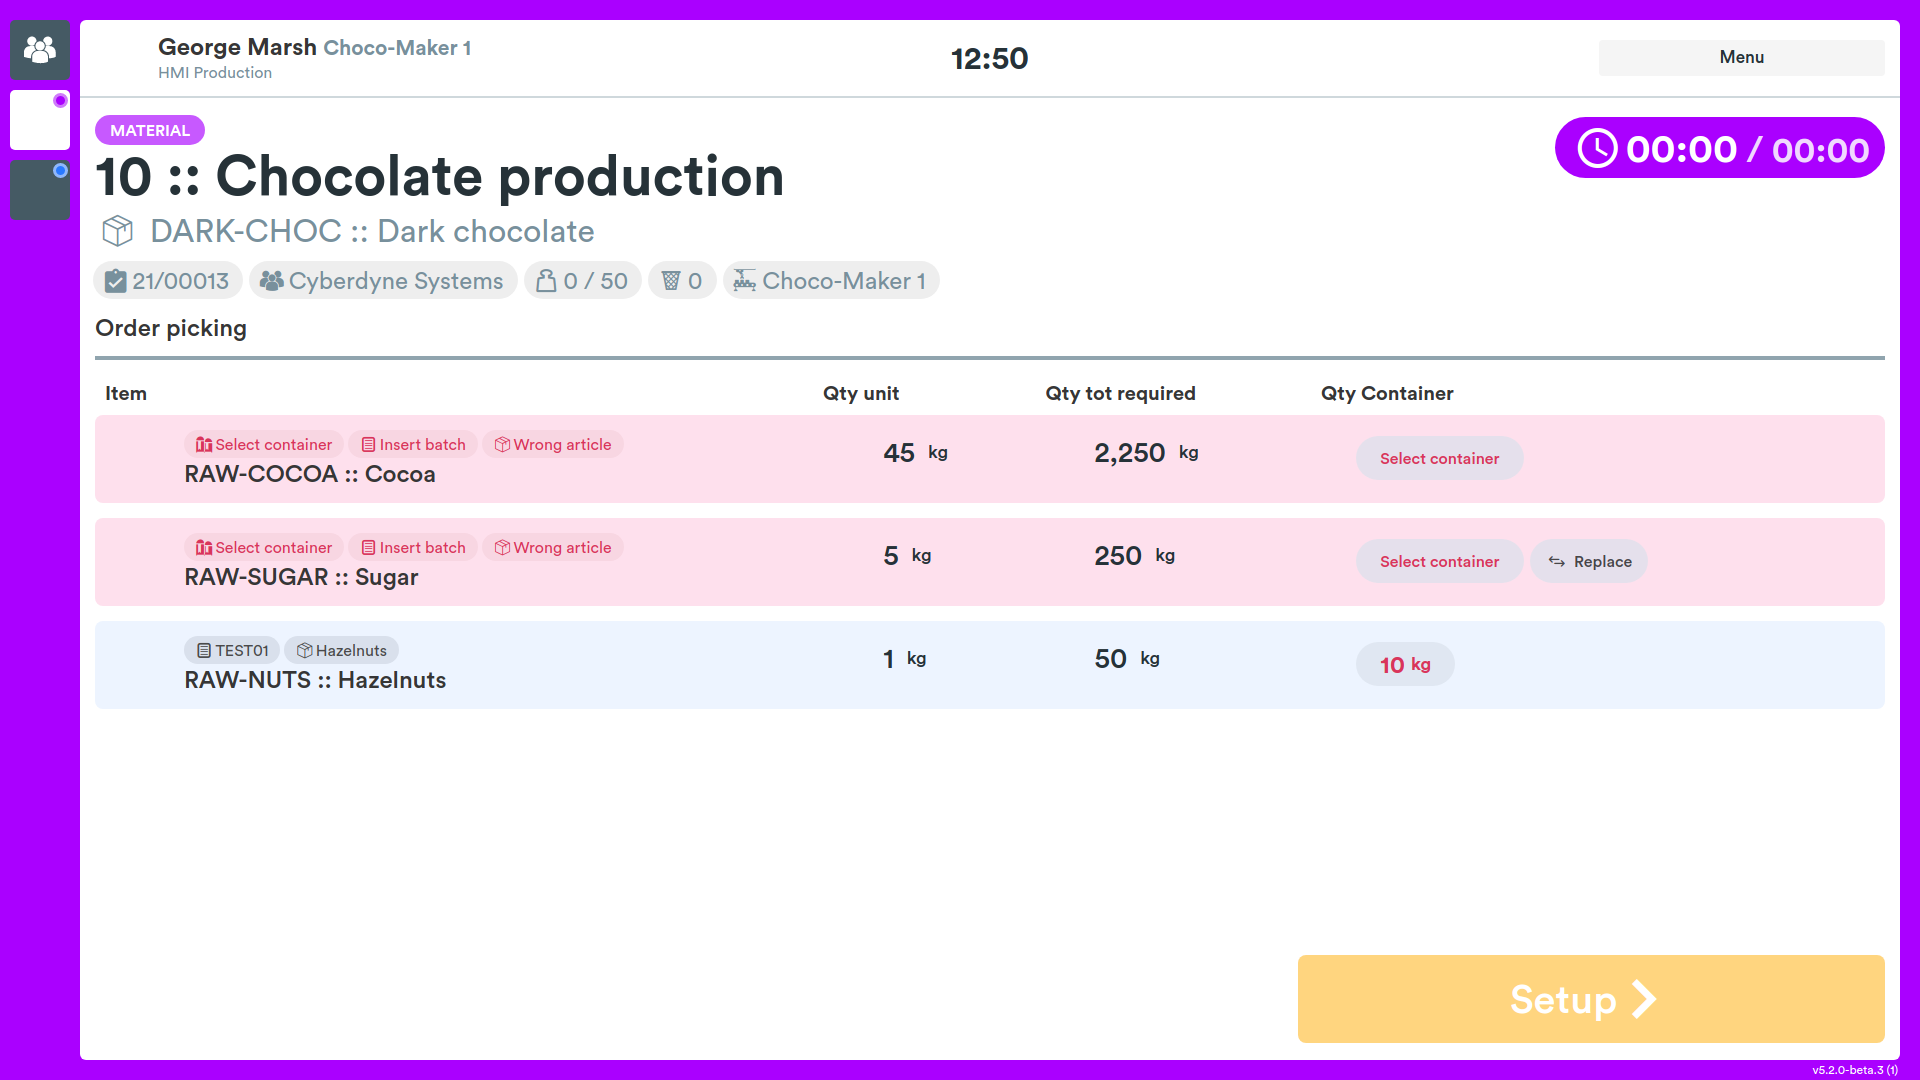
Processing
The system states show which actions must be performed by the operator to execute the selected operation.
Each state has a designated color.
The system provides the following states:
- Material picking or loading (purple)
- Setup (yellow)
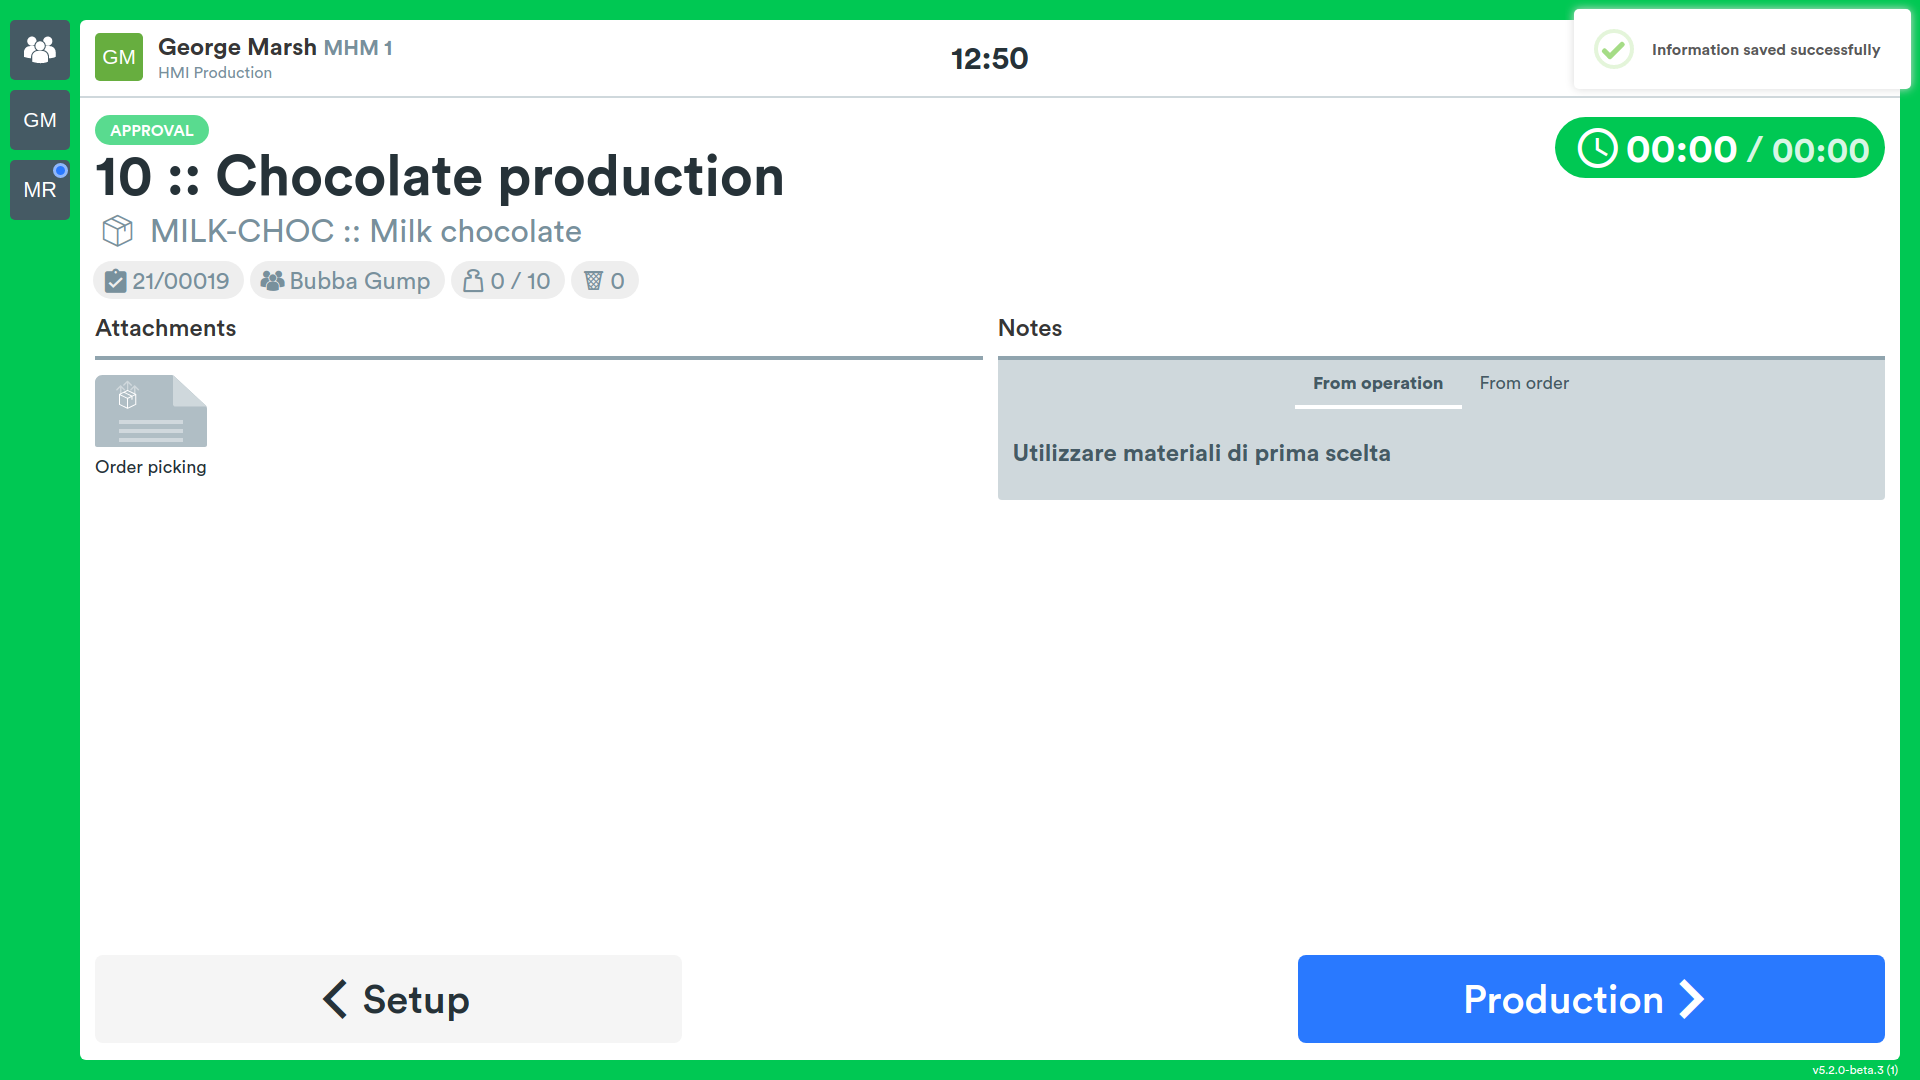
- Approval (green)
- Production (blue)
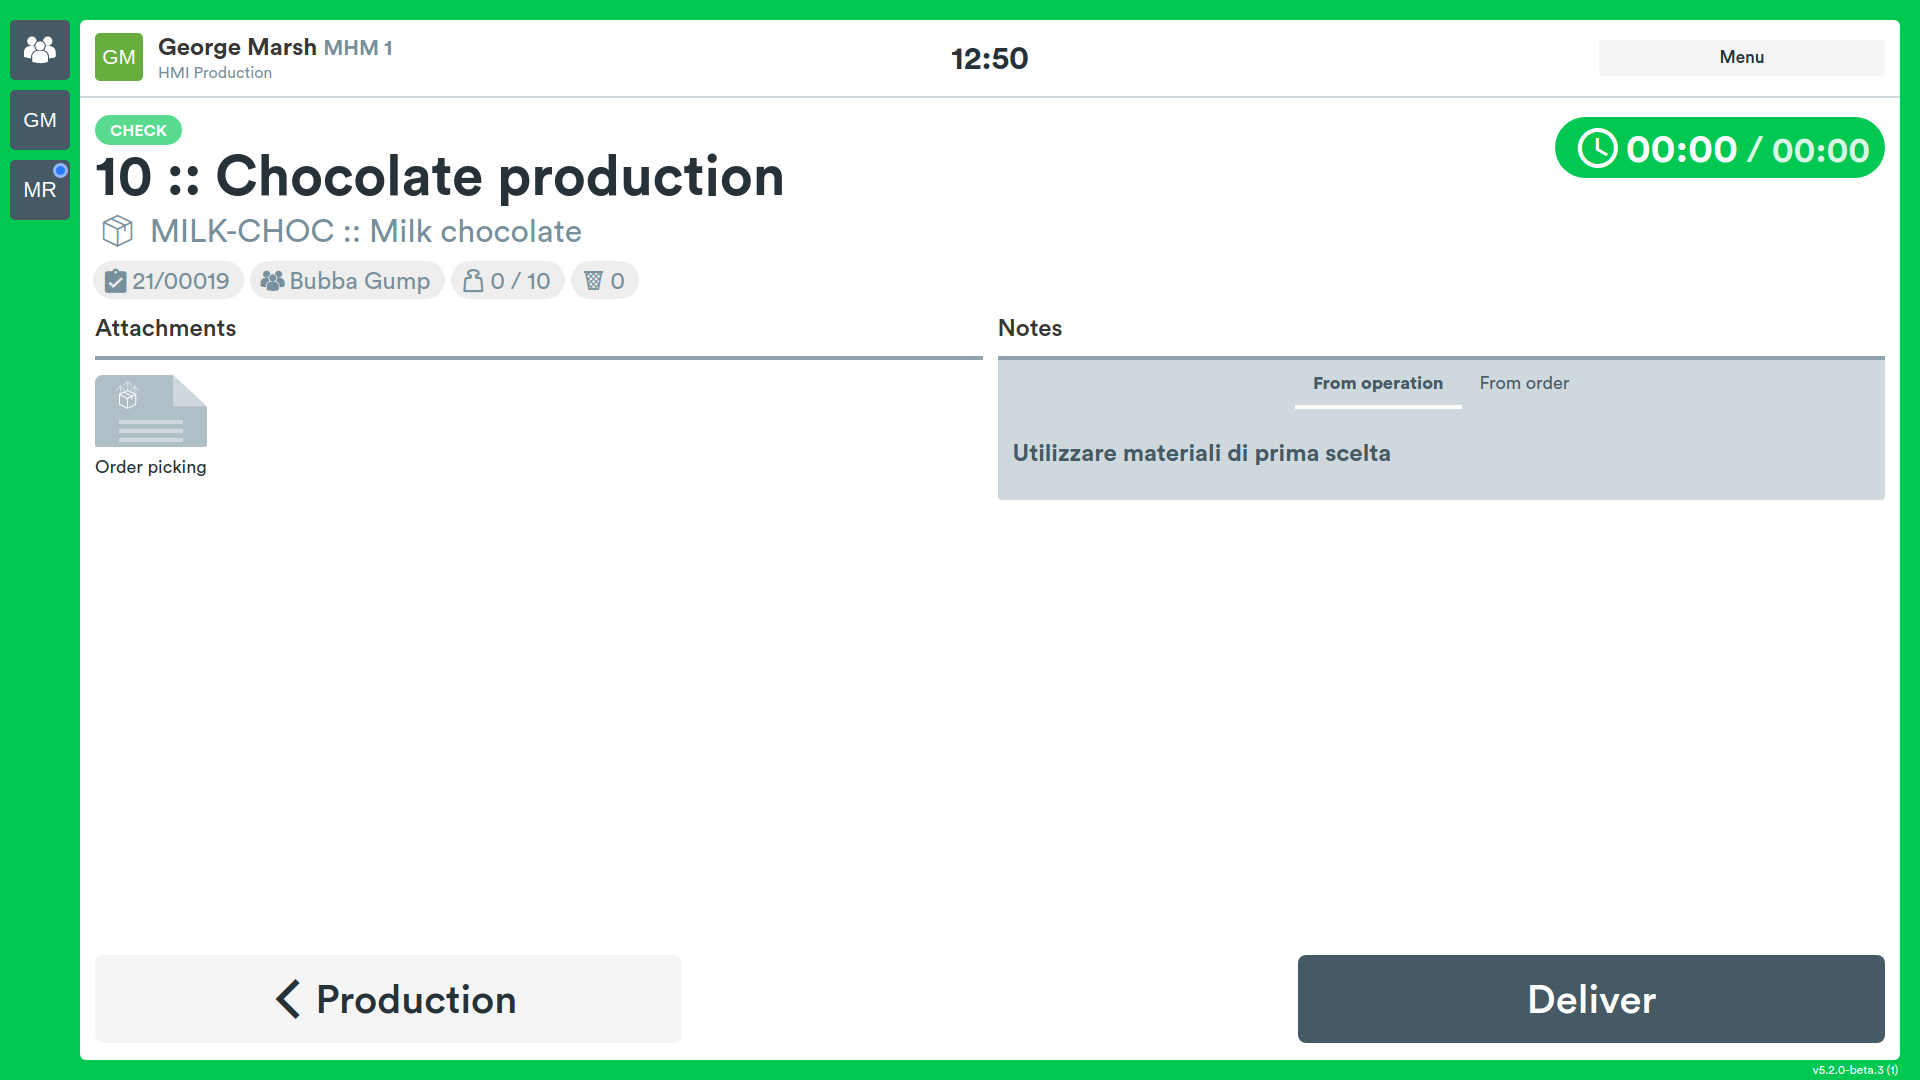
- Check (green)
There are two other states which are:
- Pause (light blue)
- Problem (red)
The work screens use the same layout (except for the Production screen) where the following information is shown:
- current state
- operation number
- operation name
- processing order
- product type
- quantity produced so far
- total quantity required
- attached files
- time spent on the current state
- notes
- menu
Within the notes field, notes left by supervisors and operators are visible.
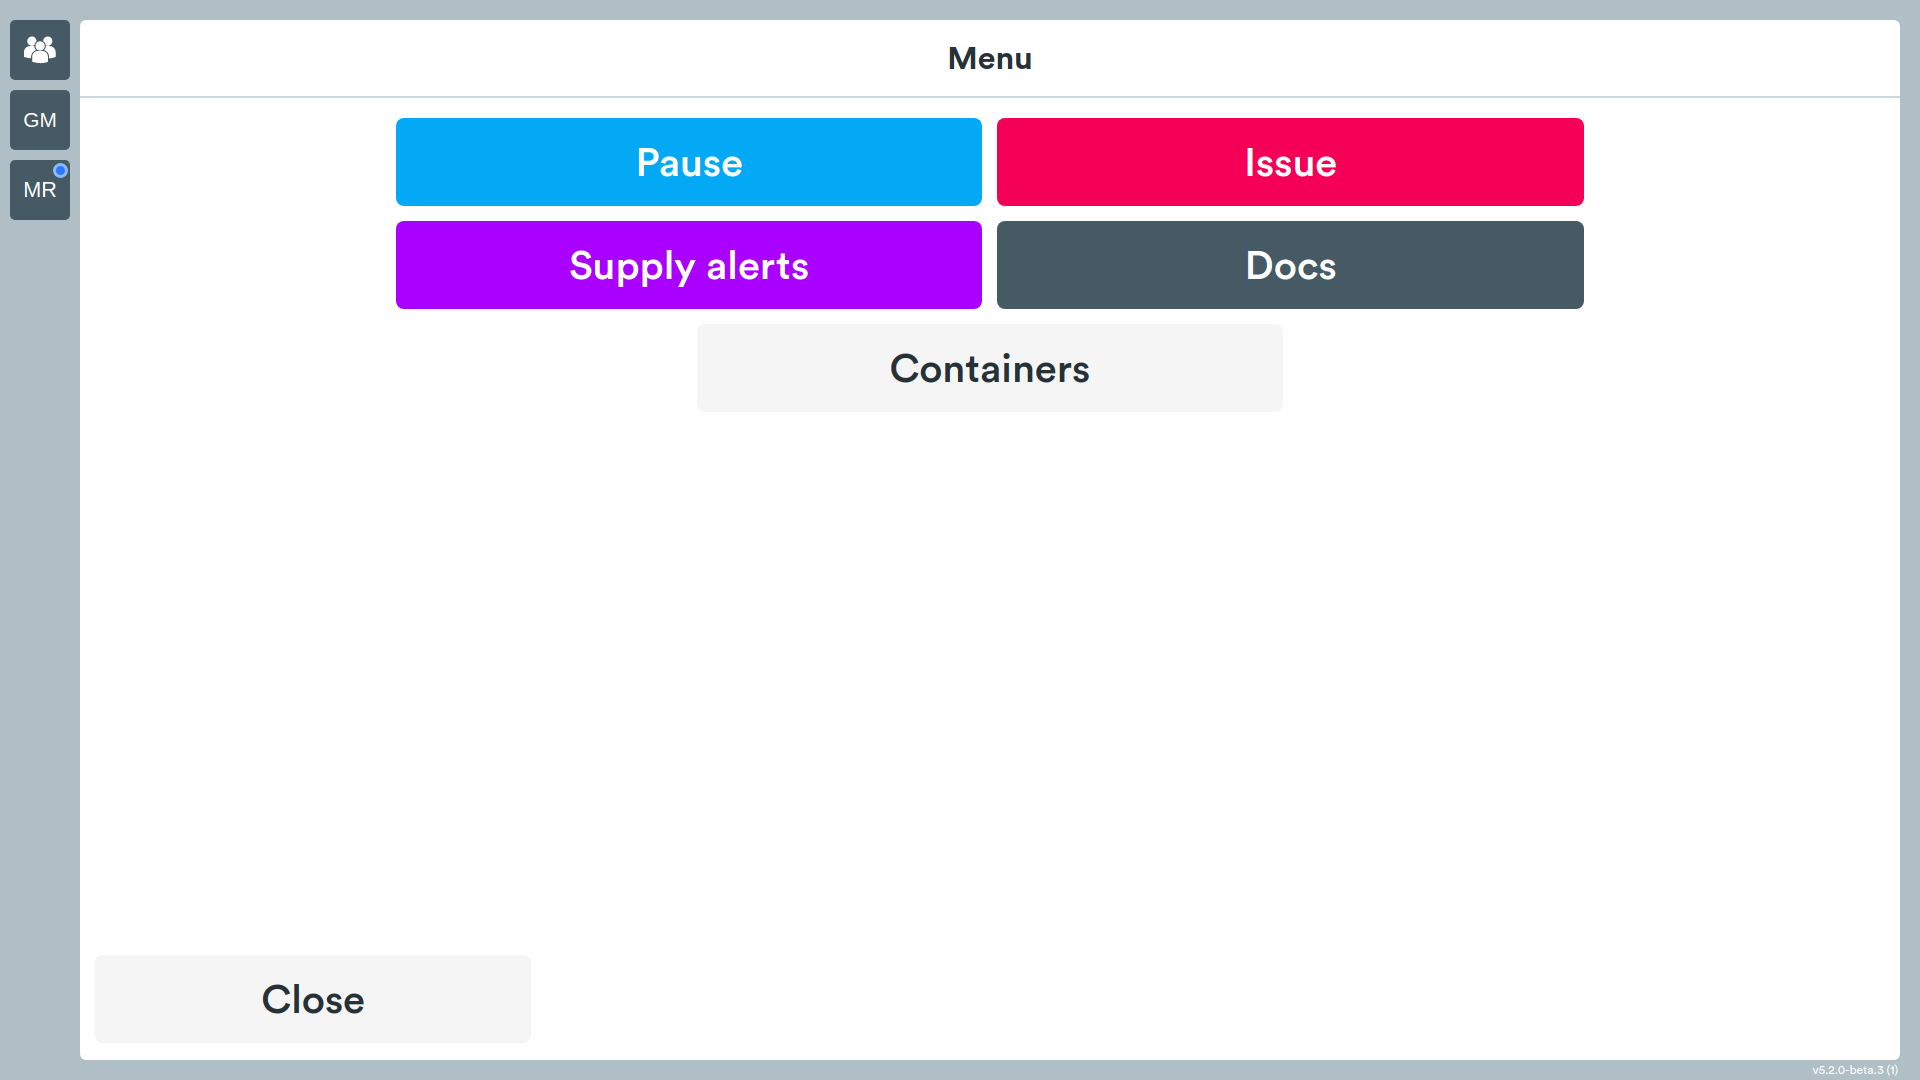
Pressing the menu button will present a menu with some possible actions.
Material Picking
In this phase, the operator prepares the materials for processing.
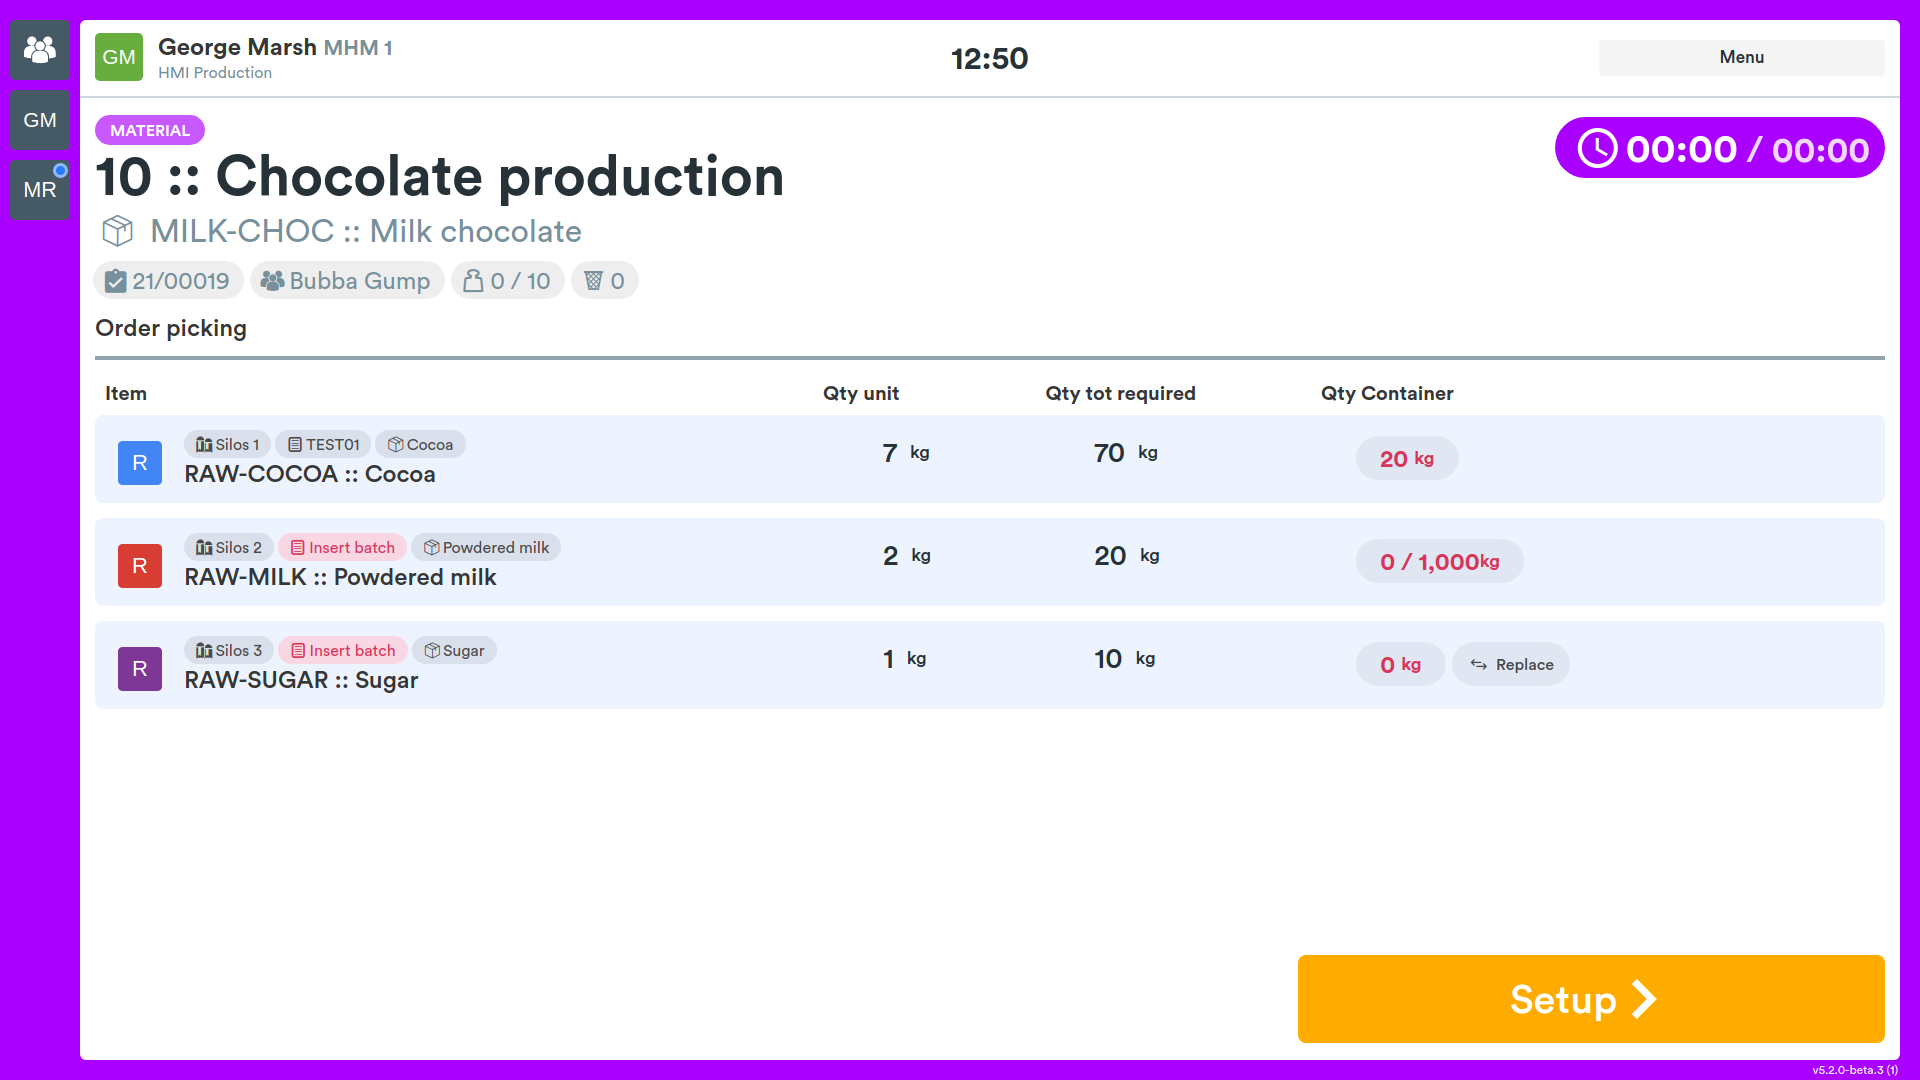
Before the operator is a list of materials to use for the operation. If the operation is new and has never been done before, the user must link the material preparation to its actual position in the warehouse (container). By clicking the select container button, the user opens an additional menu.
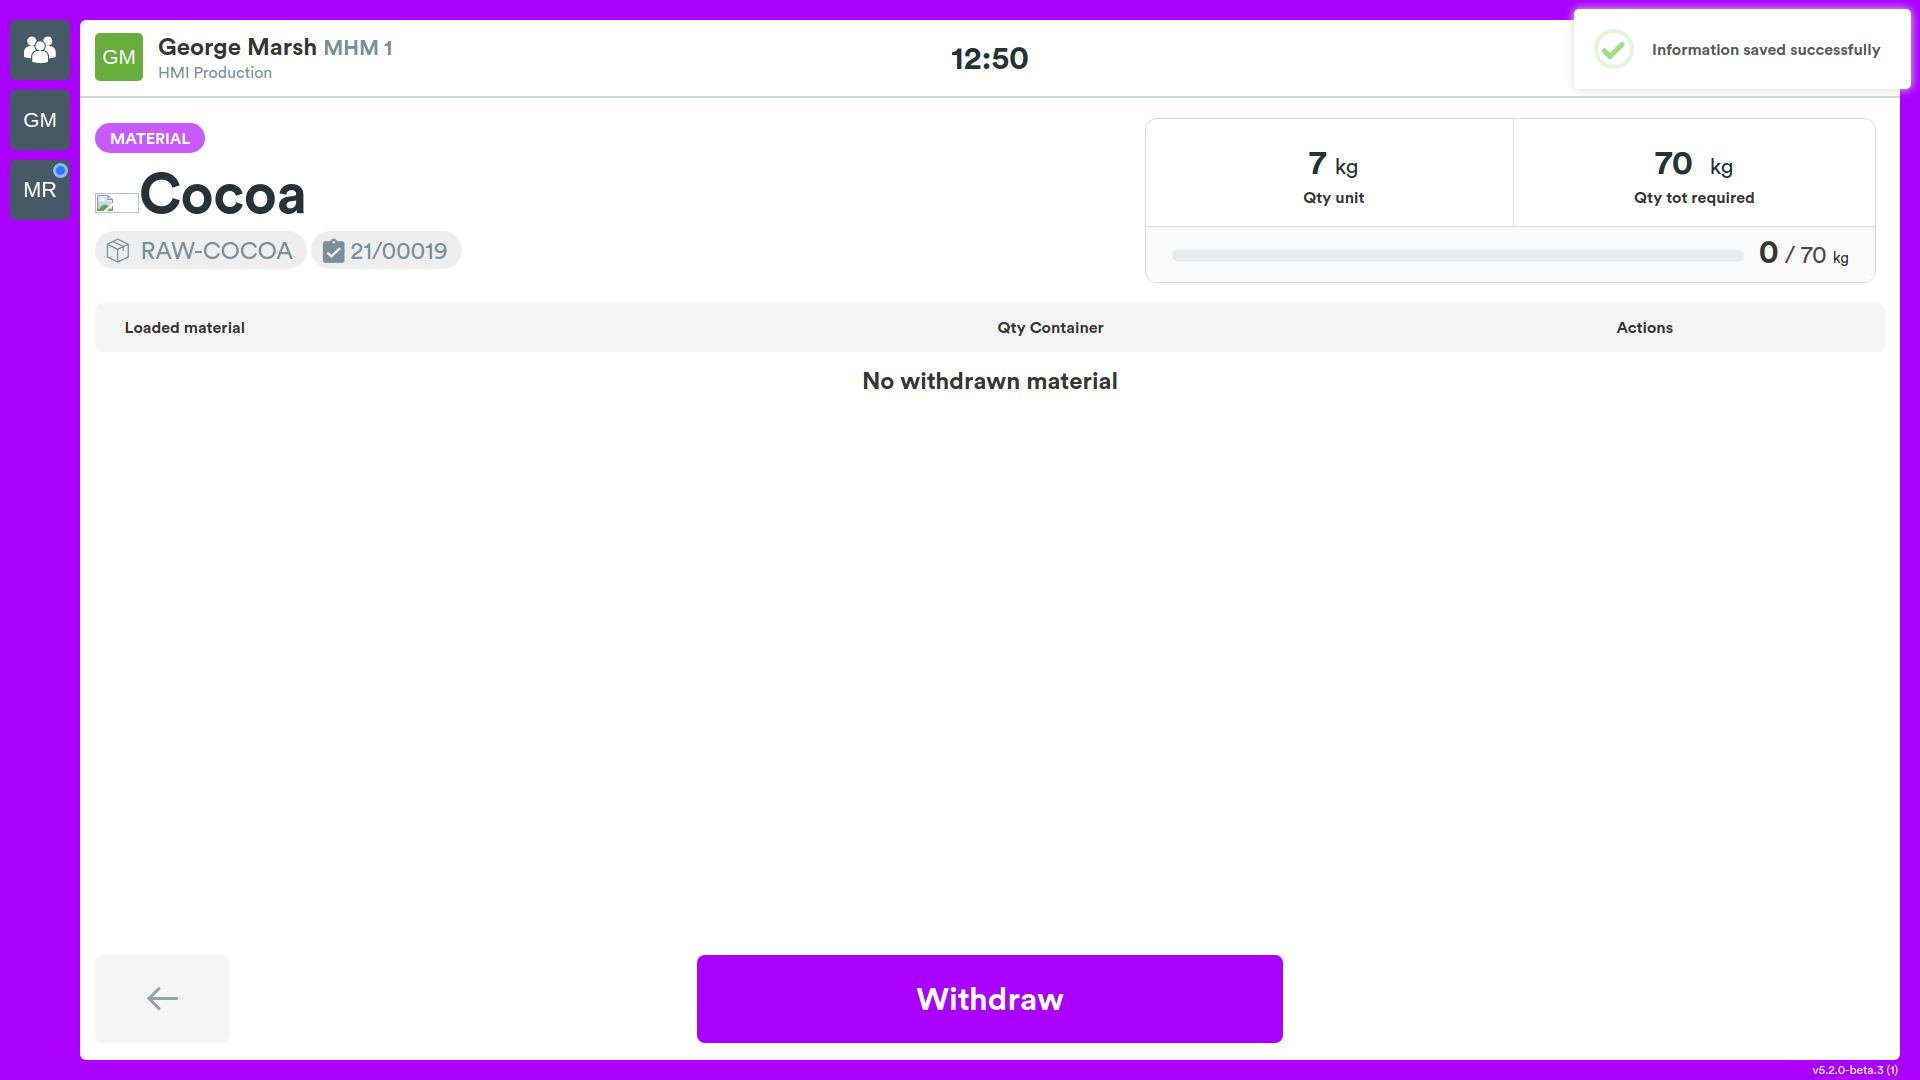
By pressing the Pick button, it is possible to select the desired container with the material (from which the material will be physically picked).
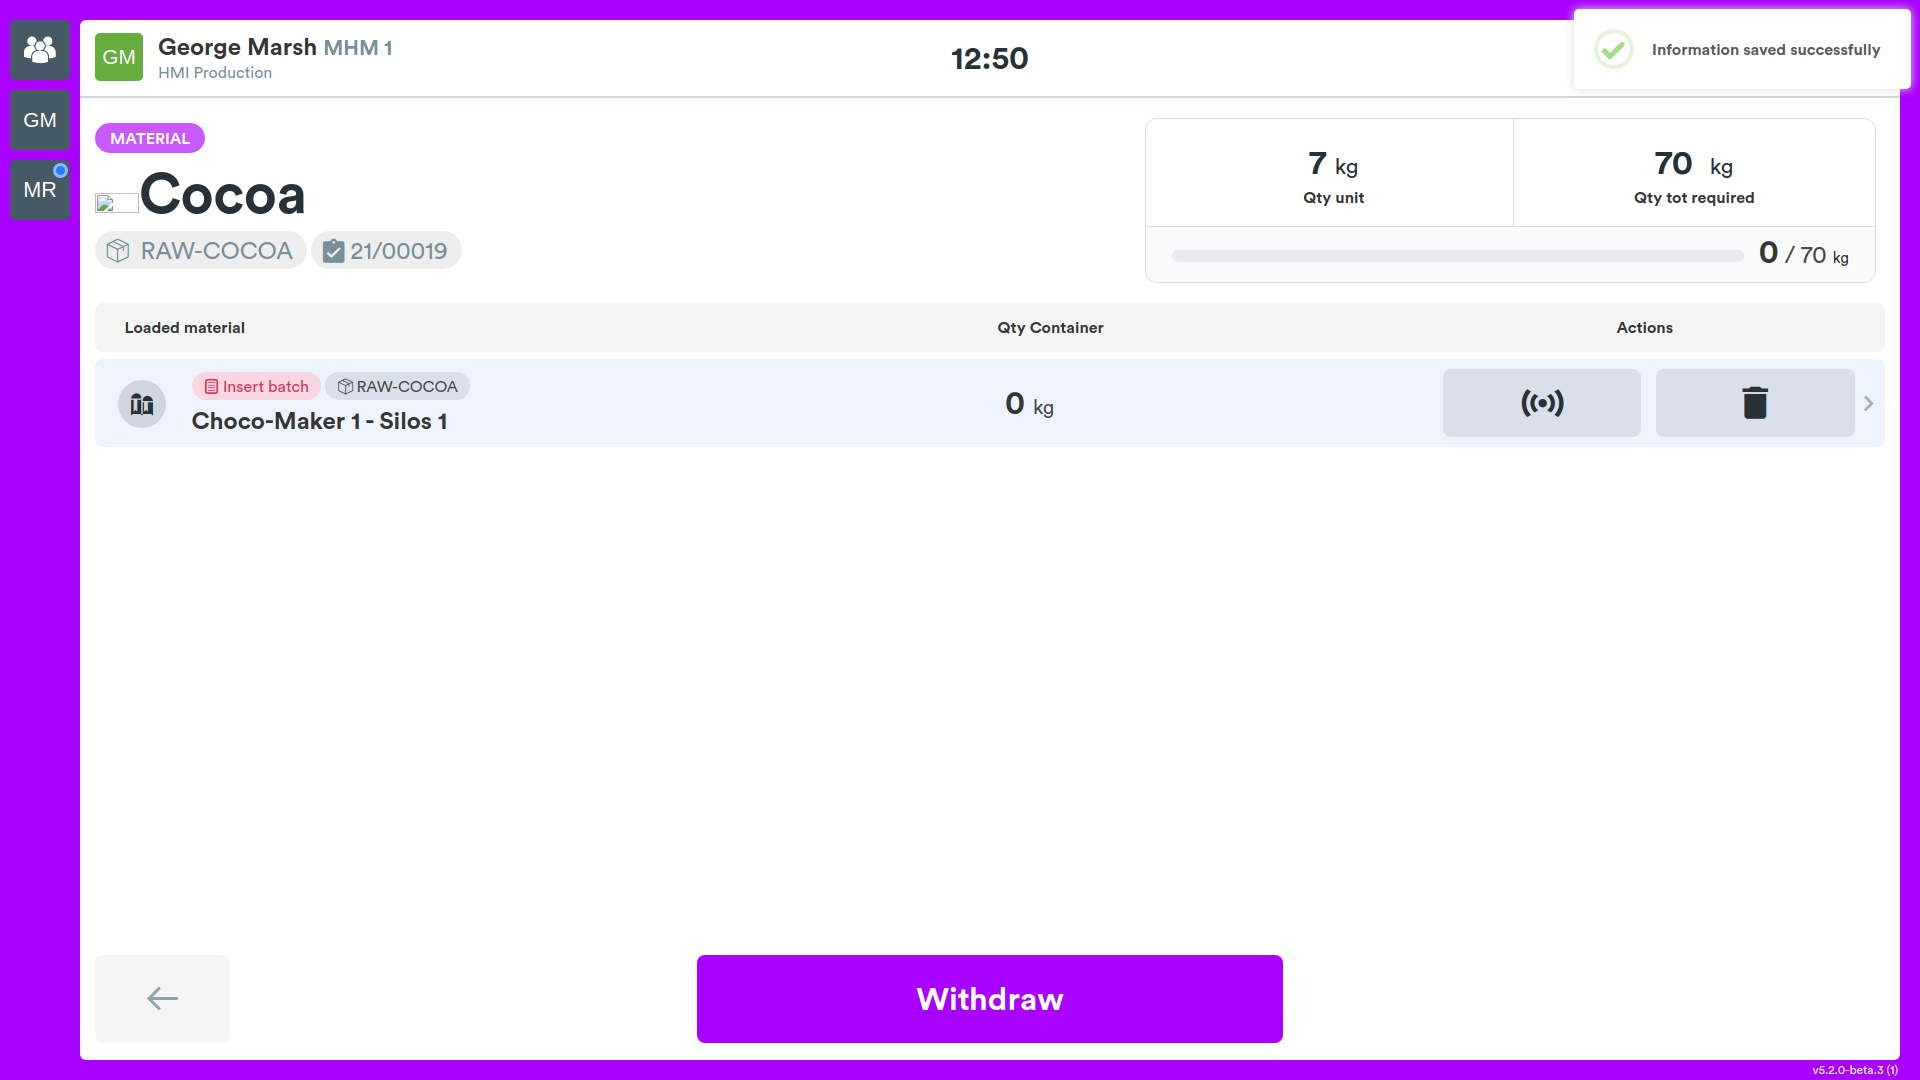
When selecting the desired container, the system automatically proposes the quantity of material, but this quantity can be modified if it is necessary to pick material from different containers.
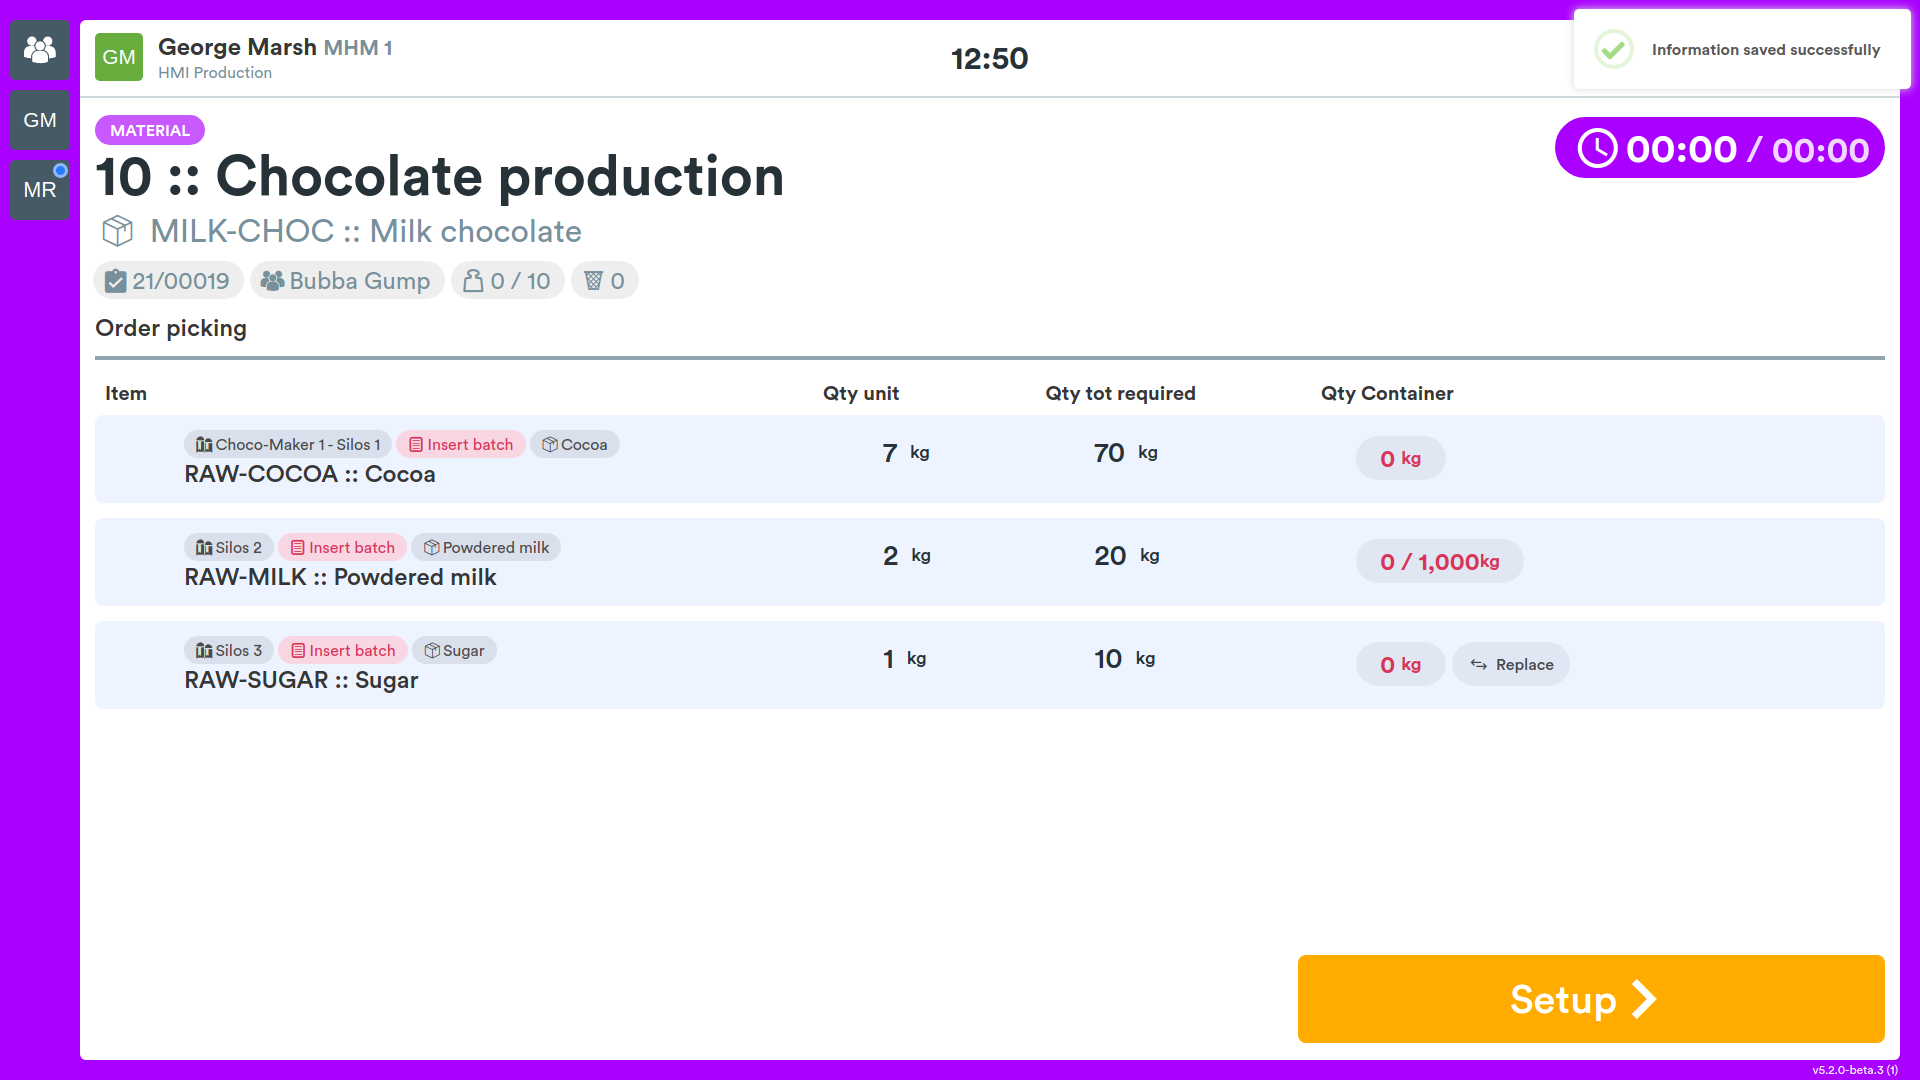
The system also allows the user to add a new item and a new container, if necessary.
Setup
In this phase, the operator performs the machine setup.
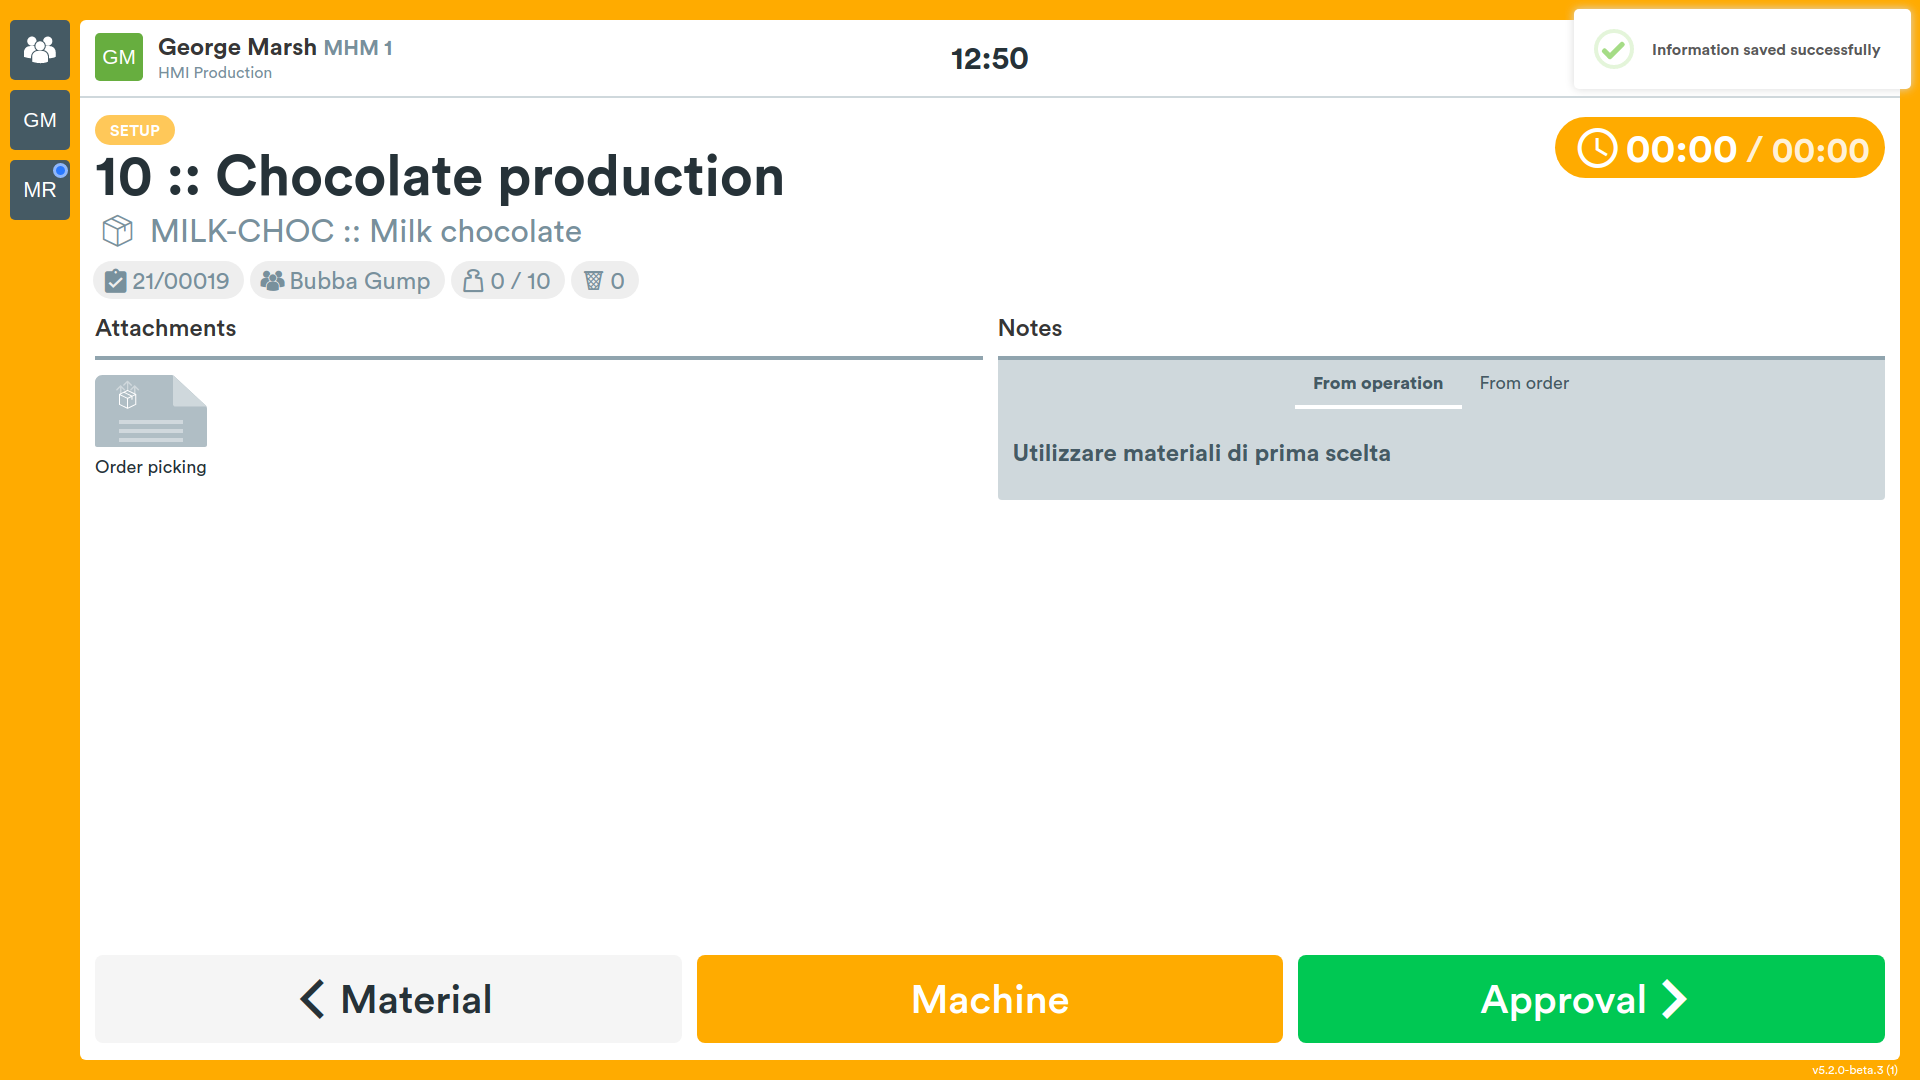
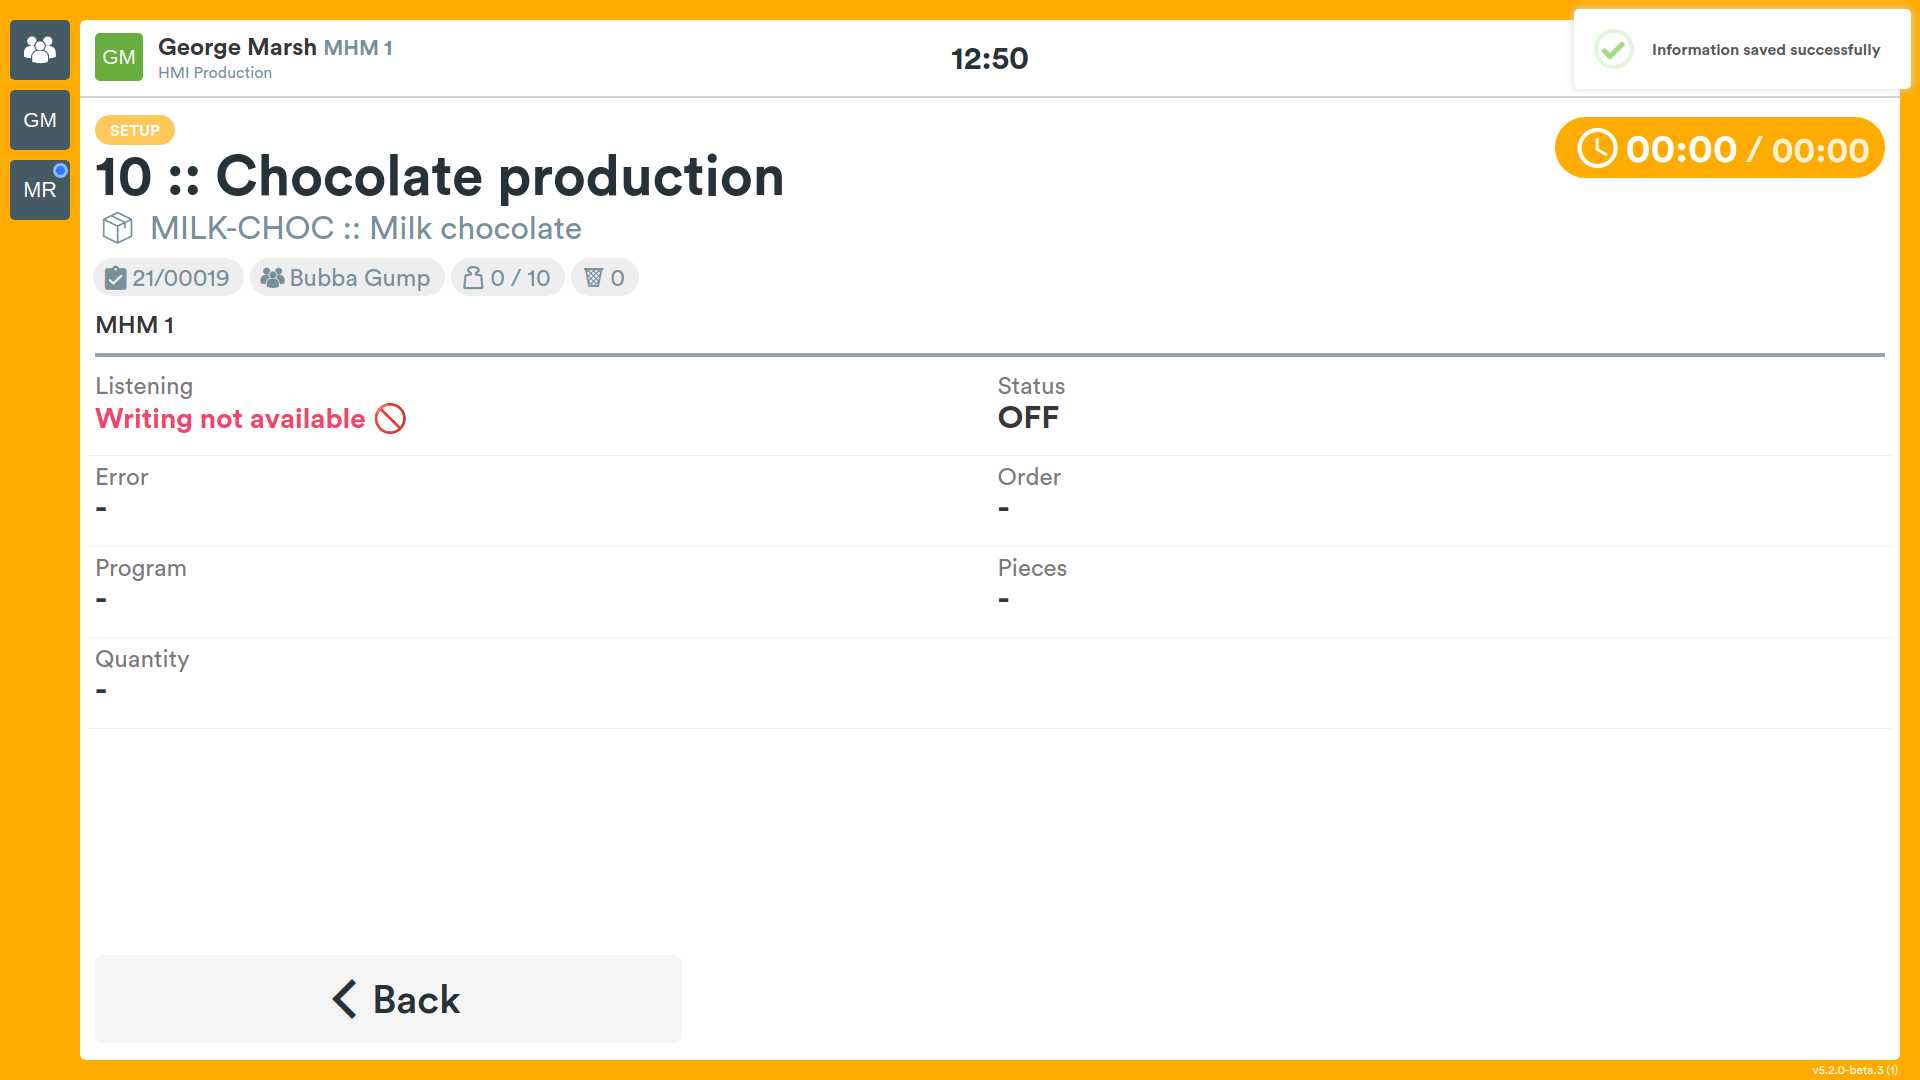
By pressing the Machine button (if the functionality is enabled), you can see the information of the machine used.
Production Approval
This step refers to the production approval phase, useful if final checks are necessary (for example printing test units) before starting production.
Production
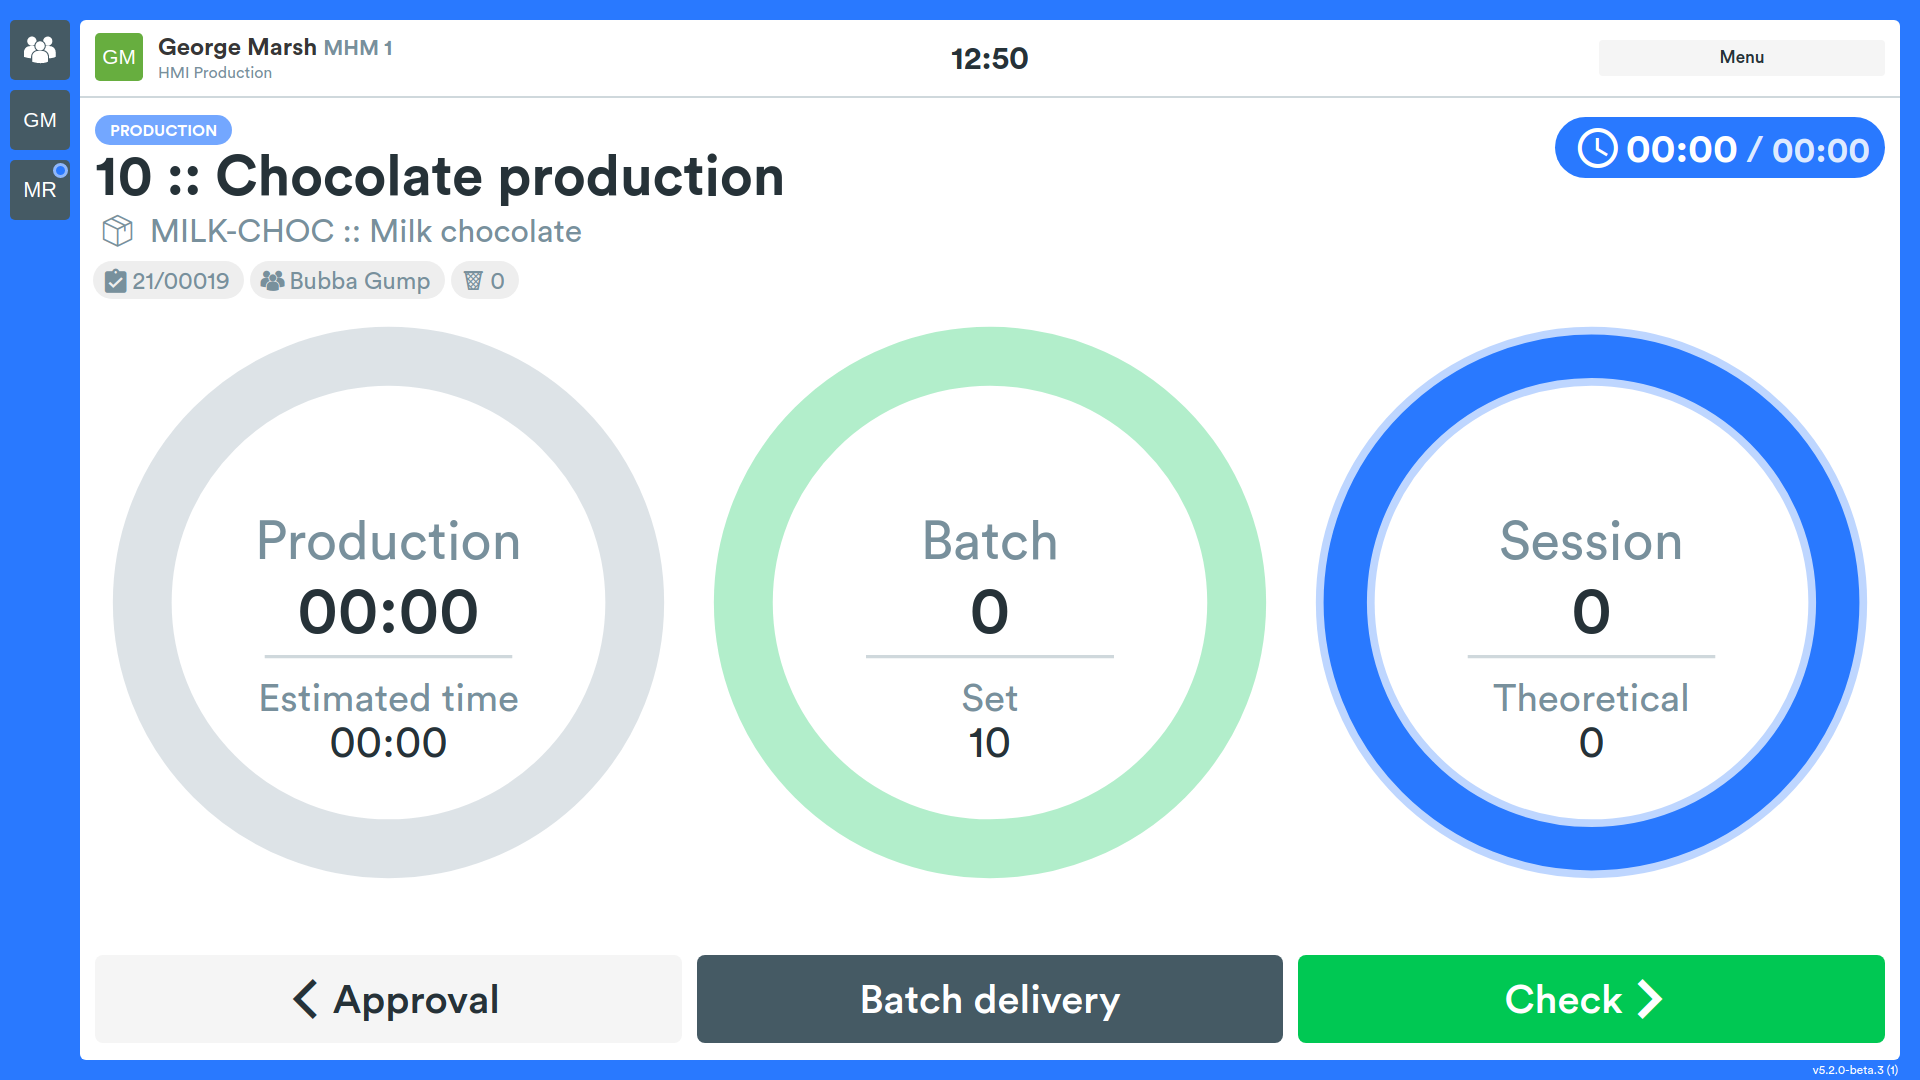
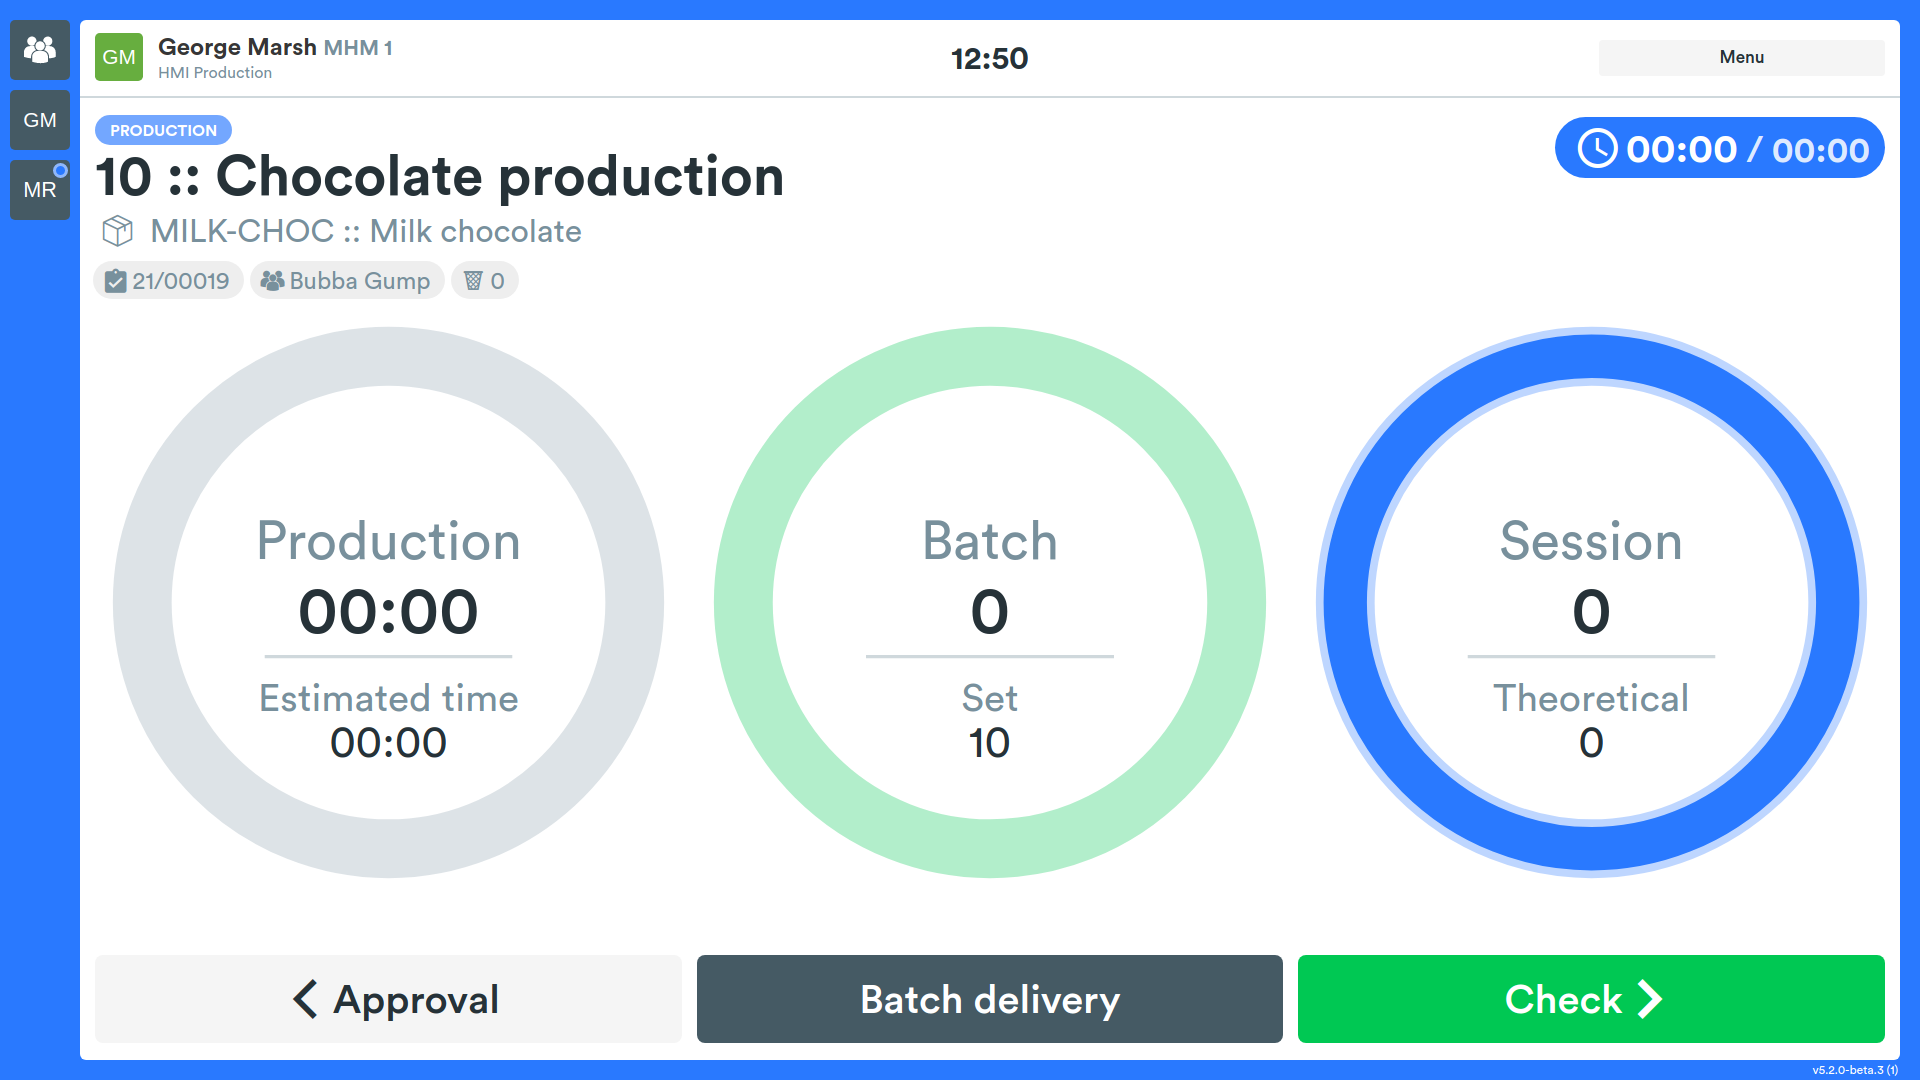
In this phase, the main production screen will be displayed where you can see:
- operation to be performed
- production order name
- time spent
- three circular counters
The three counters contain the following information:
- session time, divided into hours/minutes and seconds
- total pieces required, produced and percentage of completion
- pieces produced during the session, theoretical average production and percentage deviation between the two values
Time Counter
Shows the amount of time spent for the production phase.
Batch Production Counter
Provides information on how many products have been processed in total compared to the quantity required by the operation.
Session Production Counter
How many items have been produced during the current work session.
The filling of the outer circle corresponds to theoretical productivity.
Quality Control
Dedicated to production quality control.
Batch Delivery
Batch delivery is a flow that allows the operator to record and deliver the current production in distinct batches without ending the operation, so that work can continue. The feature is available only if the HMI:BATCH_DELIVERY feature is enabled.
When the feature is active, the Batch delivery button appears:
- on the Production screen (Free mode), next to the Menu and Check buttons;
- on the screen of a step in the Production state (Workflow mode).
By pressing Batch delivery, if an output container that is already partially filled exists for the operation, the system asks whether to use it for the new delivery (Yes) or to create a new one (No). If no existing container is found, the flow proceeds directly.
The flow consists of the following steps. All screens display the Batch delivery tag at the top to indicate the type of delivery in progress.
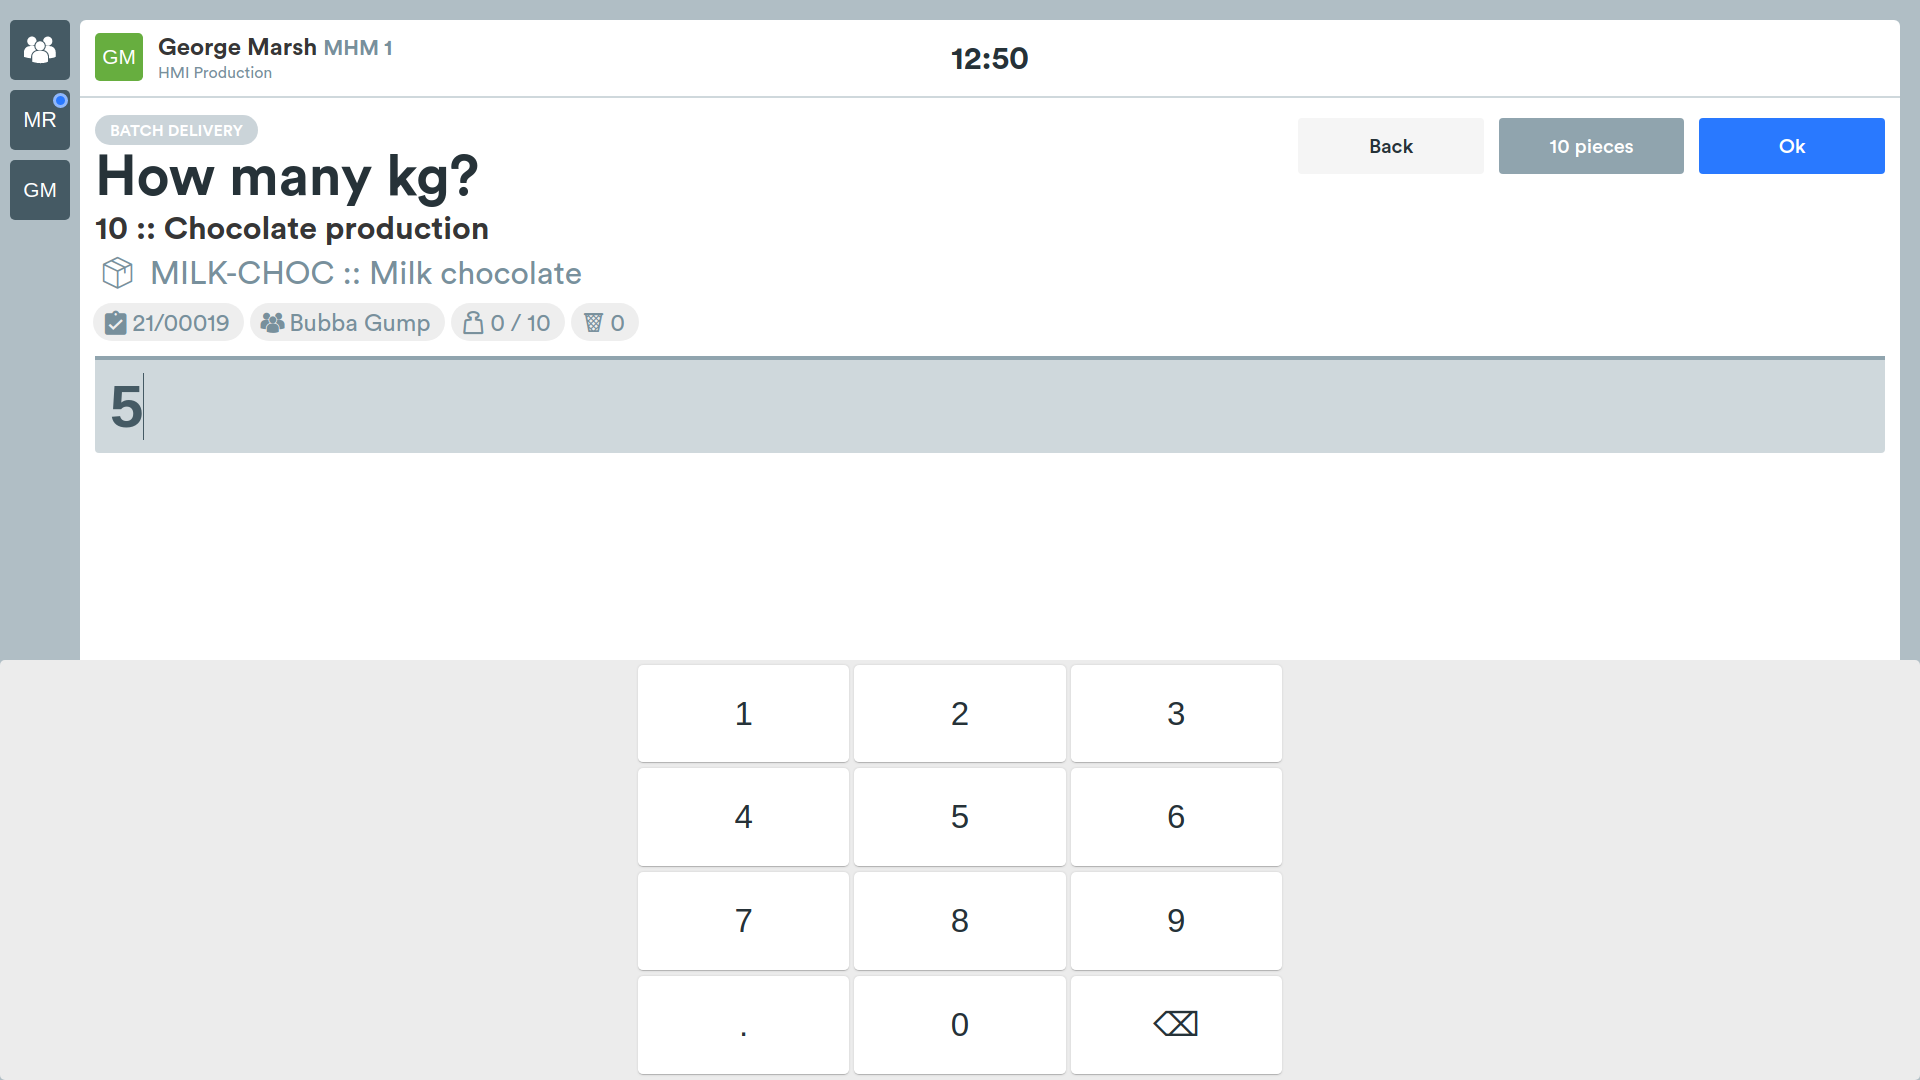
Produced quantity
On the first screen, the operator enters the produced quantity to deliver in the batch. If the operation supports it, a secondary quantity with its unit of measure can also be entered.
Press Back to cancel or Ok to confirm and continue.
Scrap
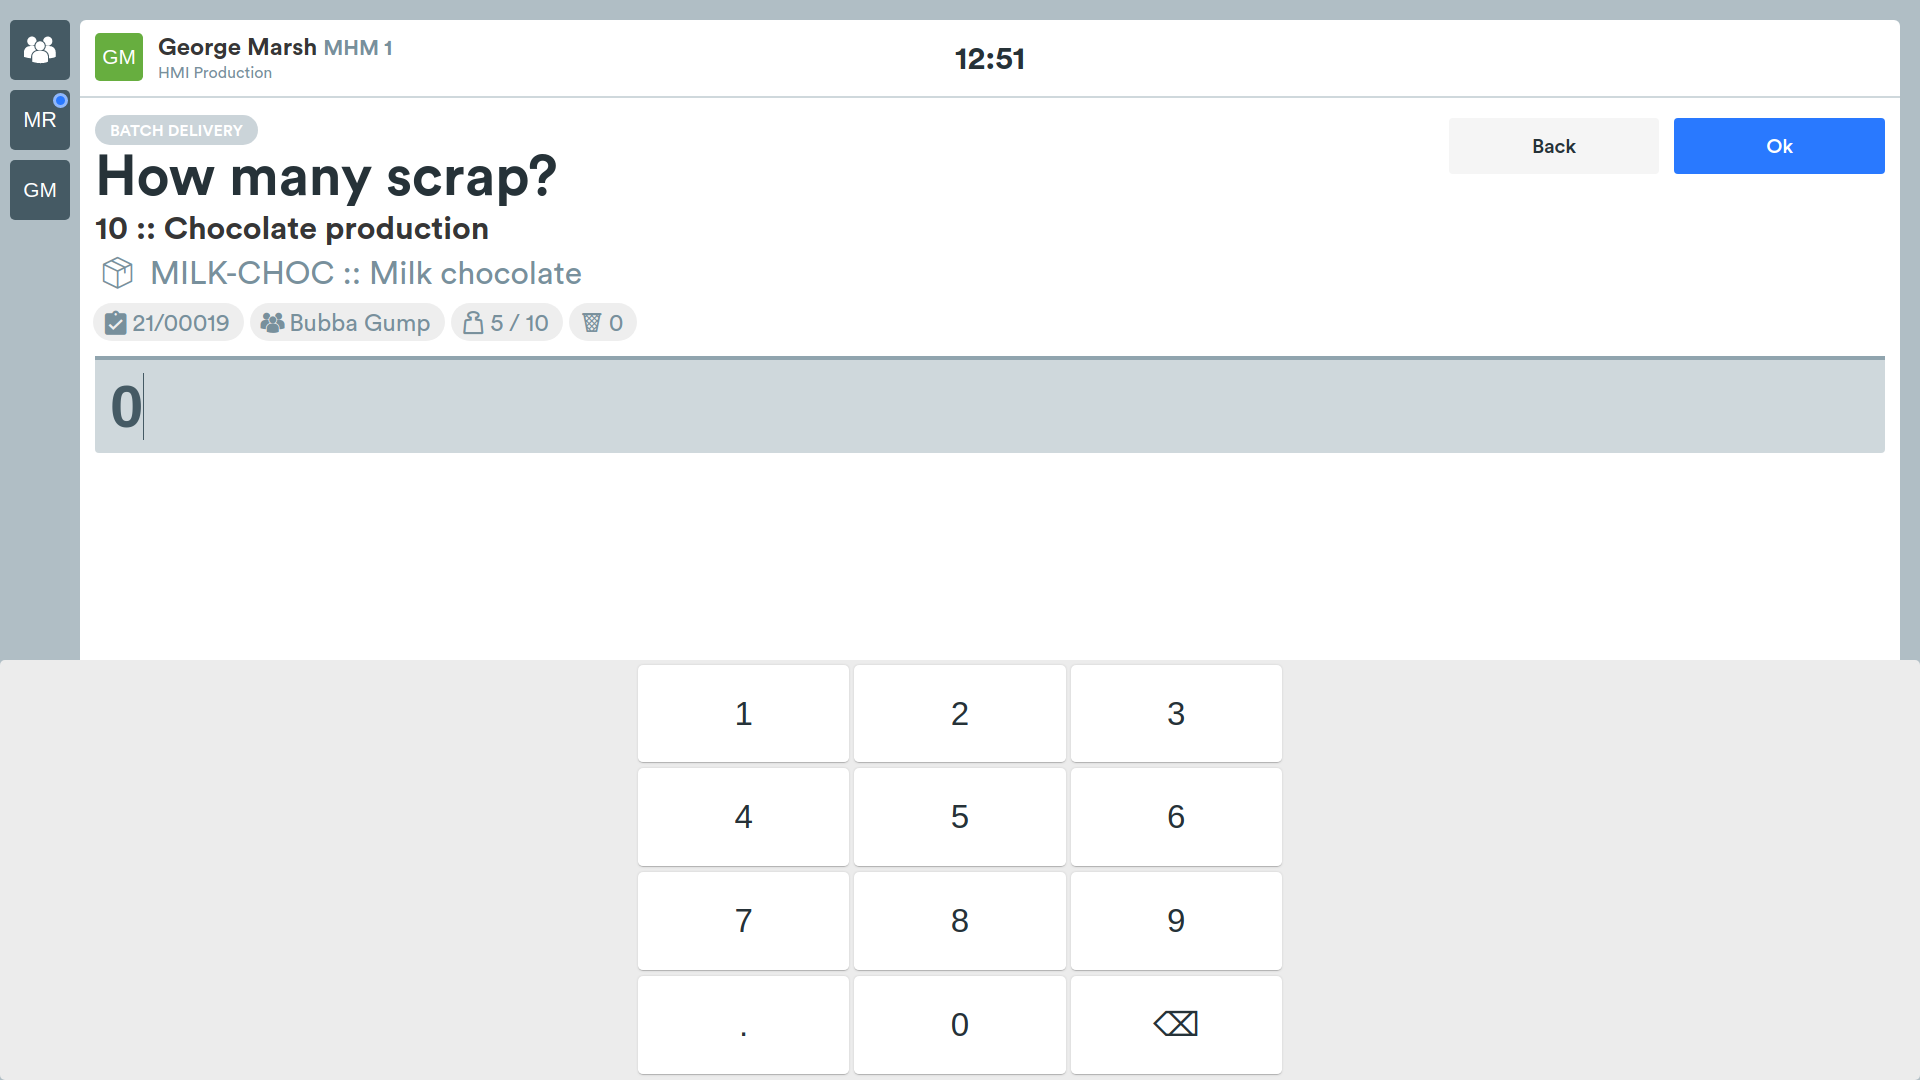
On the How many scrap? screen, the operator indicates the quantity of scrapped material. Press Ok to continue.
This step is skipped if the HMI configuration enables the skip scrap option.
Picked material
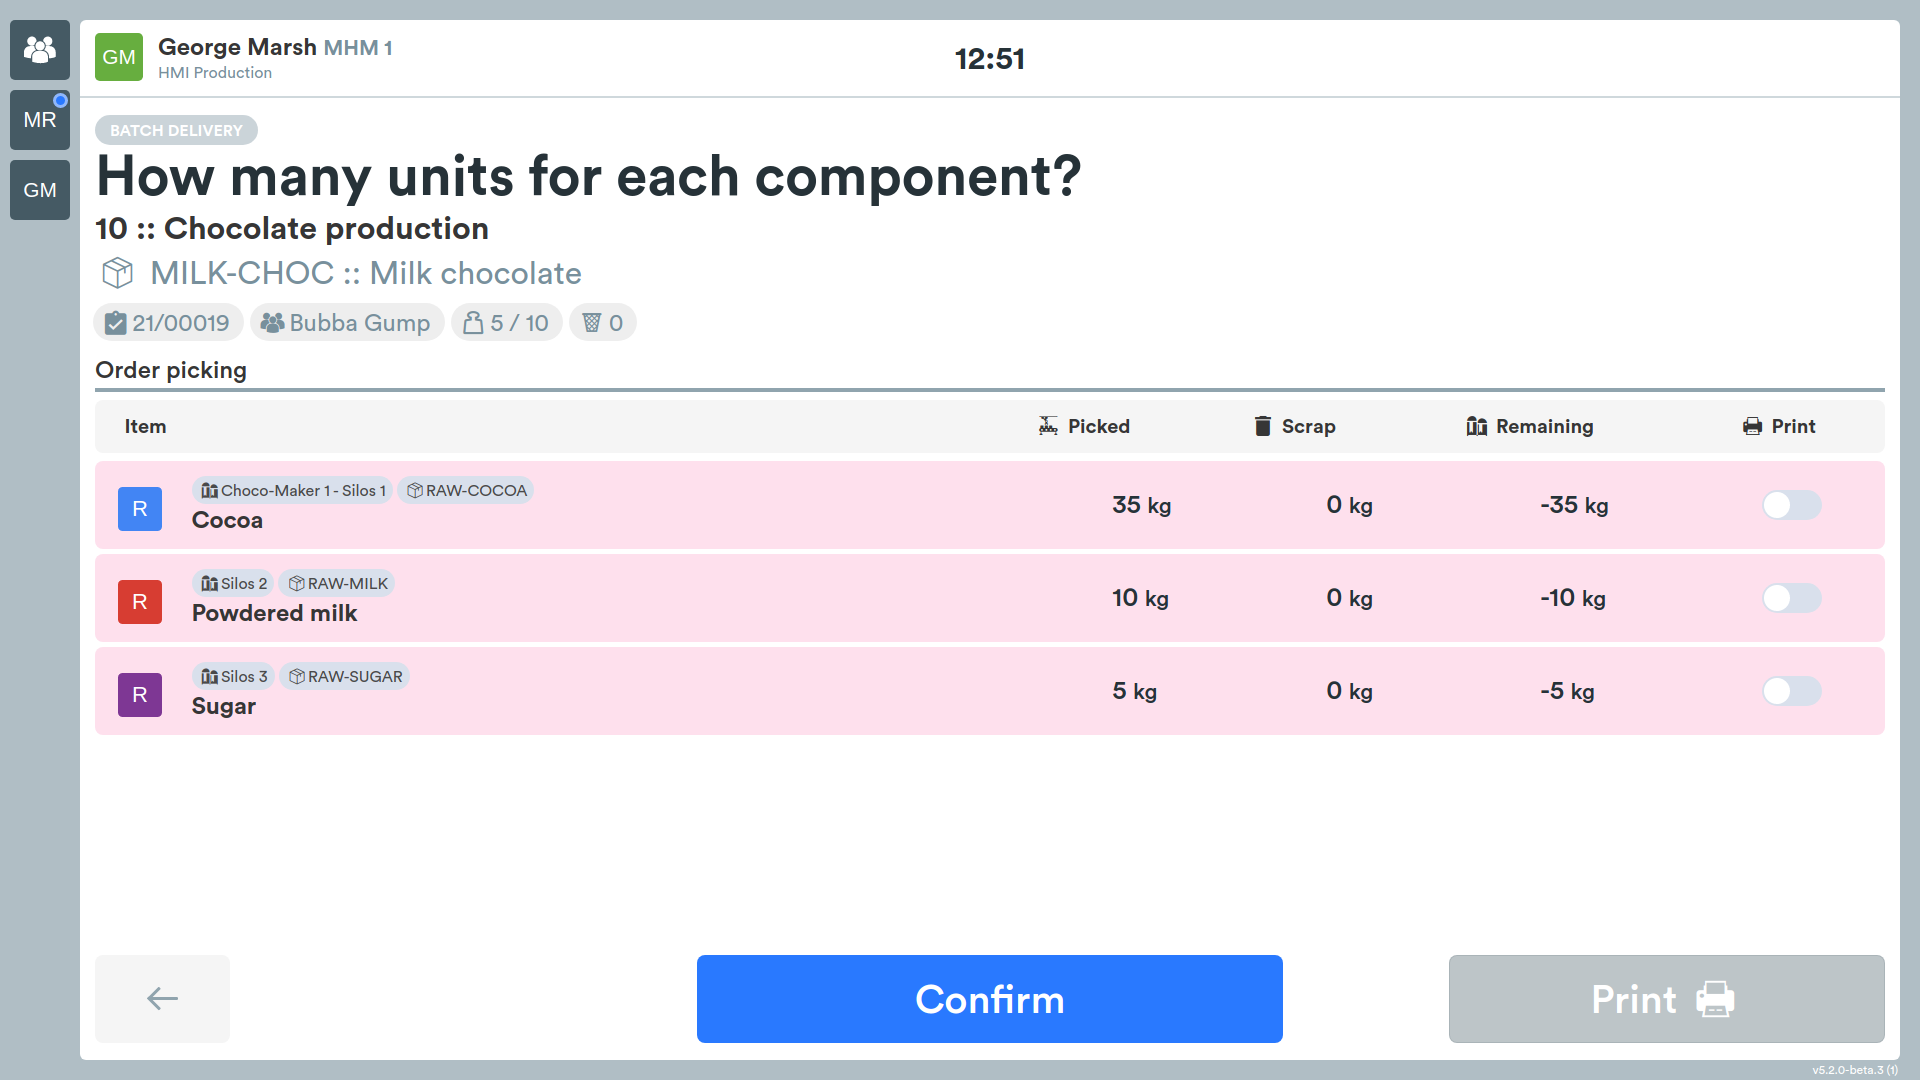
The How many units for each component? screen lists the picked materials with their picked, scrap and remaining quantities. By pressing a row, the values can be adjusted.
If printing is enabled, the desired rows can be selected using the switch in the Print column and the Print button can be pressed to generate the picking labels.
Press Confirm to continue.
This step is skipped if the HMI configuration enables the skip picked option or if there are no picked items.
Notes
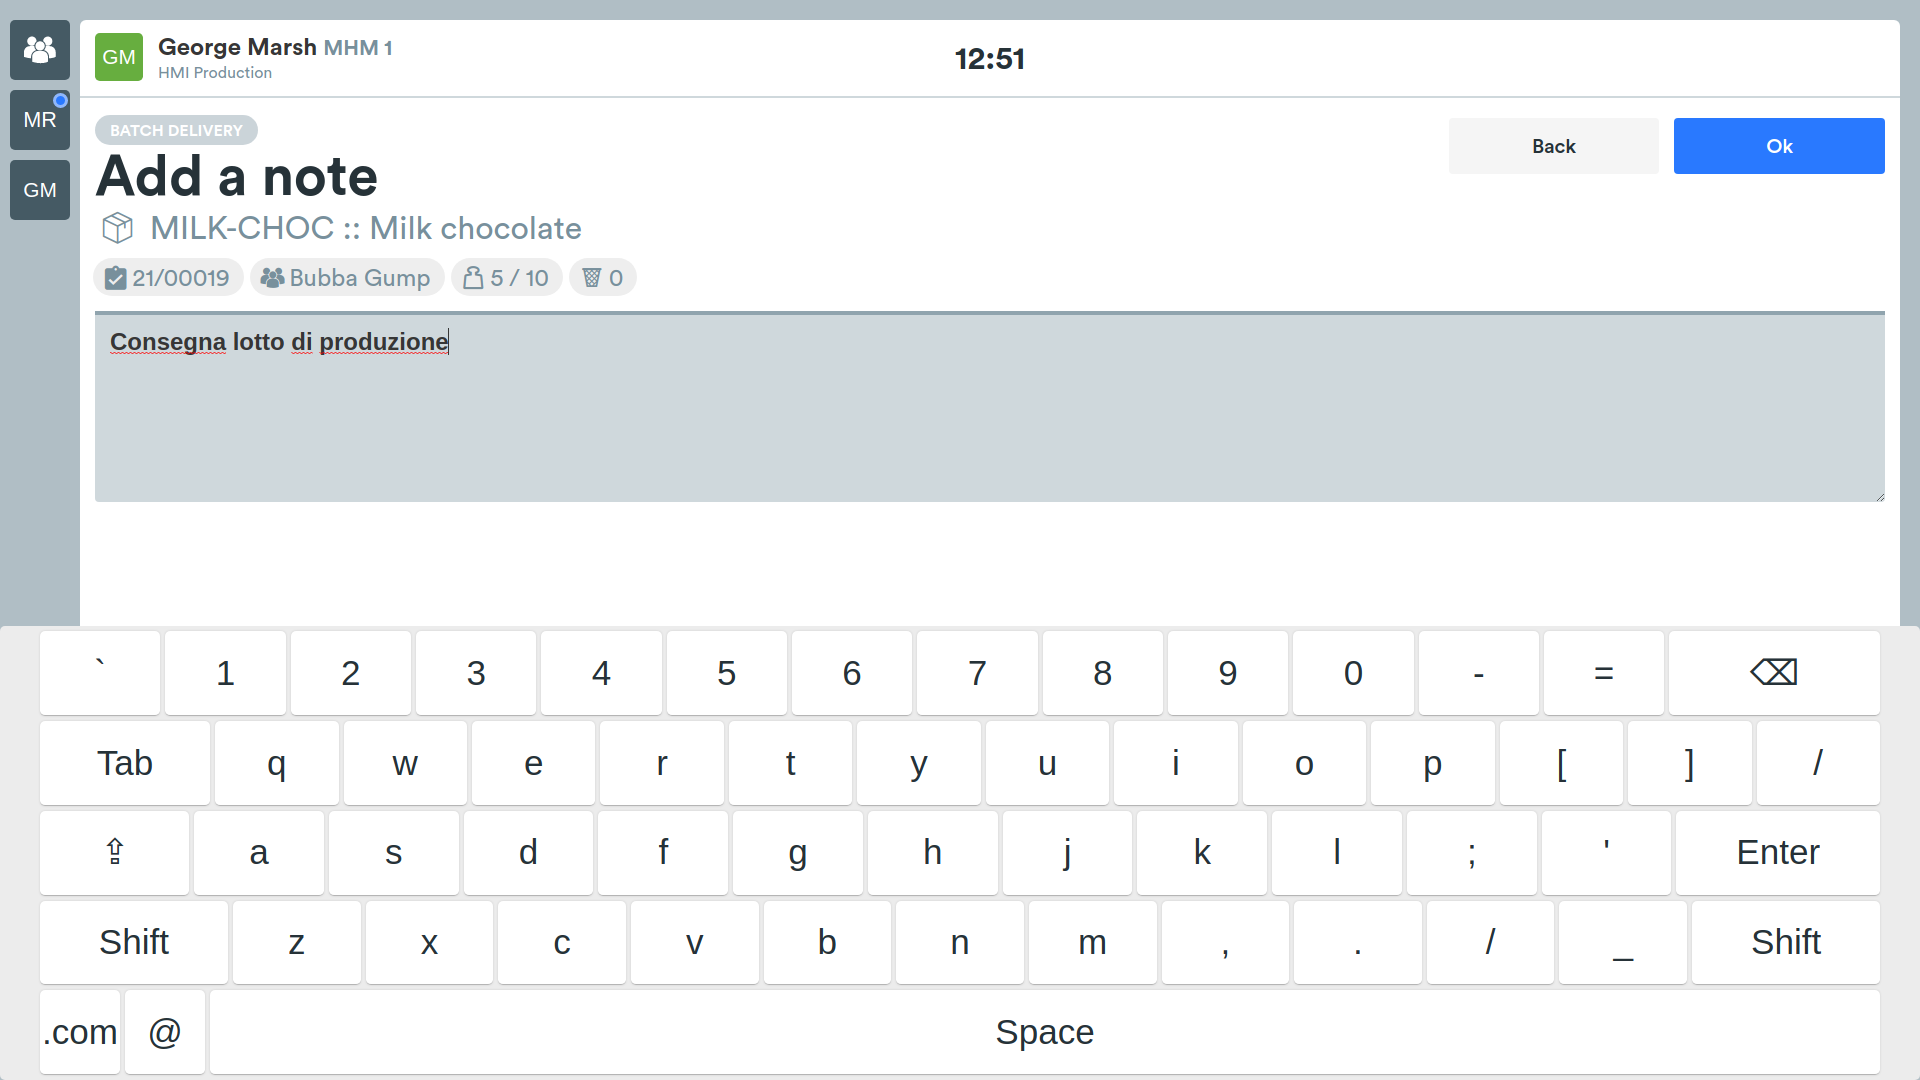
On the Add a note screen, the operator can enter a note related to the batch delivery. Press Ok to record the delivery.
Production batches
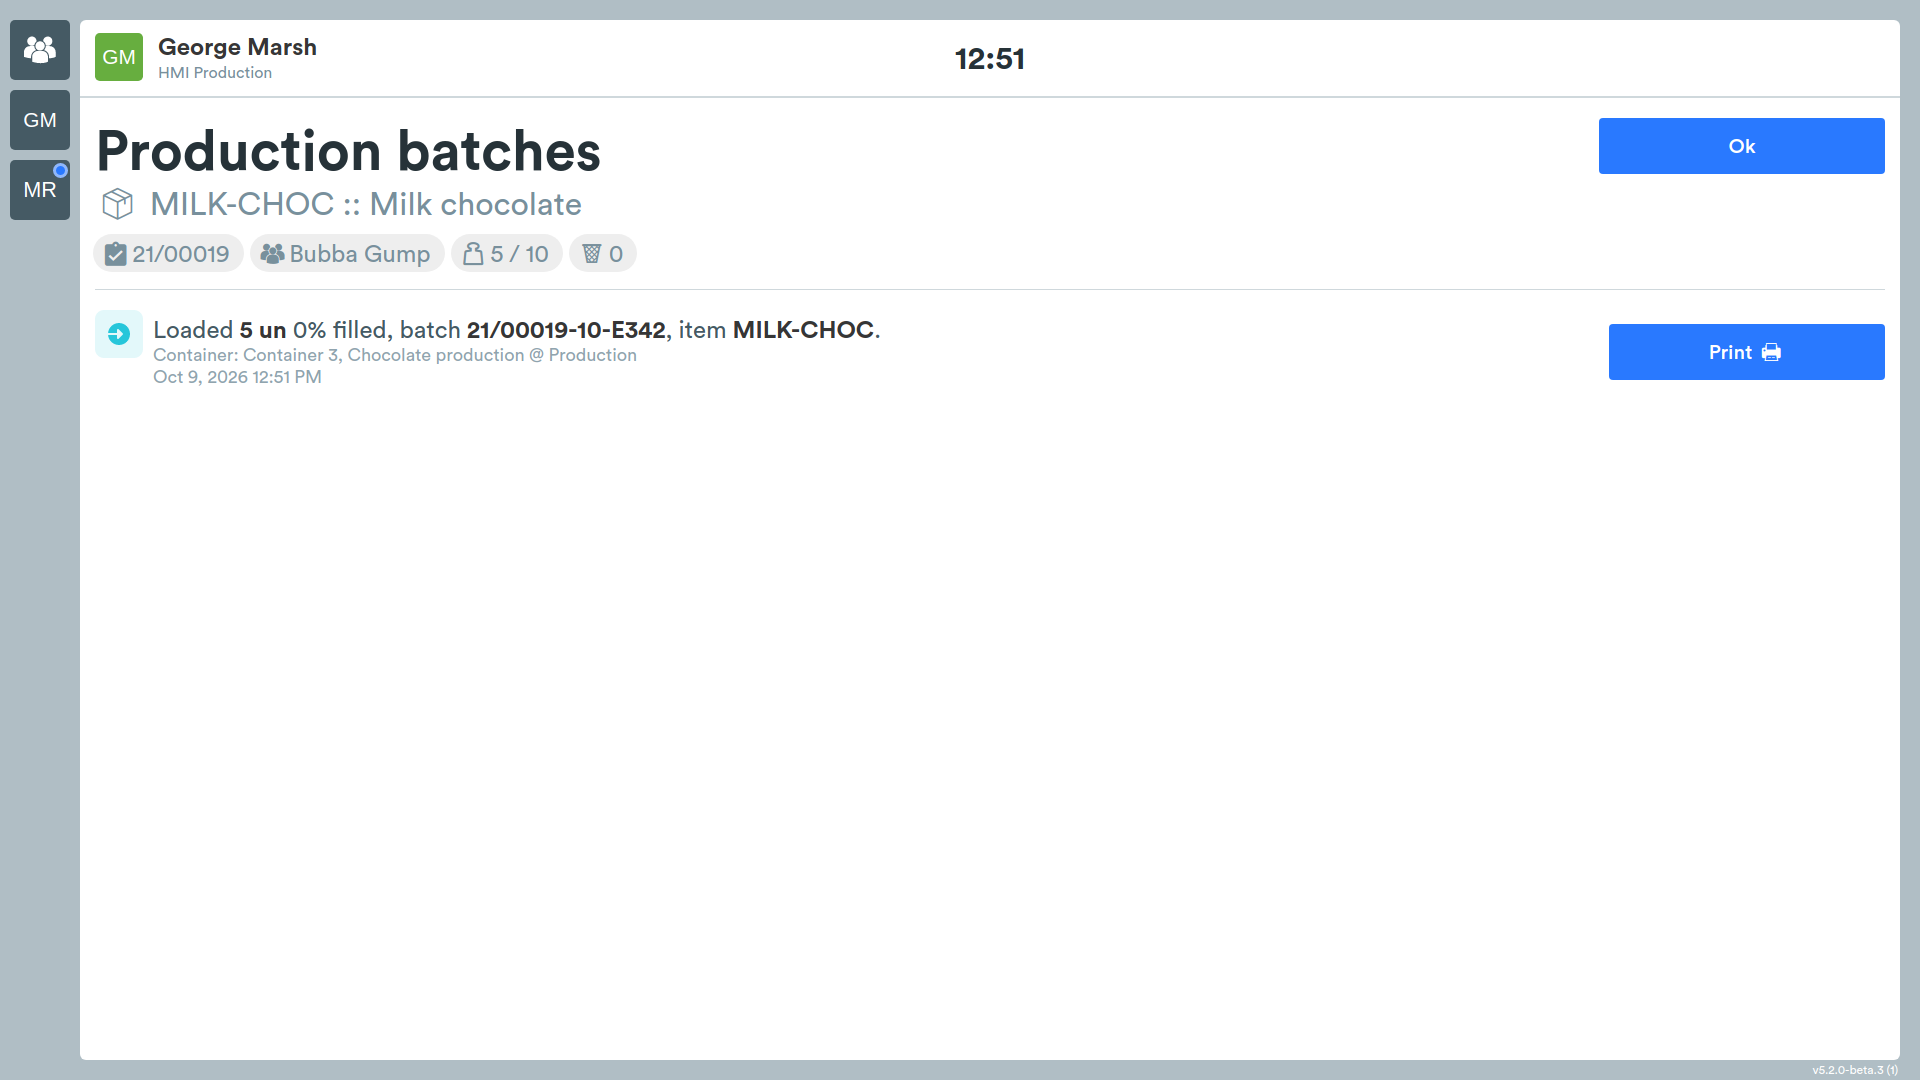
After recording, if the HMI configuration provides for it, the Production batches screen is shown with the chronological list of batches delivered for the operation. For each batch, quantity, container, batch code, item and location are indicated.
If printing is enabled, each batch features a label printing button:
- Print for batches not yet printed;
- Reprint (with the date of the last print) for batches already printed.
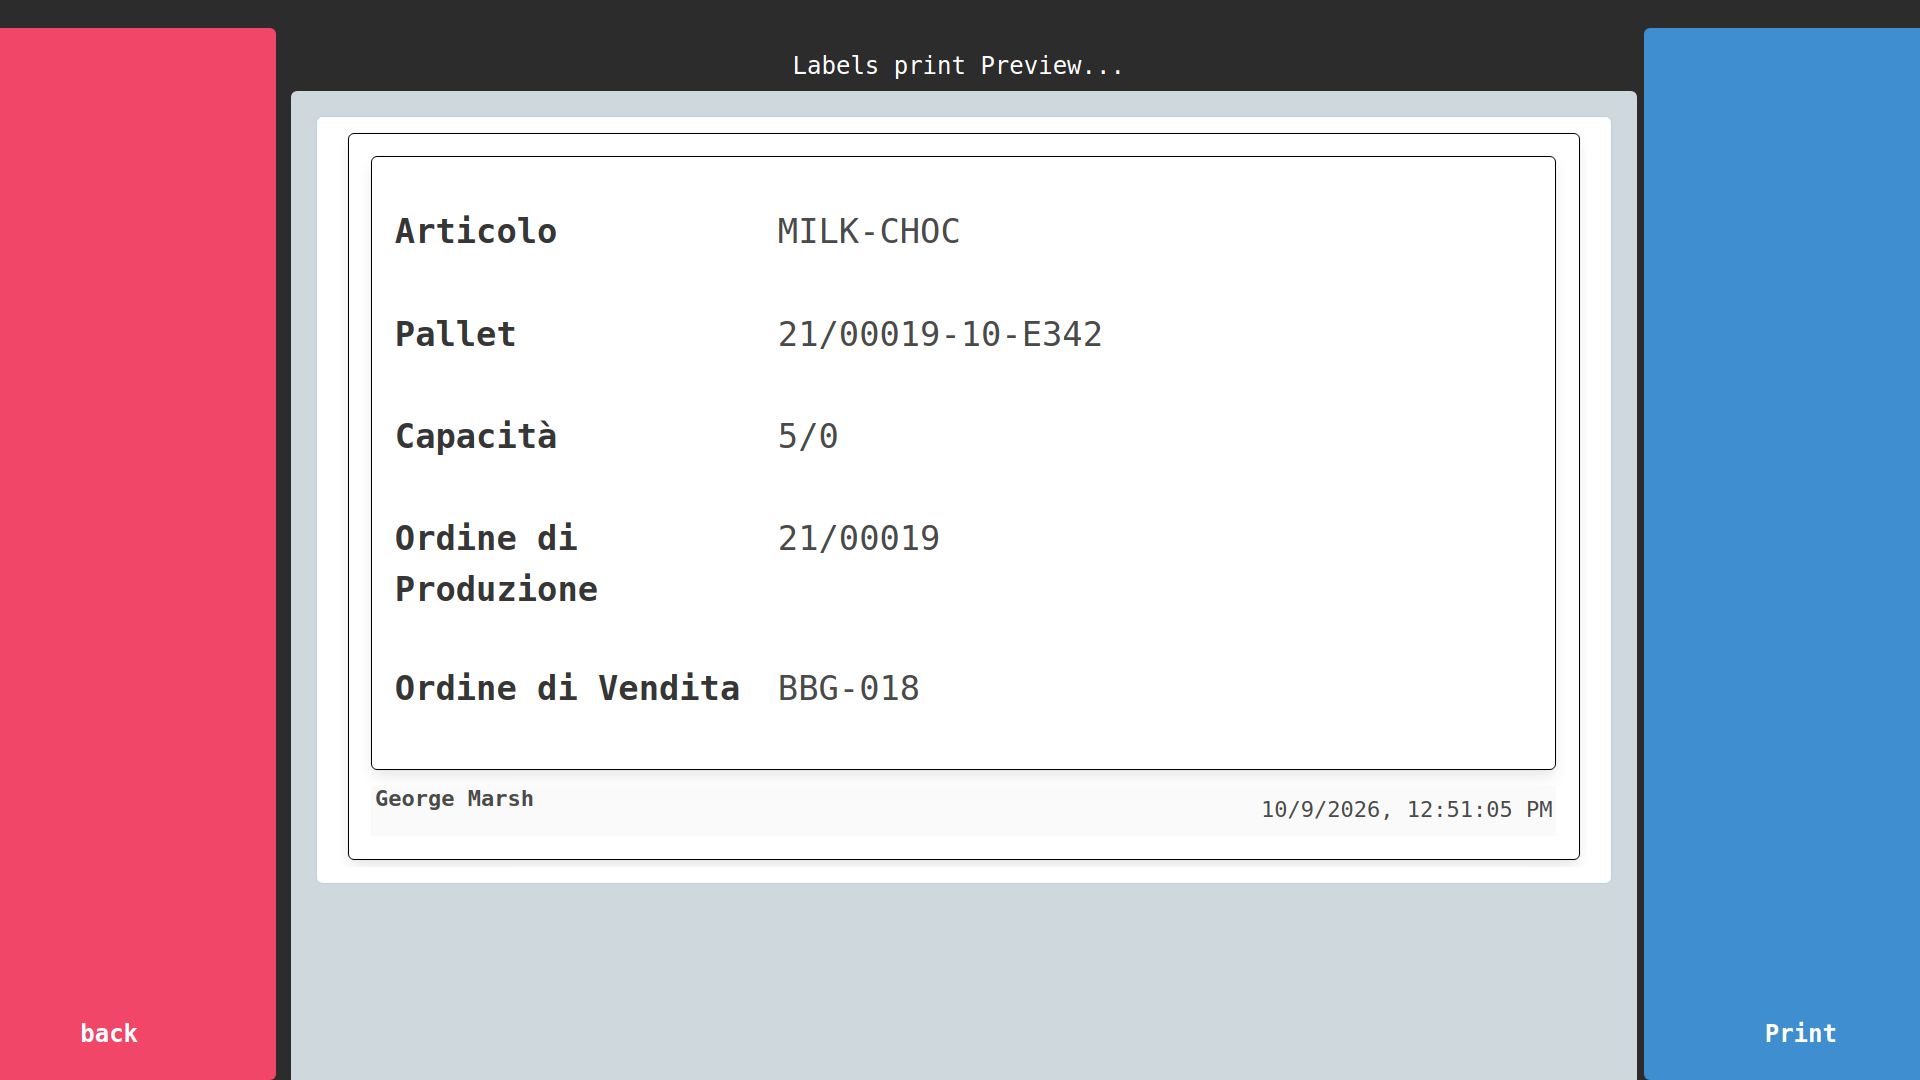
By pressing the button, a window is shown with the Print, Preview and Cancel options.
Selecting Preview allows the batch label content to be verified before sending it to print.
Press Ok to complete: the operator is returned to the Production screen (Free mode) or to the step (Workflow mode) from which they started, so that processing can continue.
Pause
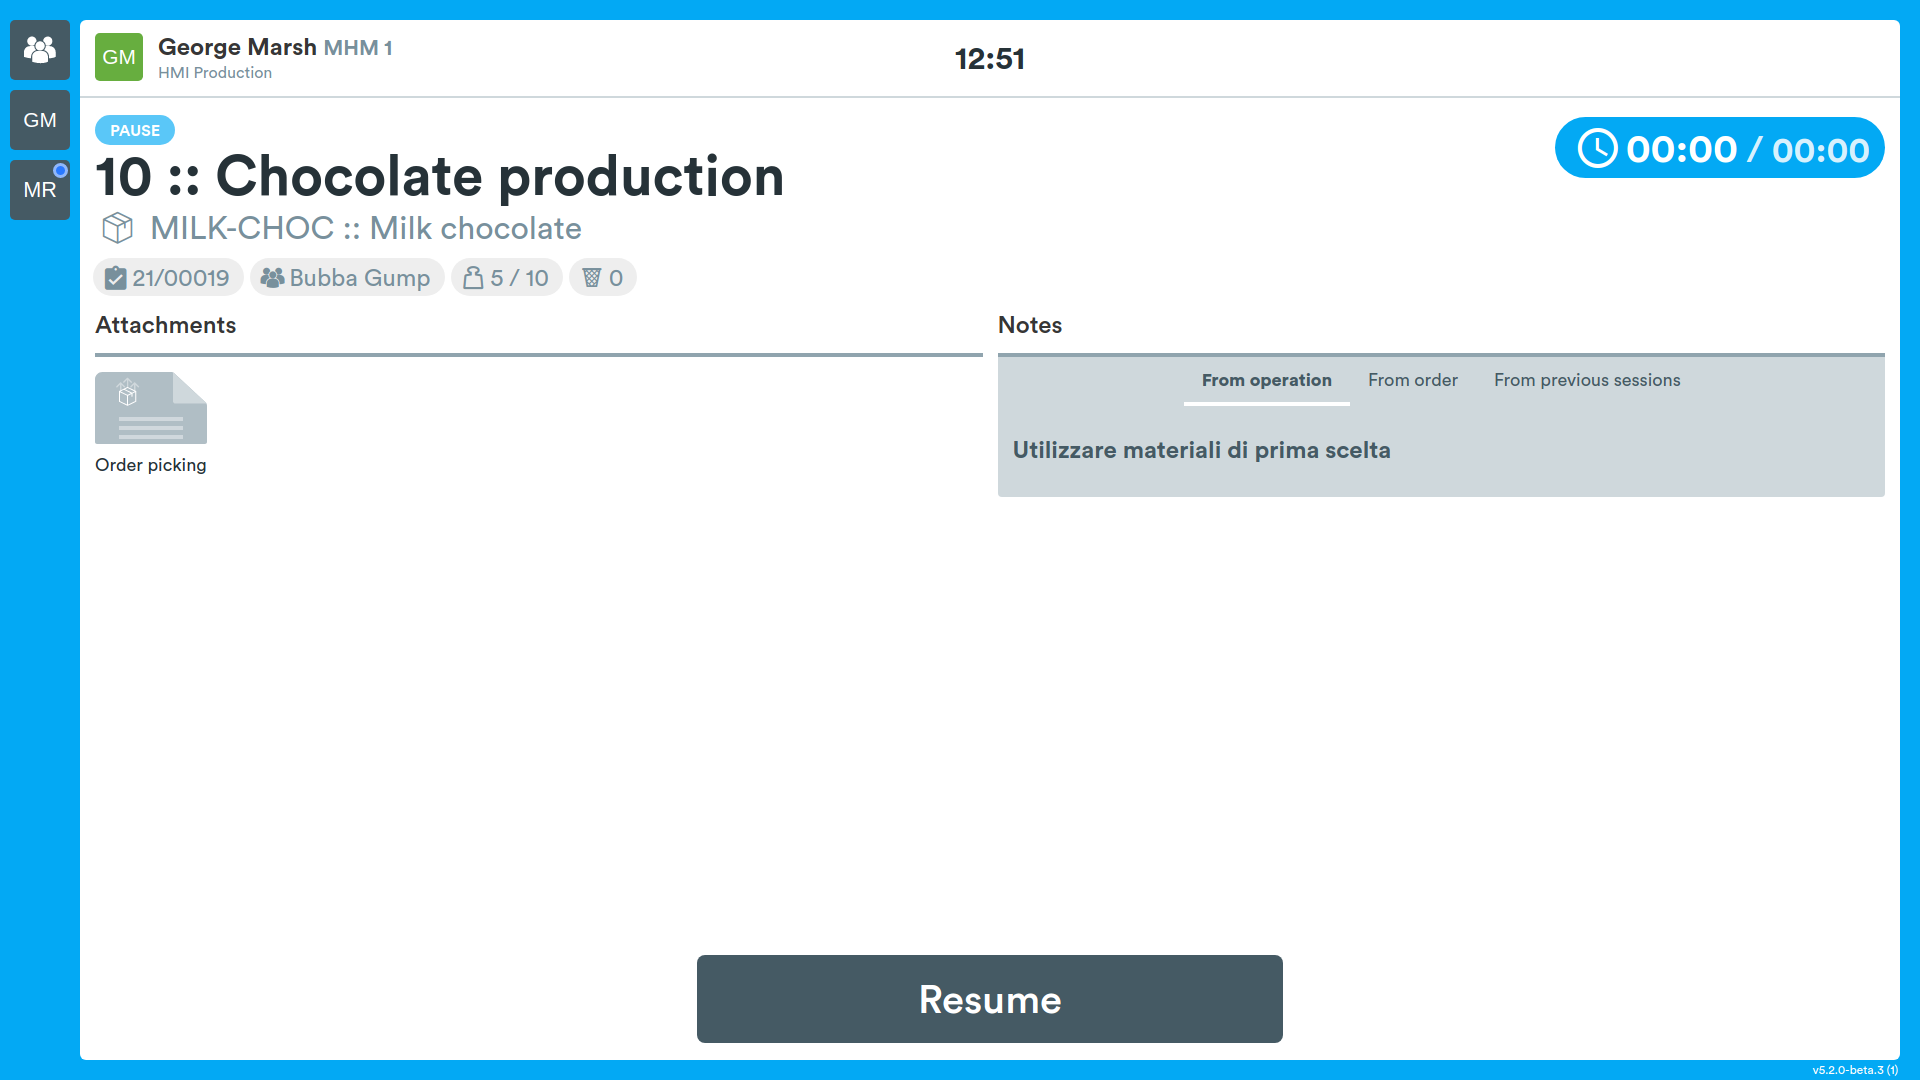
If during the work session the operator needs to temporarily interrupt their work, it is possible to signal this by pressing the Pause button located in the upper right corner of the screen of the current step.
Fault reporting
If a problem occurs during work, the operator can report it by selecting the Issue entry from the menu. The Choose fault screen will open.
On this screen the operator no longer chooses between two fixed options, but selects the fault from a list of fault types that can be configured by the manager. Each fault type is shown with an icon indicating its severity (low, medium, high, critical).
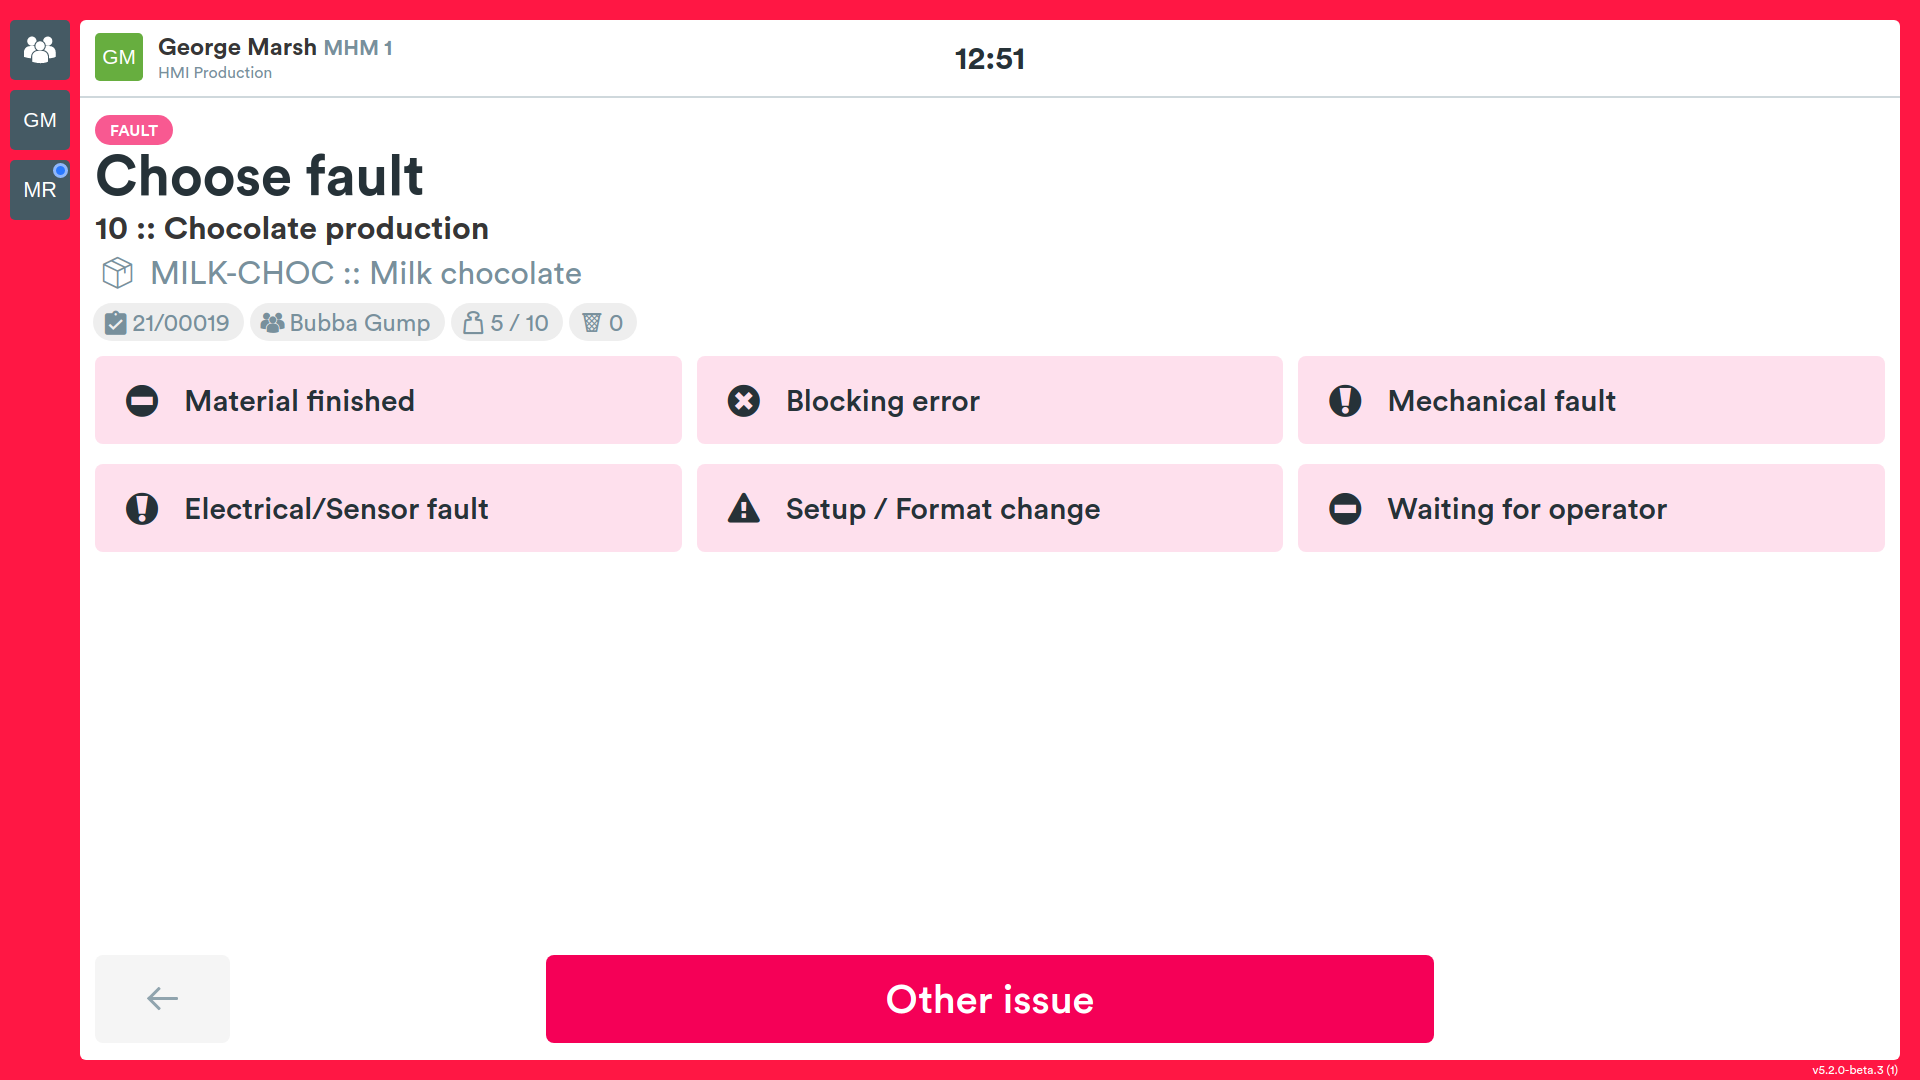
If the fault encountered is not in the list, press the Other issue button to describe it freely.
After choosing the fault type, the operator is asked whether they can resolve it on their own or need help. The selected fault type and its severity are recorded together with the report and shown to the manager.
Information
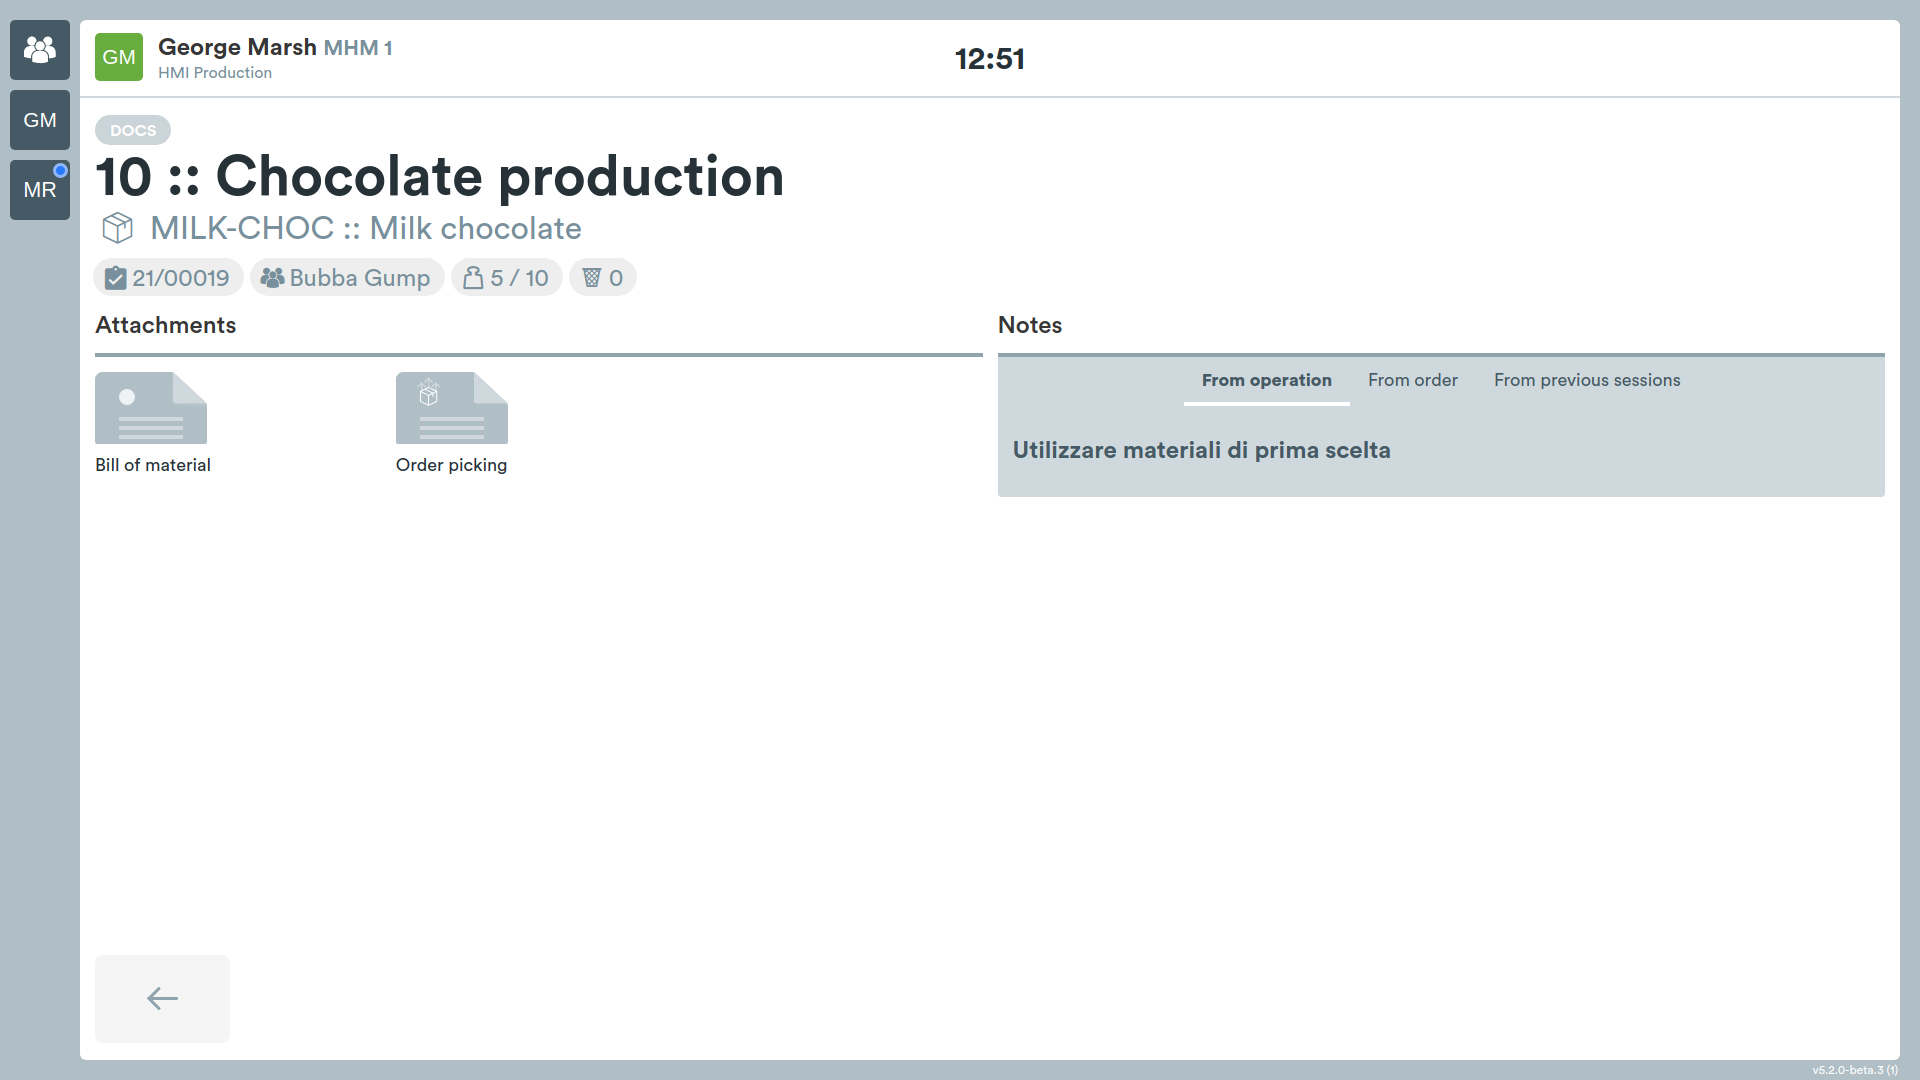
By pressing the Documents button, it is possible to view all documents attached to the operation and various steps. Press on the one of interest to open and read it.
Containers
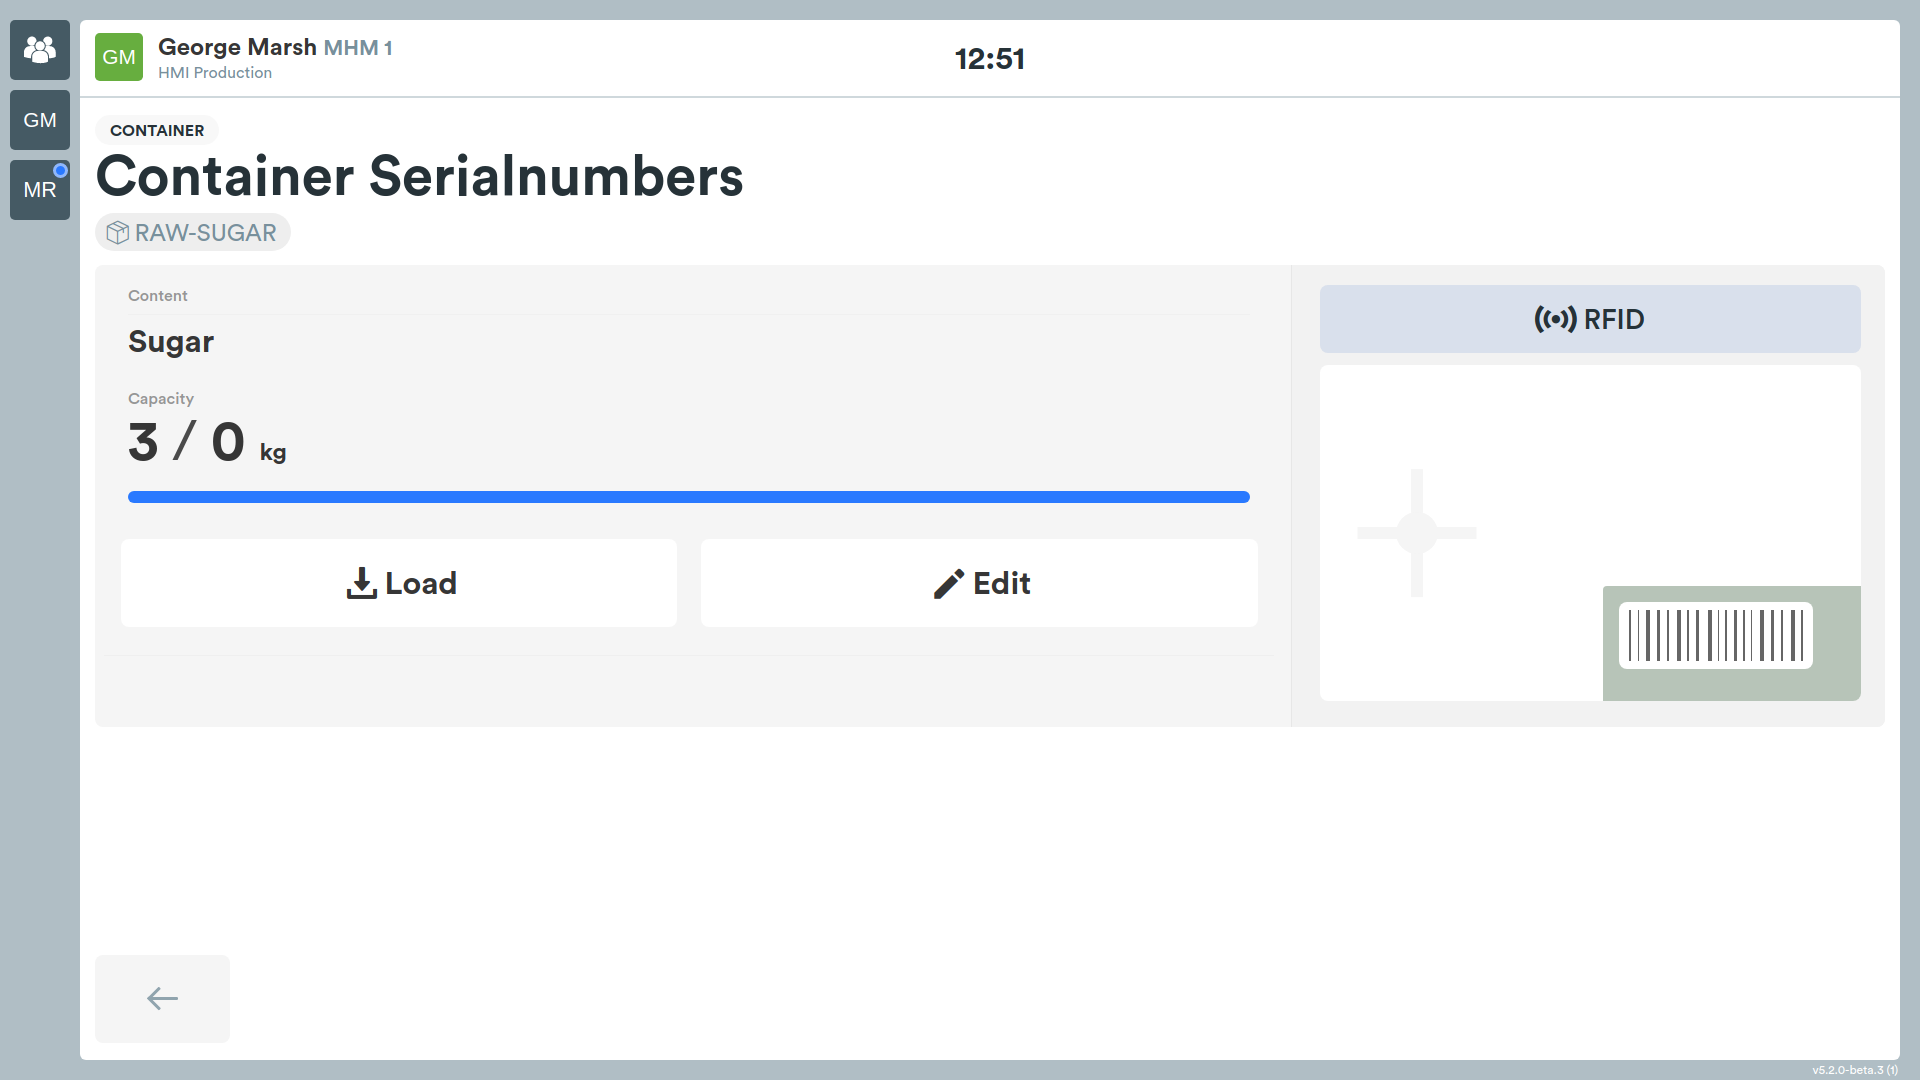
The Containers button will allow you to modify the contents of the containers connected to the station used.
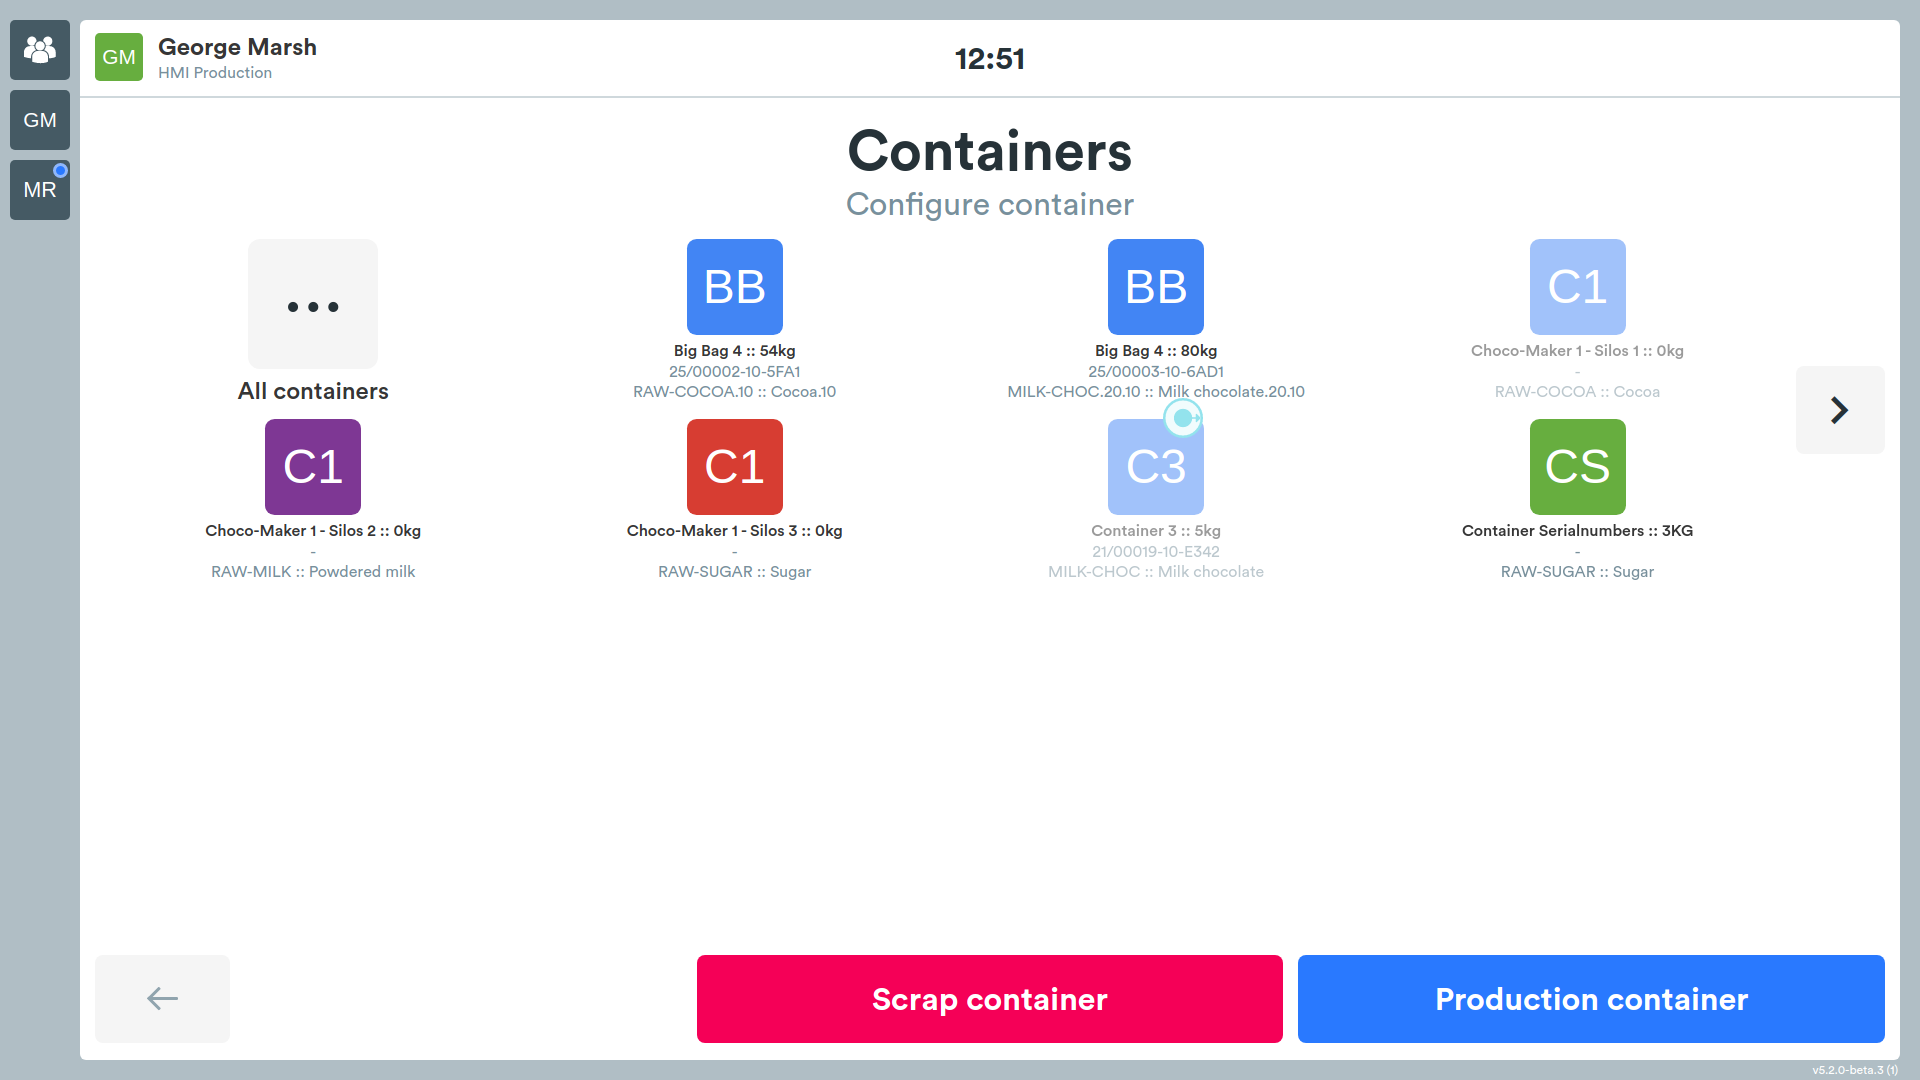
The possible actions are as follows:
- select the container for scrap (button Scrap container)
- select the container for produced units (button Output container)
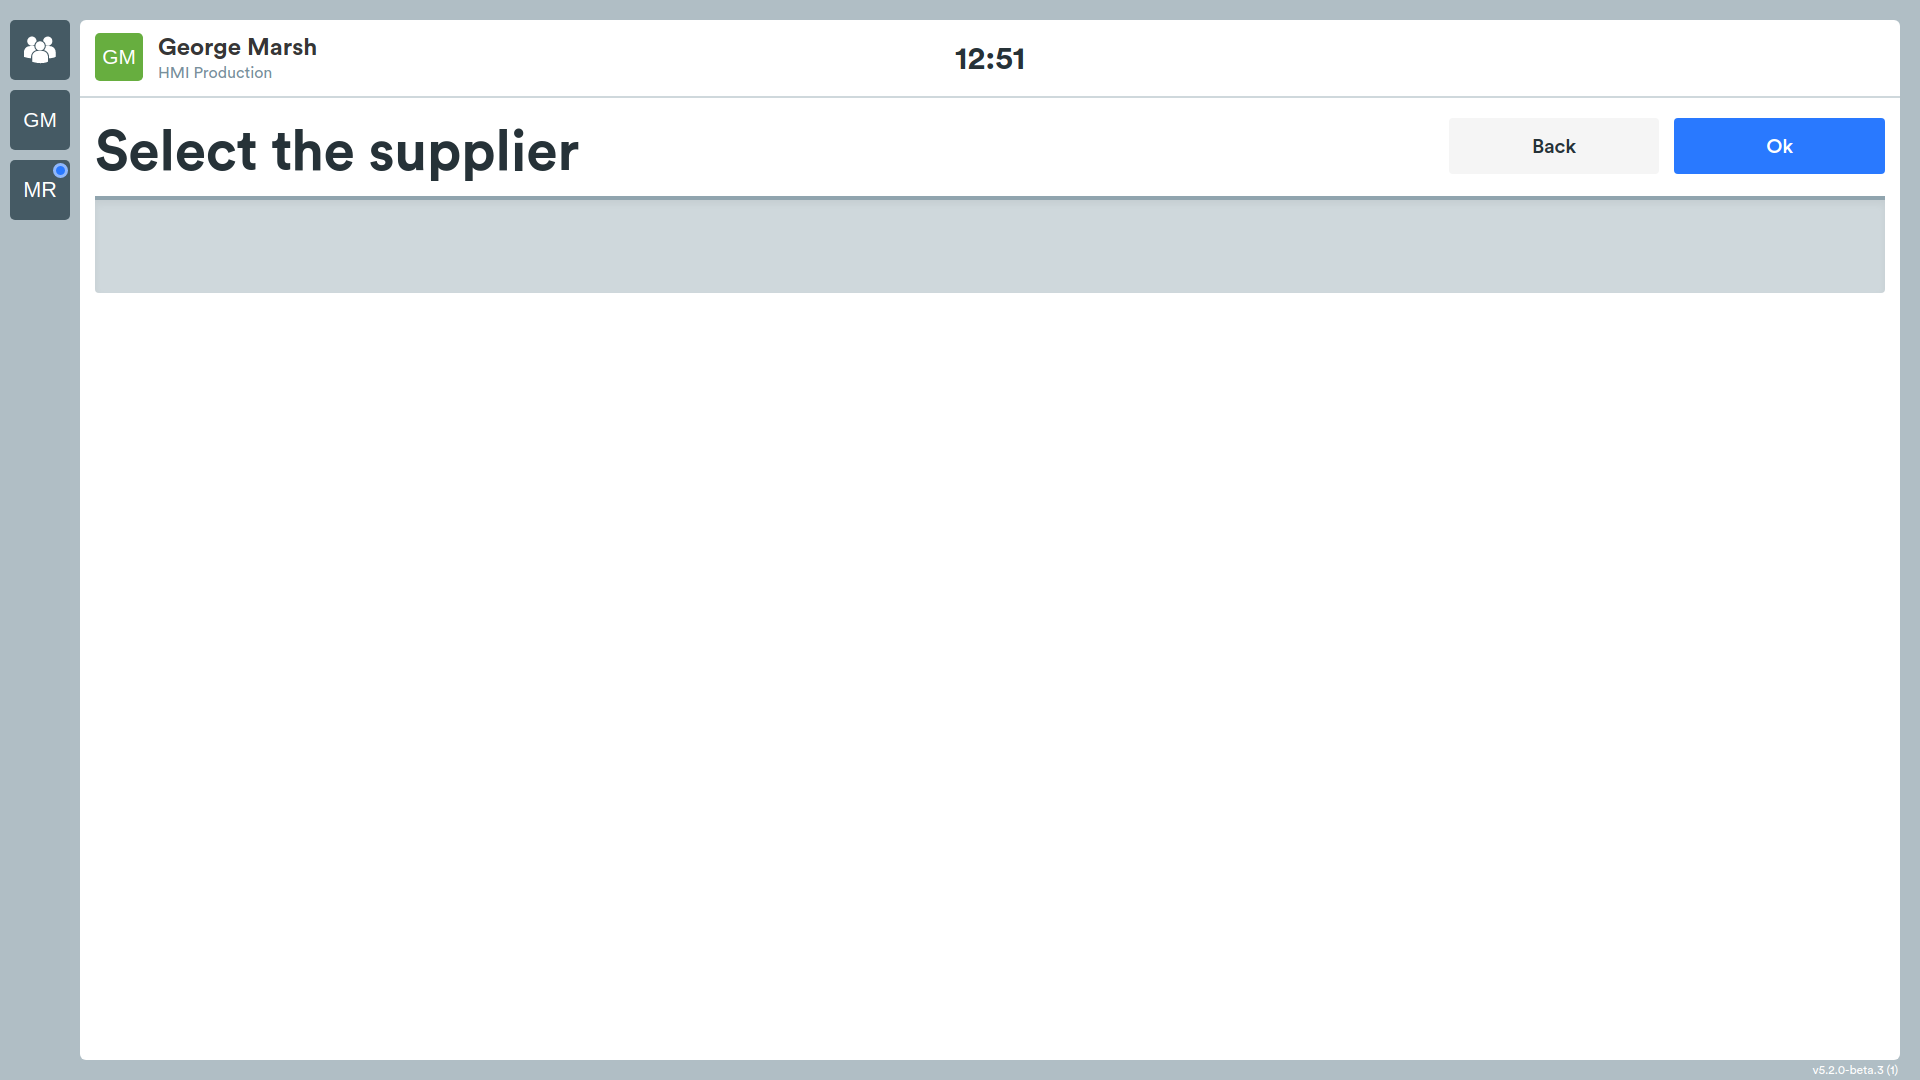
- correct container data (item, batch, quantity, supplier)
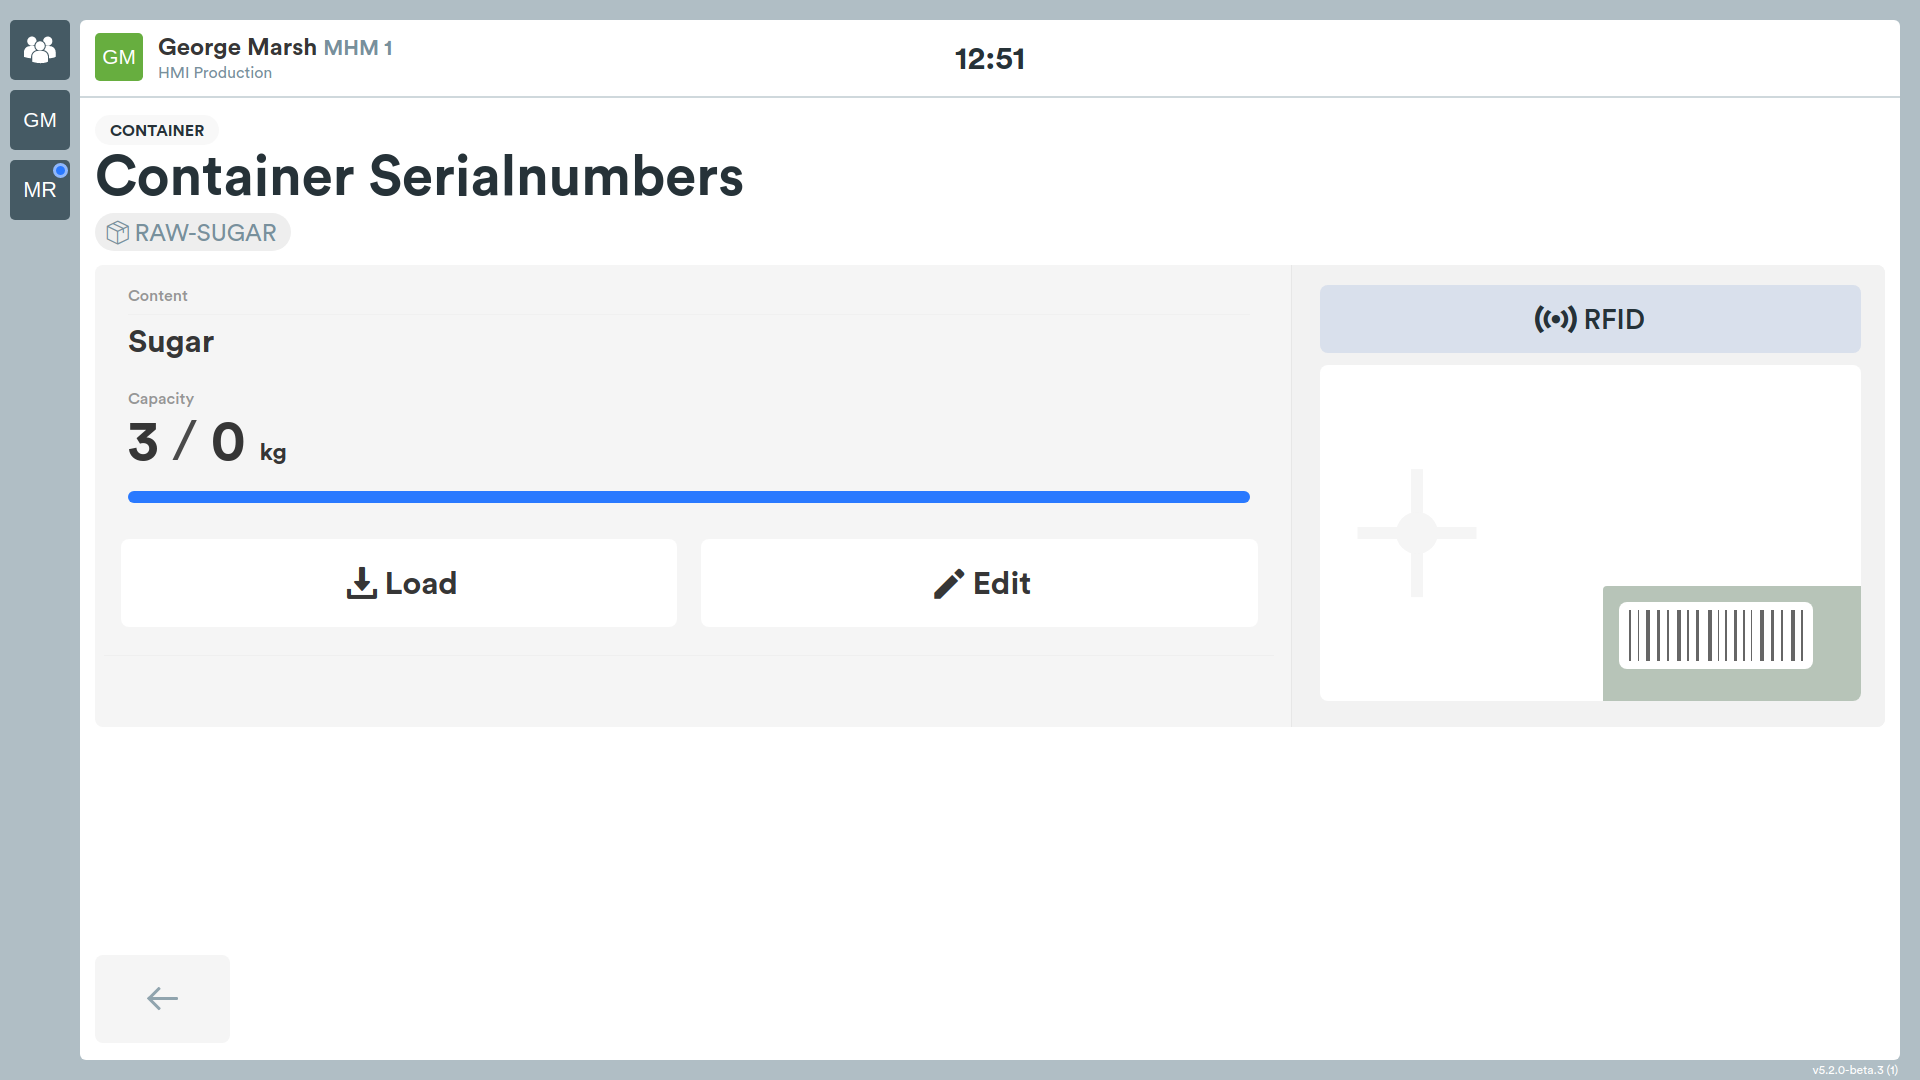
Batch expiration
For each container whose batch has an expiration date, an Expiration tag is shown below the batch code, displaying the expiration date and the number of days remaining until it is reached.
The tag changes color according to the batch status:
- green: the batch is valid
- yellow: the expiration is near (within the warning days configured for the batch)
- red: the batch has expired
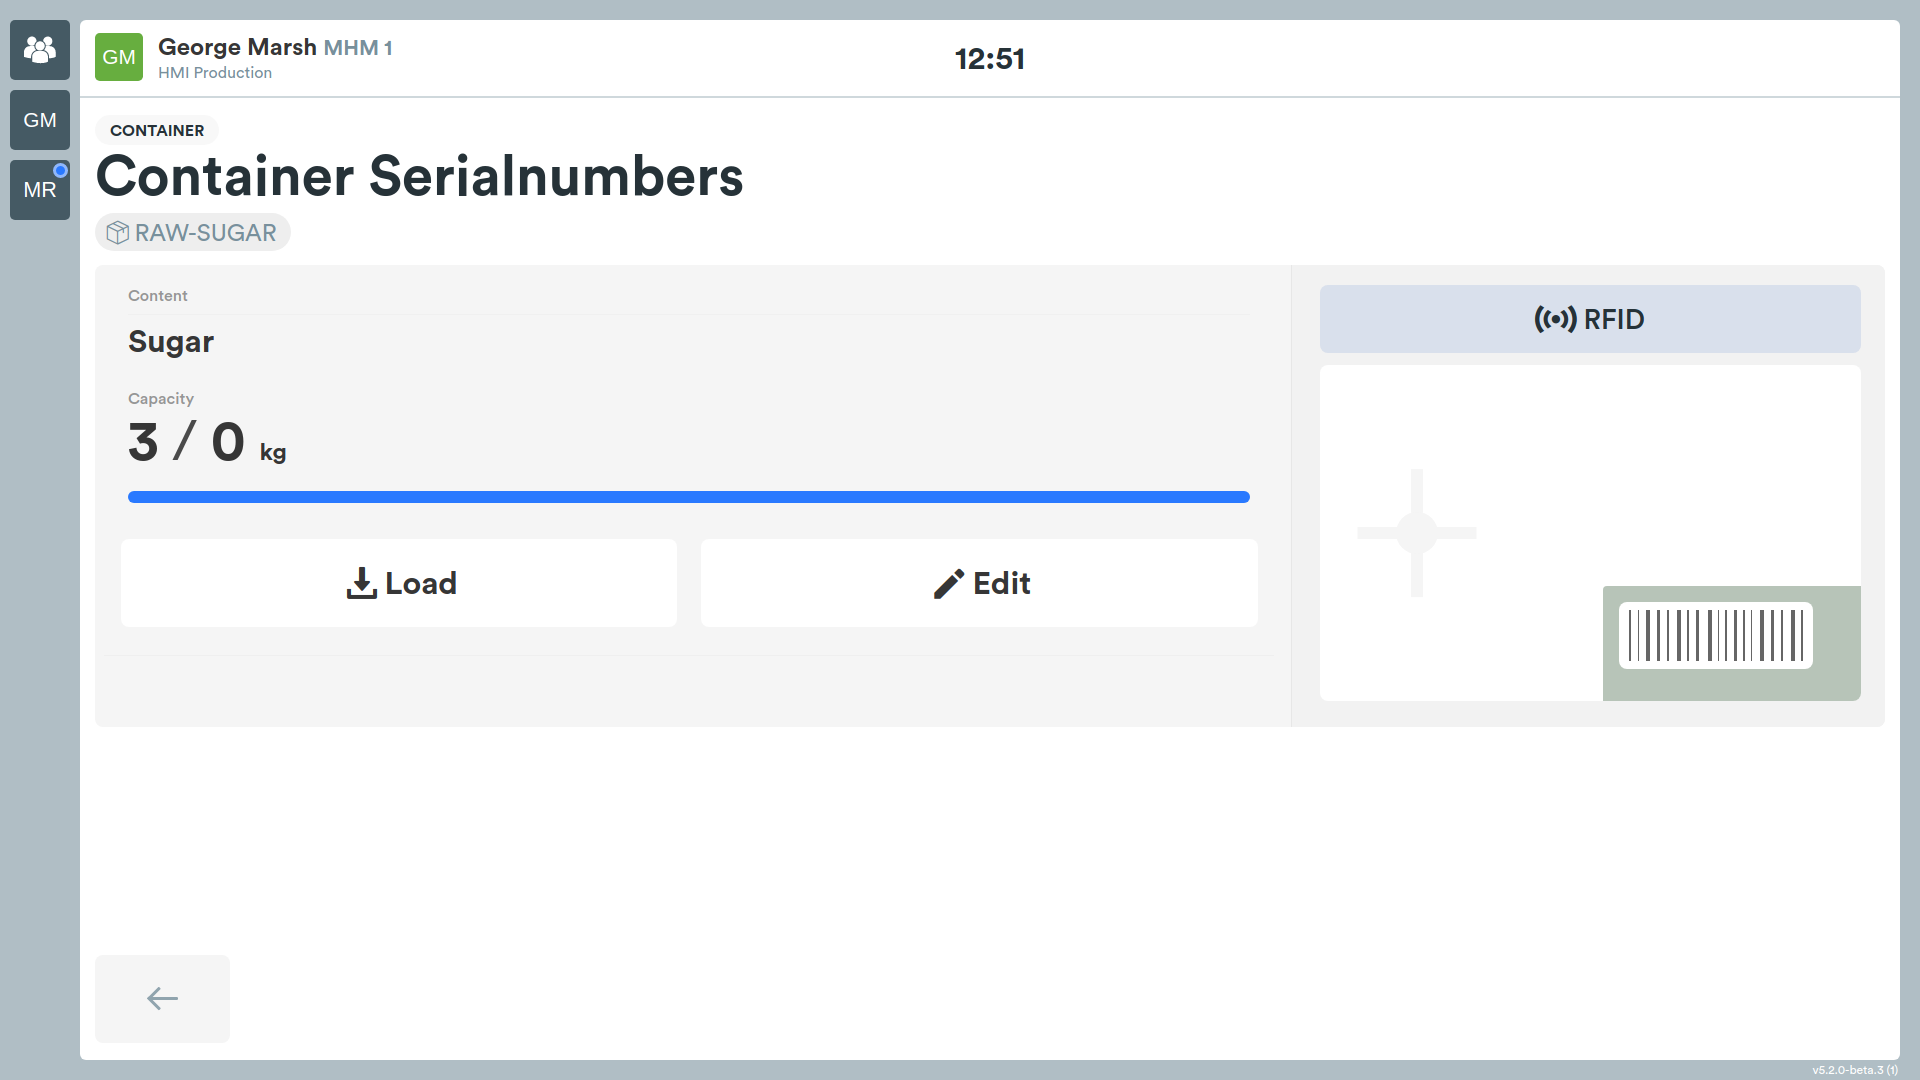
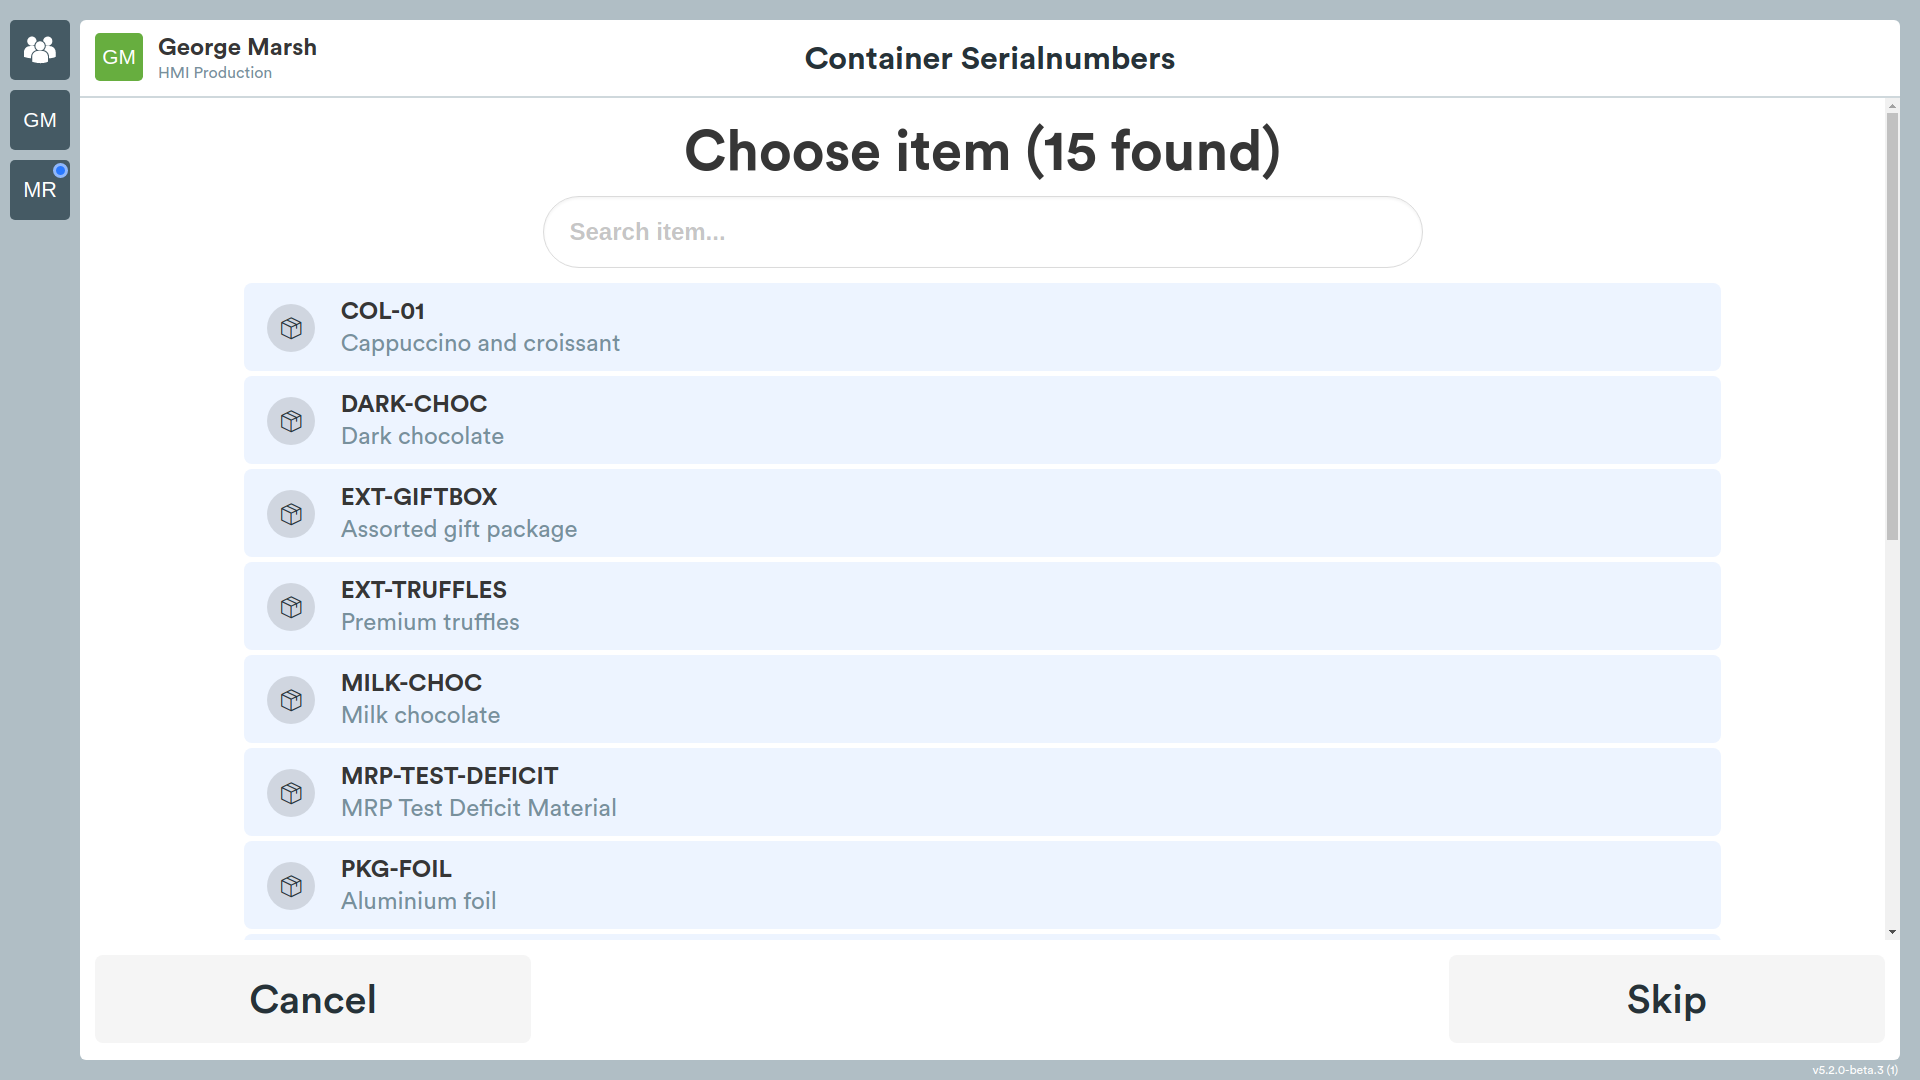
Item
Click on Edit -> Item to modify the item contained by the container.
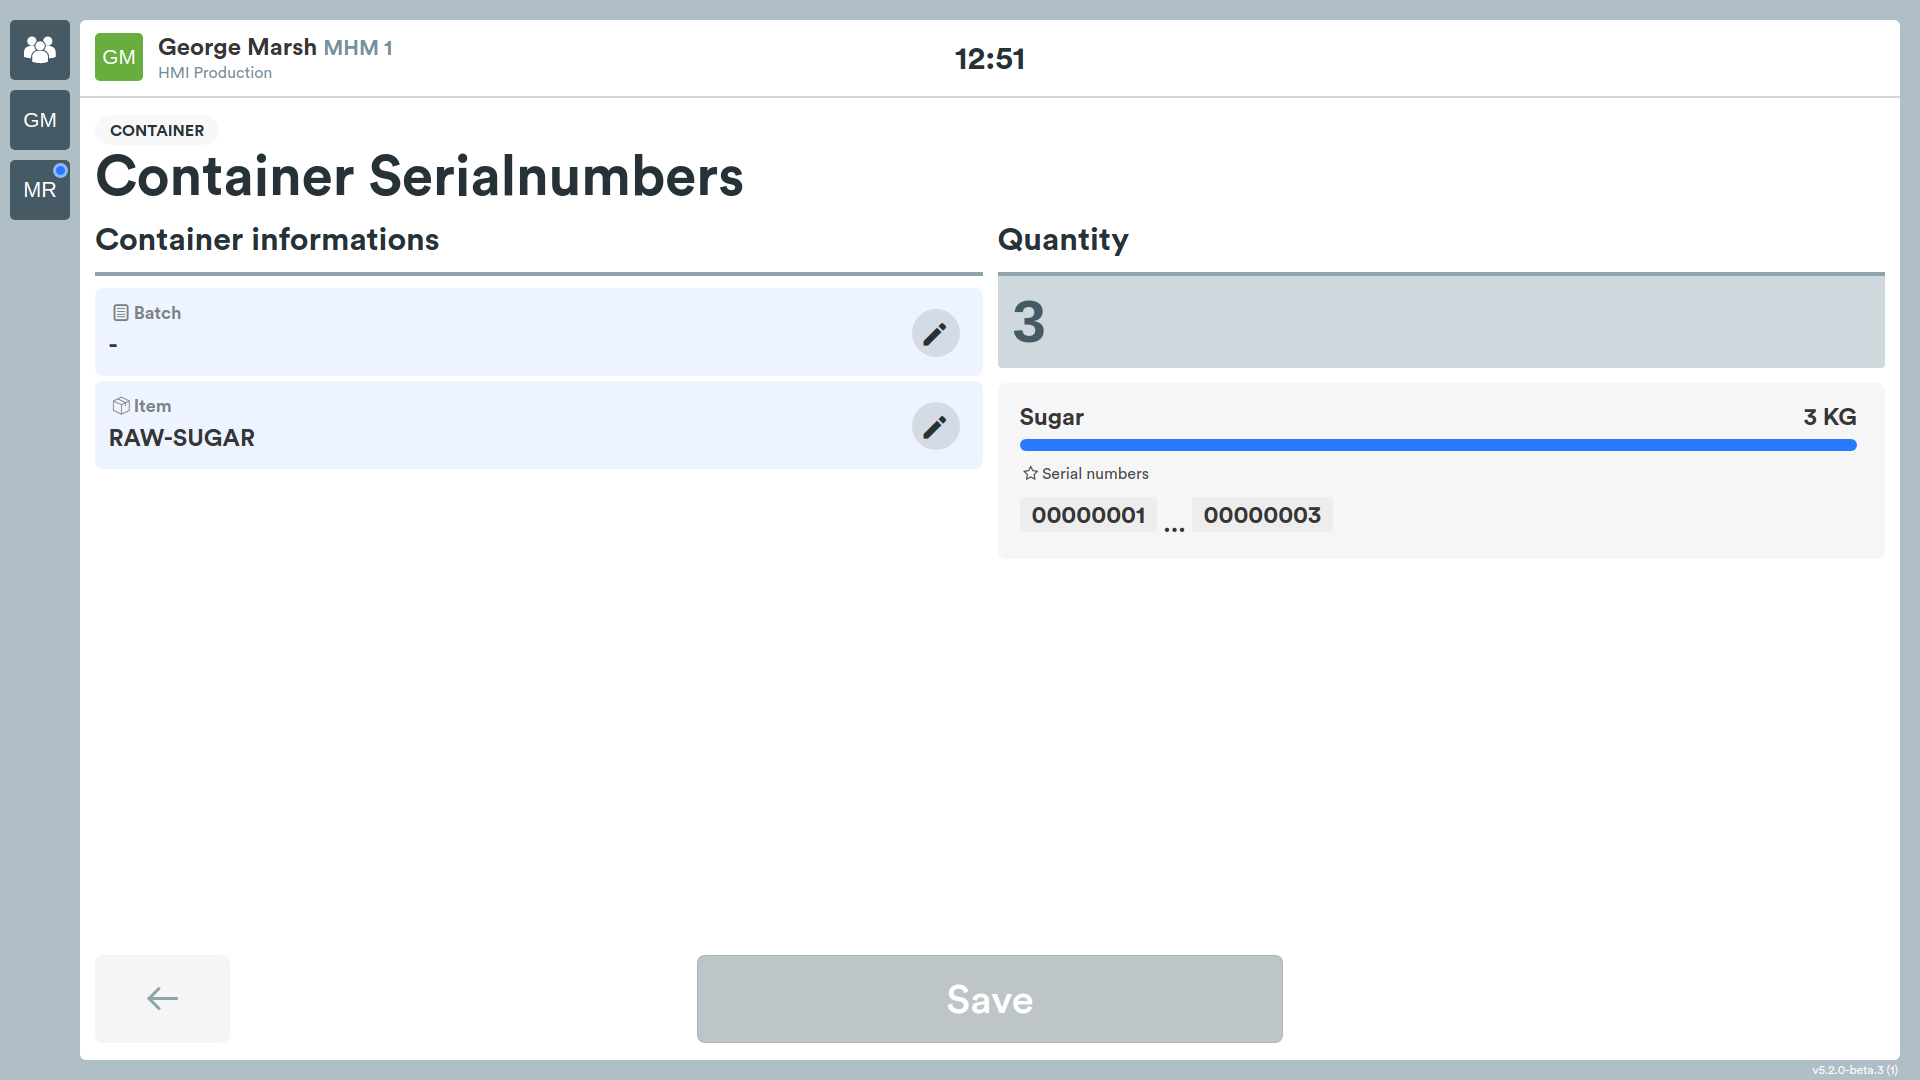
Batch
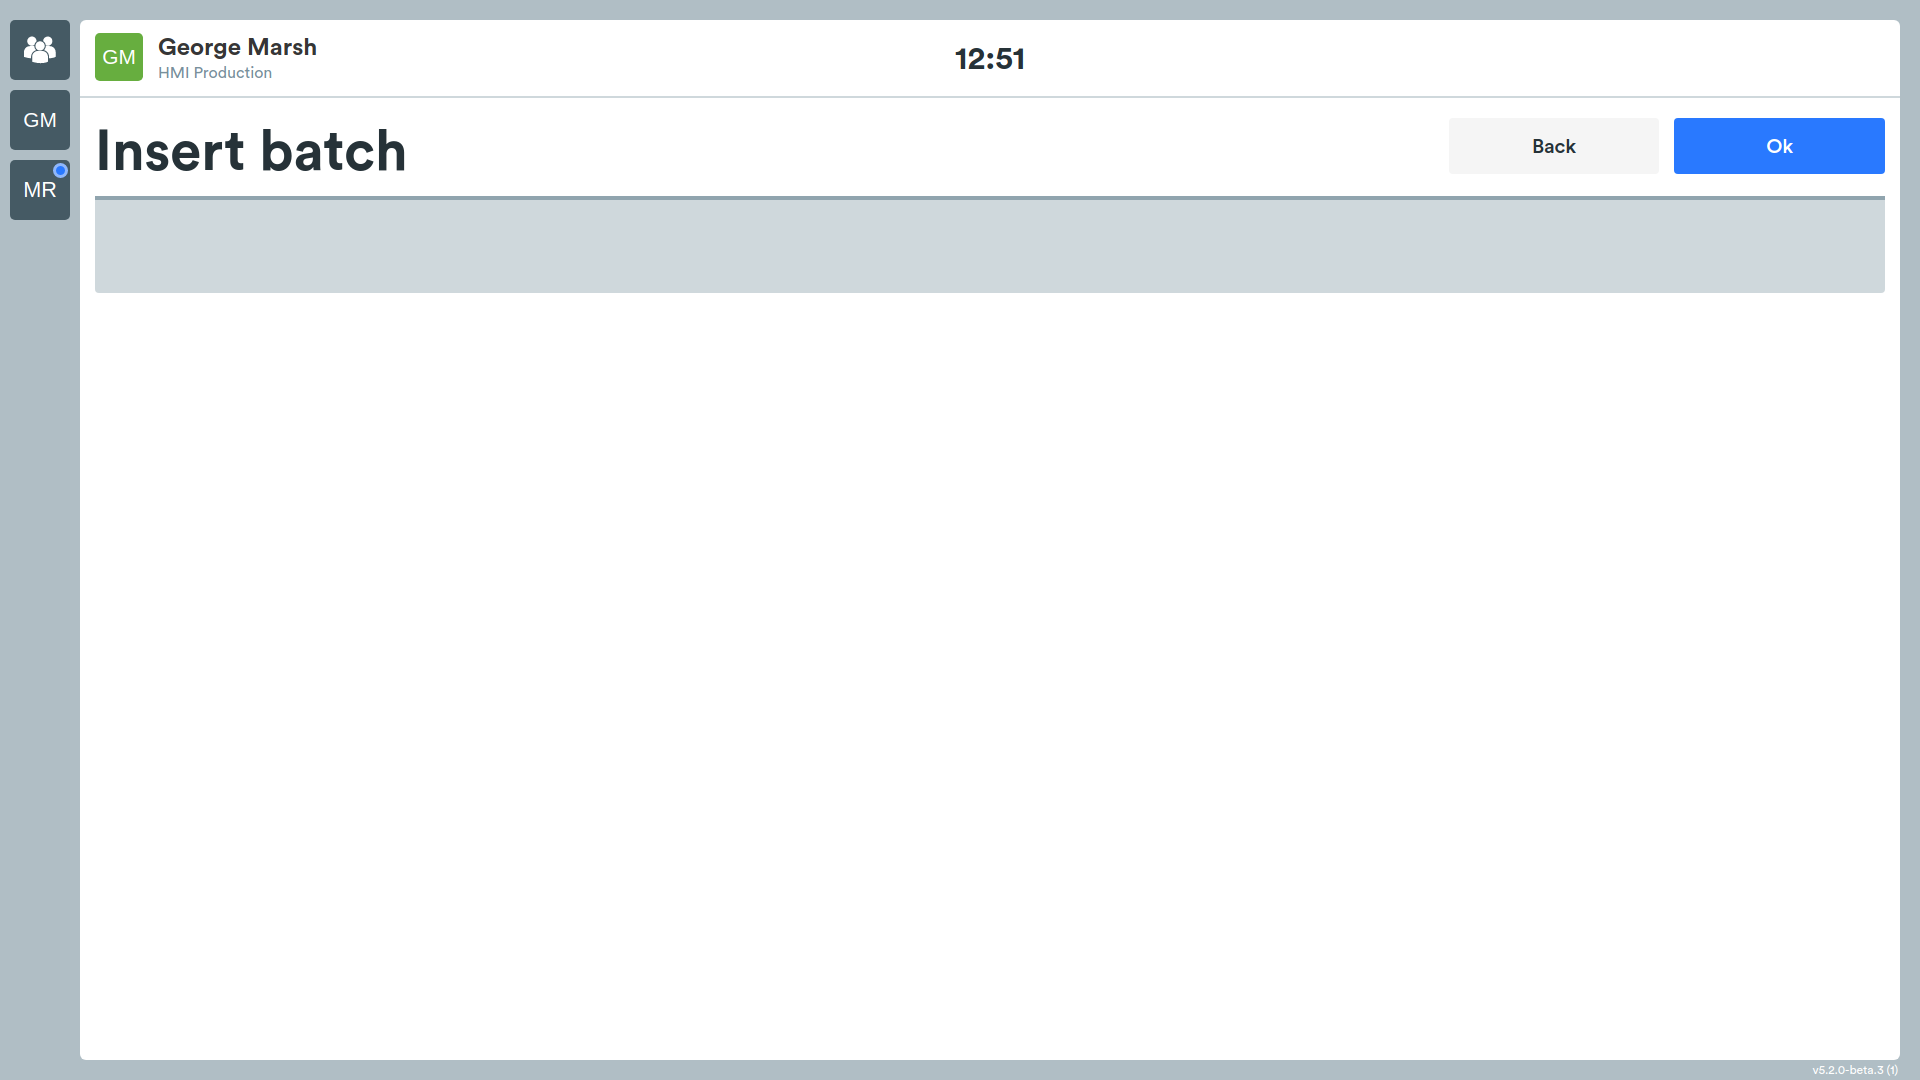
To change the batch, press on Batch and follow the on-screen instructions.
Quantity
To change the quantity, click on Quantity and set it (don't forget to press Save).
Load Material
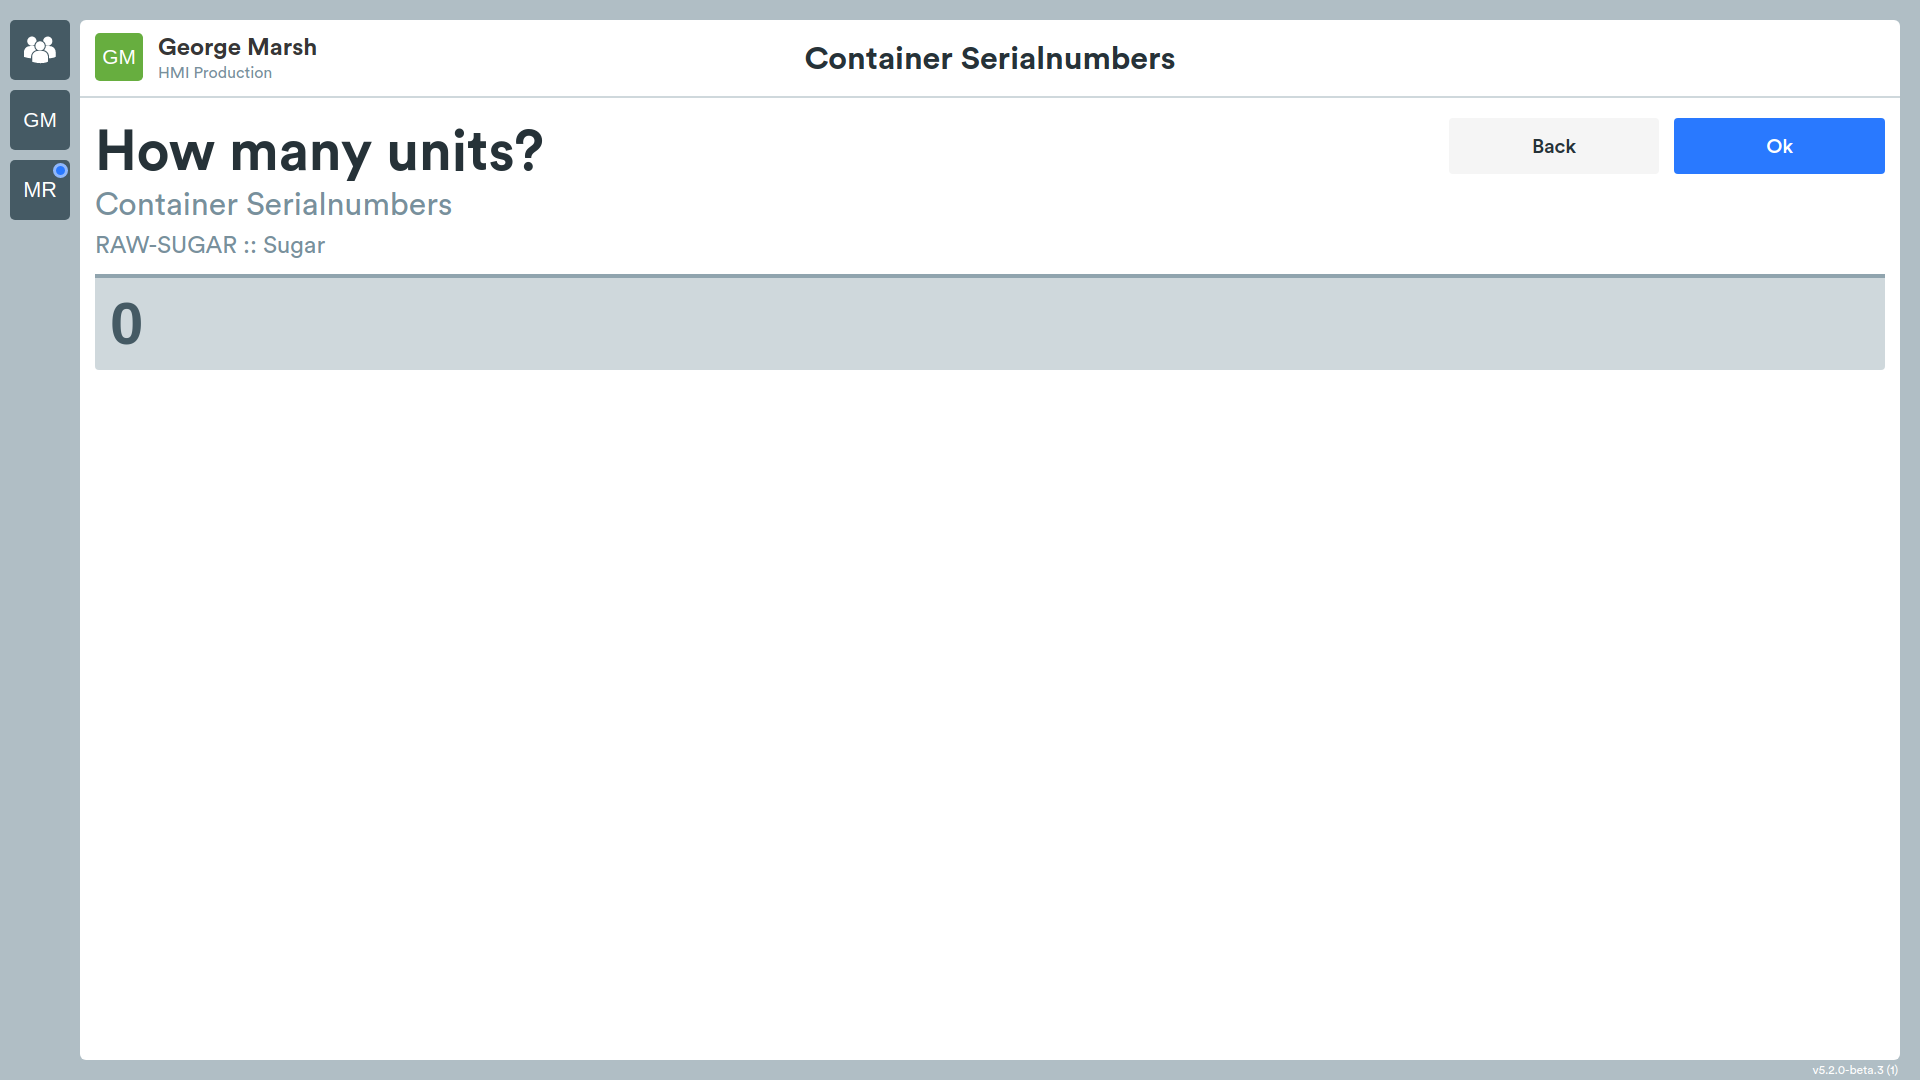
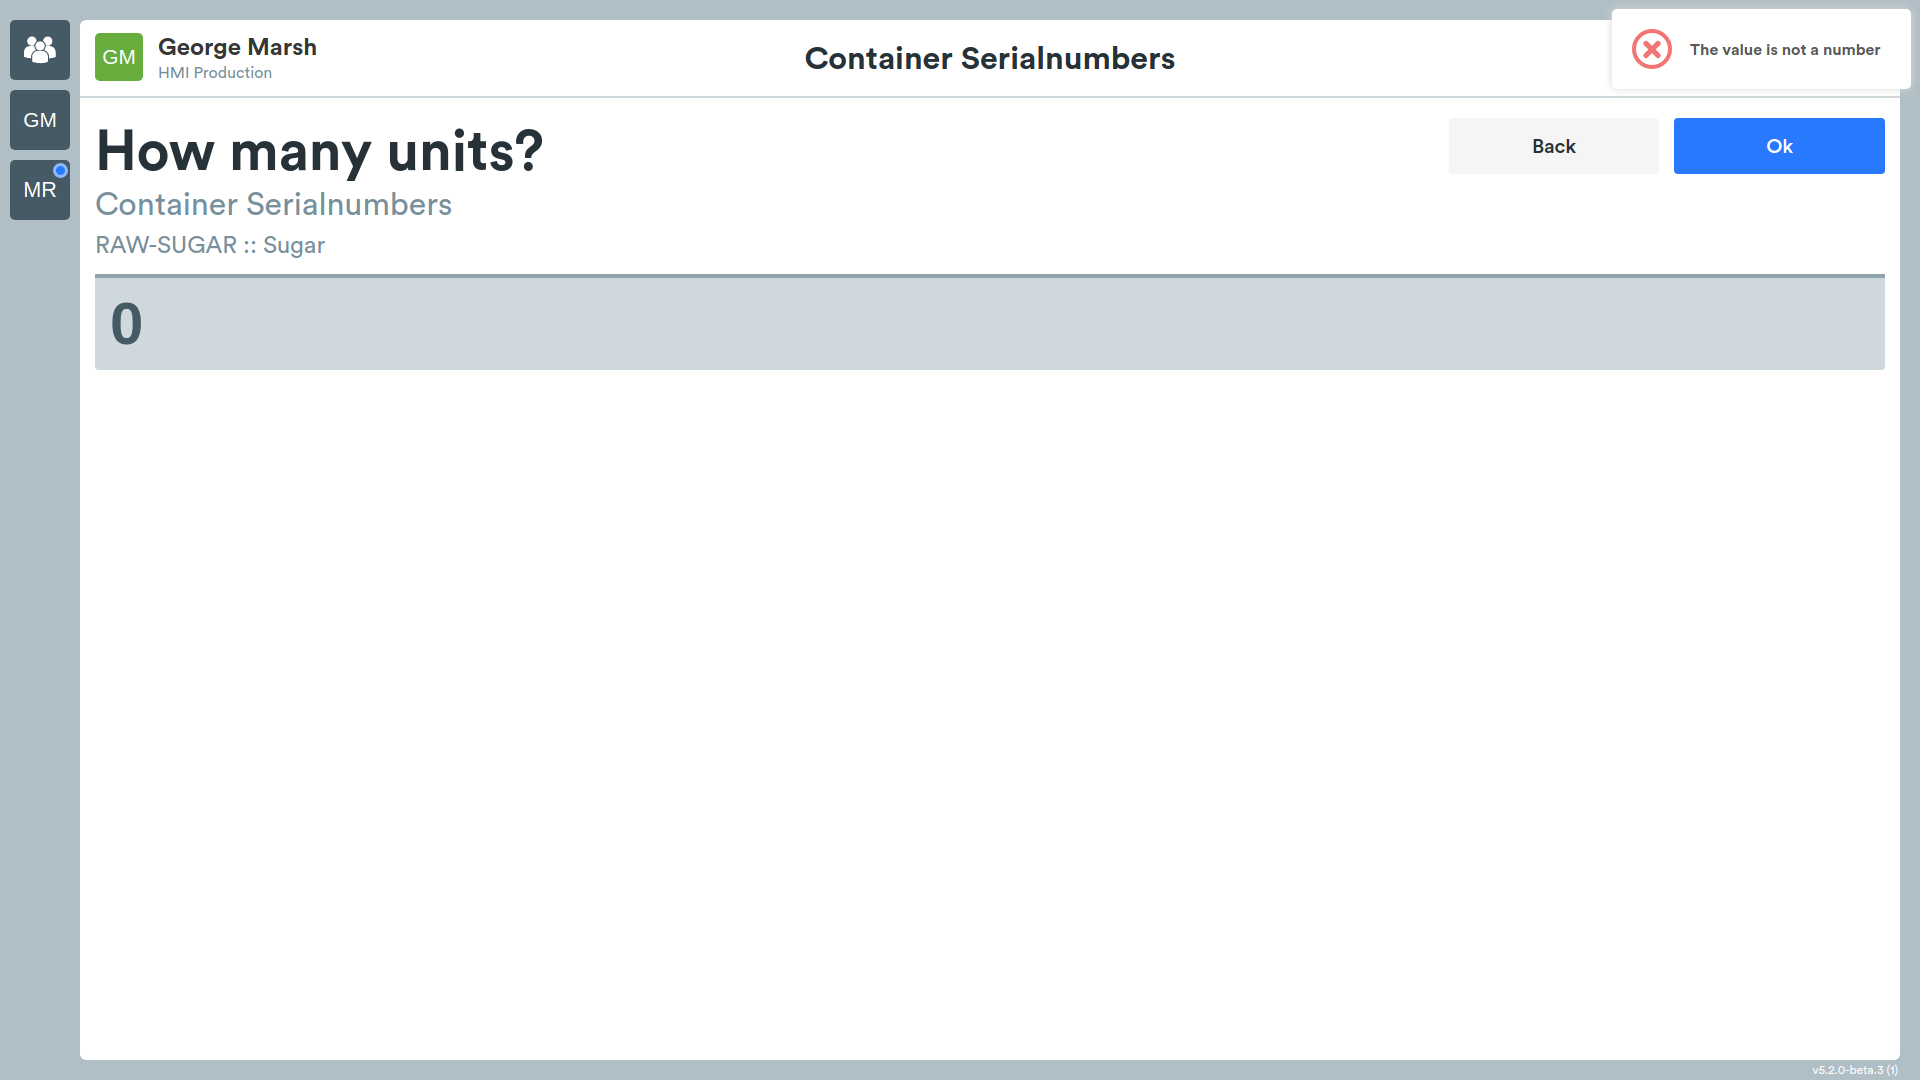
Press the Load button and follow the on-screen instructions.
The following information will be requested:
- units to load;
- scrap;
- notes.
Inventory Monitoring
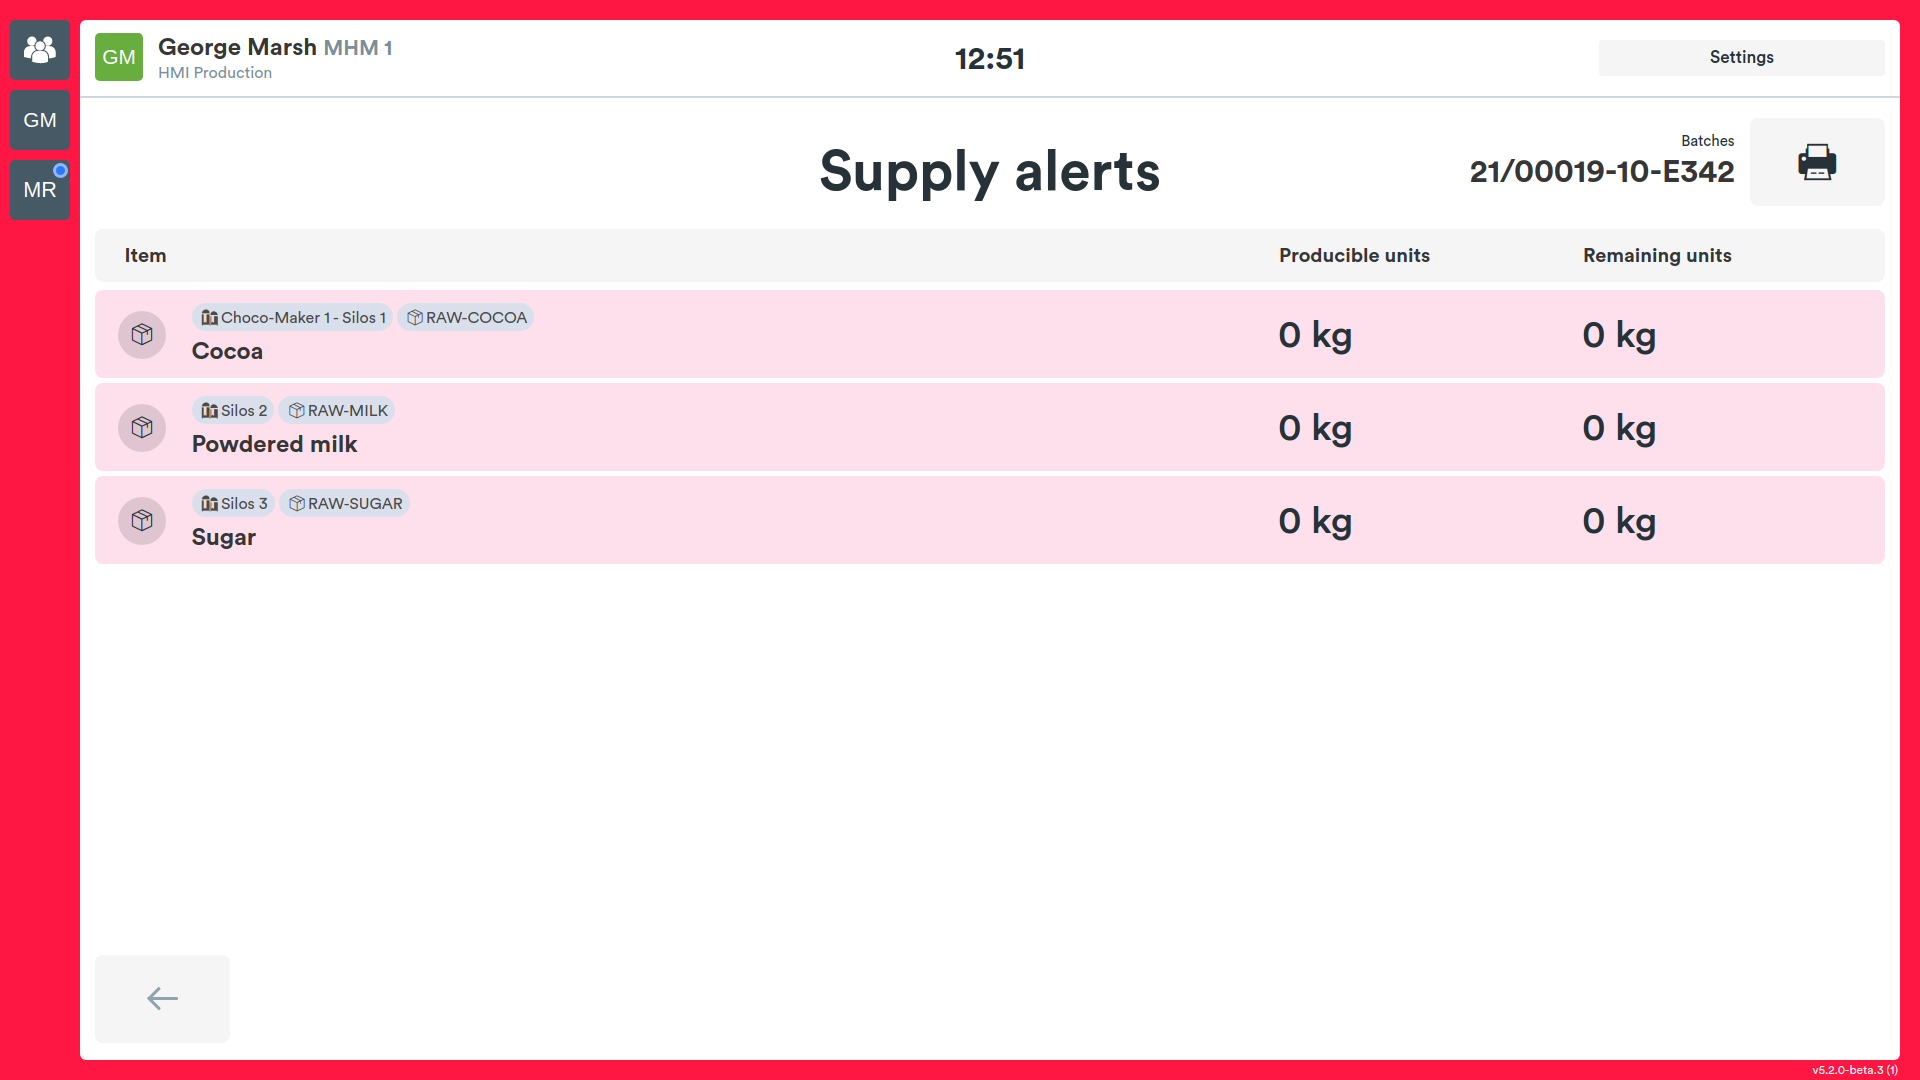
By pressing Inventory monitoring, it will be possible to view the remaining materials related to the picking list.
In this screen you will see the current material consumption, containers with stock below the threshold will be presented in red.
By pressing on one of the elements, it will be possible to manage the content of the connected container (see section Containers).
Settings
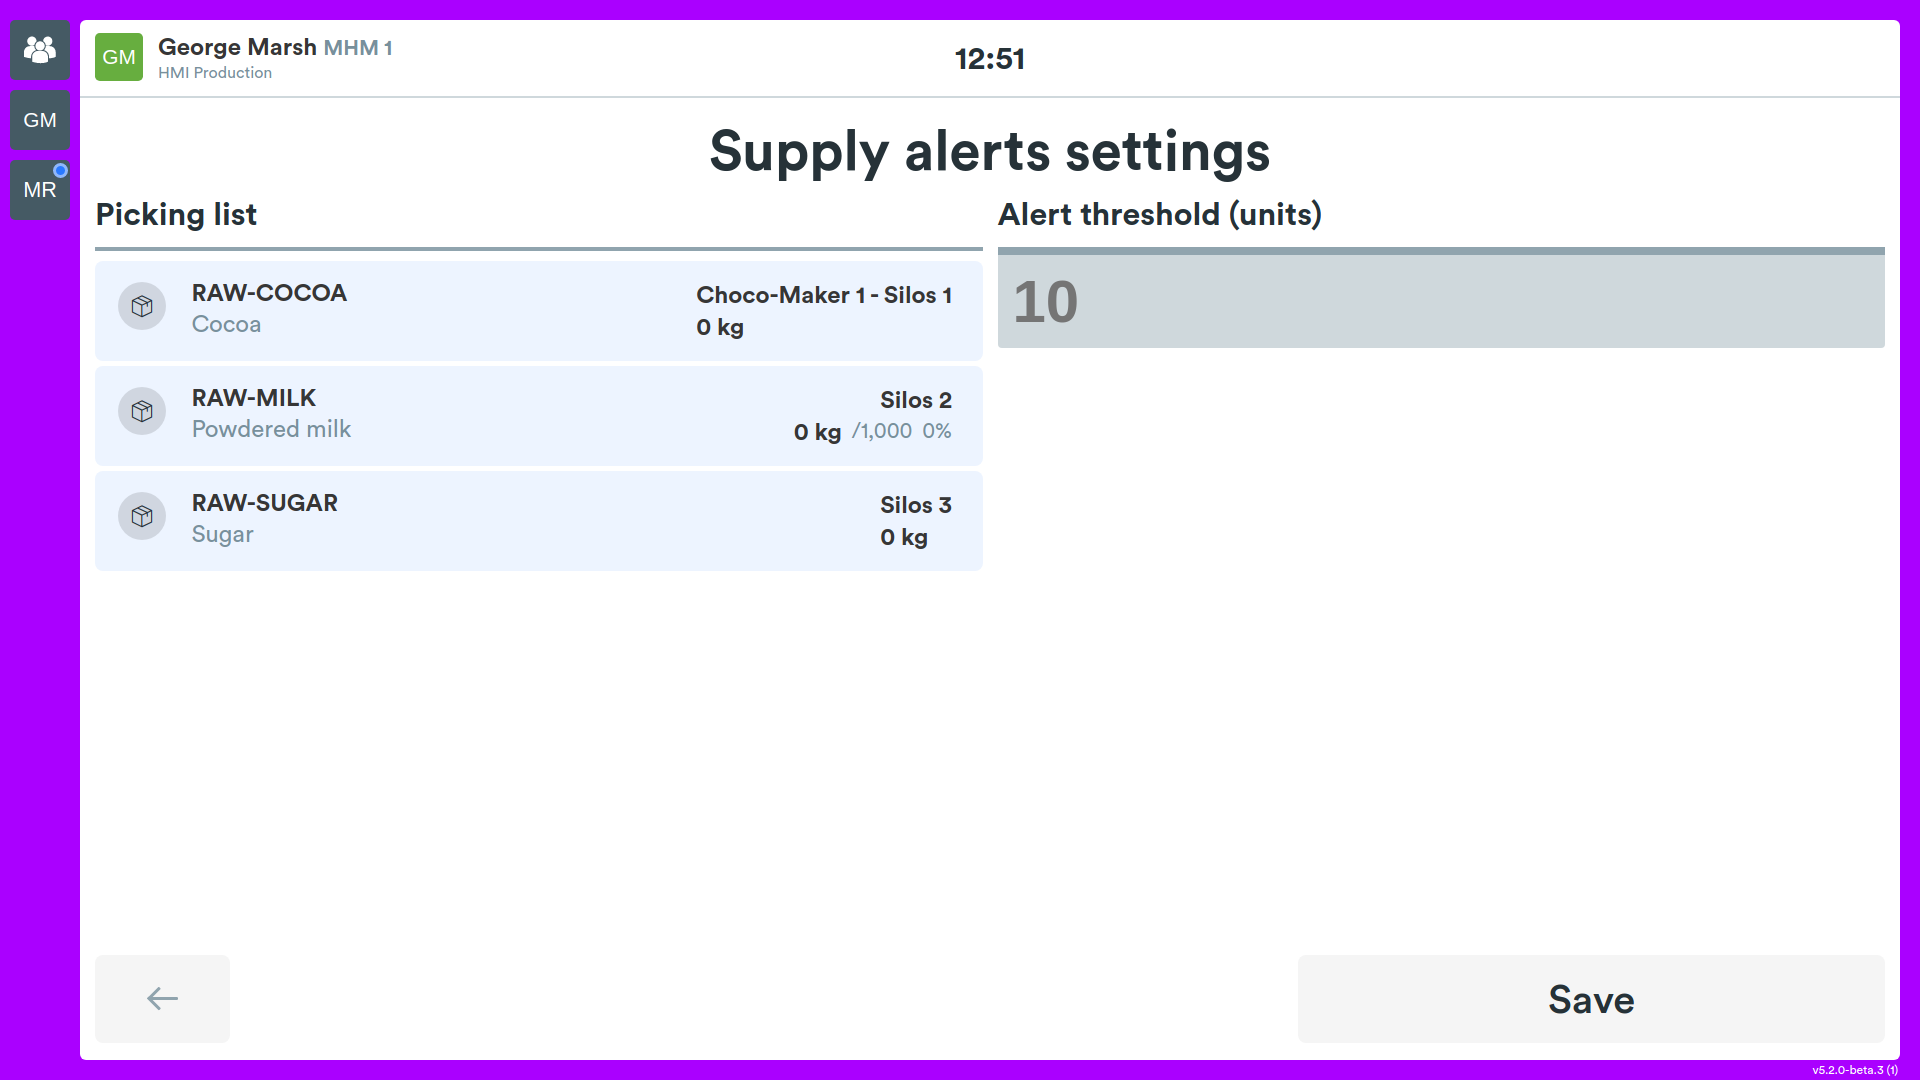
The Settings button will allow you to configure the warning threshold (specified in remaining units) and enable/disable inventory monitoring.
If inventory monitoring is disabled, material will not be deducted from the related containers.
WARNING If multiple operations use the same containers, errors could be created.
Sales orders
The Sales orders button is shown in the menu only when the Show sales orders option (SHOW_SALES_ORDERS) is enabled on the HMI.
Pressing it opens the list of sales orders linked to the production order of the current operation. Each sales order shows its code and quantity and, when the order comes from catalog bookings, the category, position and member of every linked booking.
When the Show producing batches after delivery option (SHOW_PRODUCING_BATCHES_AFTER_DELIVERY) is enabled on the HMI, the Production batches page shown after a partial, final or batch delivery has a Sales orders (N) button, below the batch print button, on every batch linked to sales orders. It prints one label per sales order produced in that batch, with the batch quantity, the item properties and its bookings, using the print template of type sales-orders-label; you can print straight away or preview first.