Settings
By clicking on the module at the bottom left, a screen will open with three different subsections:
Configuration
Within this section, it is possible to enter Time Tables, processes, areas and stations, warehouses, machines, iiots, containers, paths, HMIs, workers and Workgroups that are part of your factory.
At the top, the following functions are available (here you can see how to customize each of the settings sections):
General
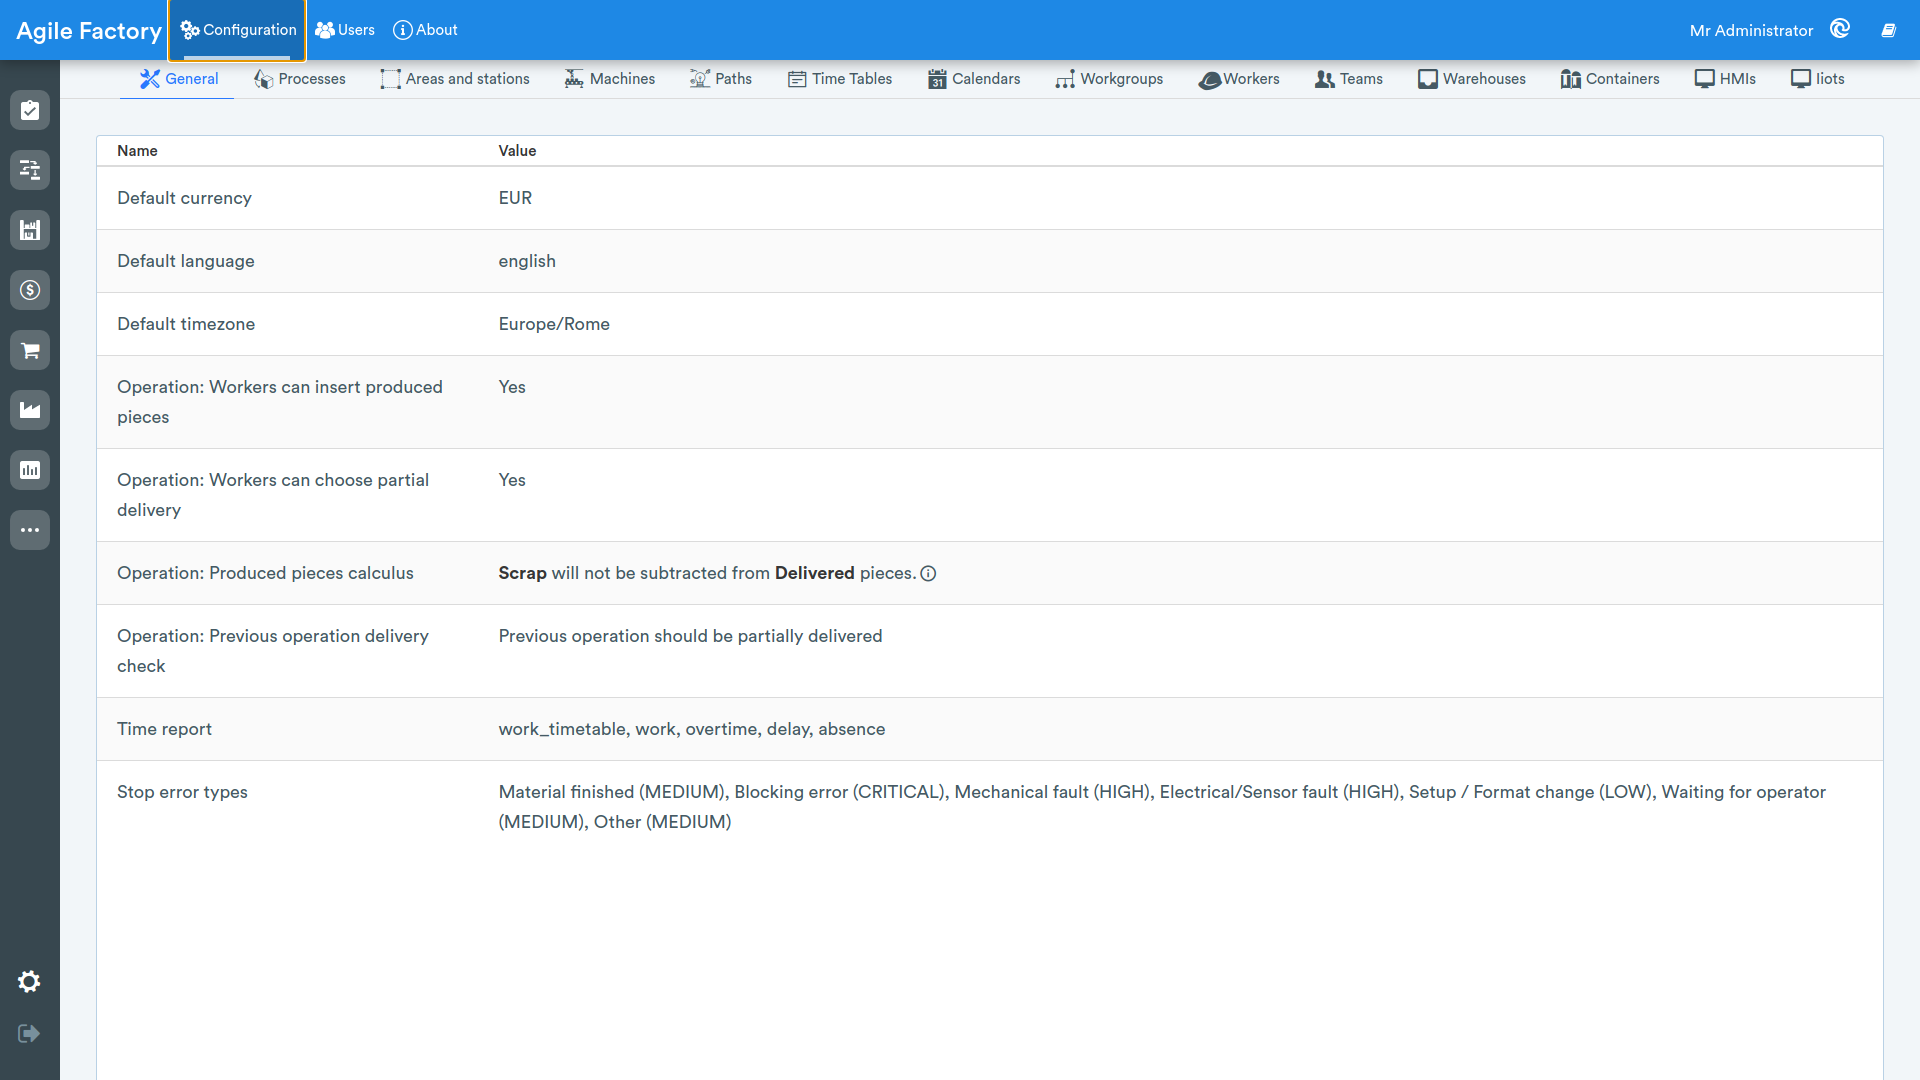
These settings are configured by default when Agile Factory is configured for a specific customer. The ability to modify these settings at the user's request is under development.
Time Tables
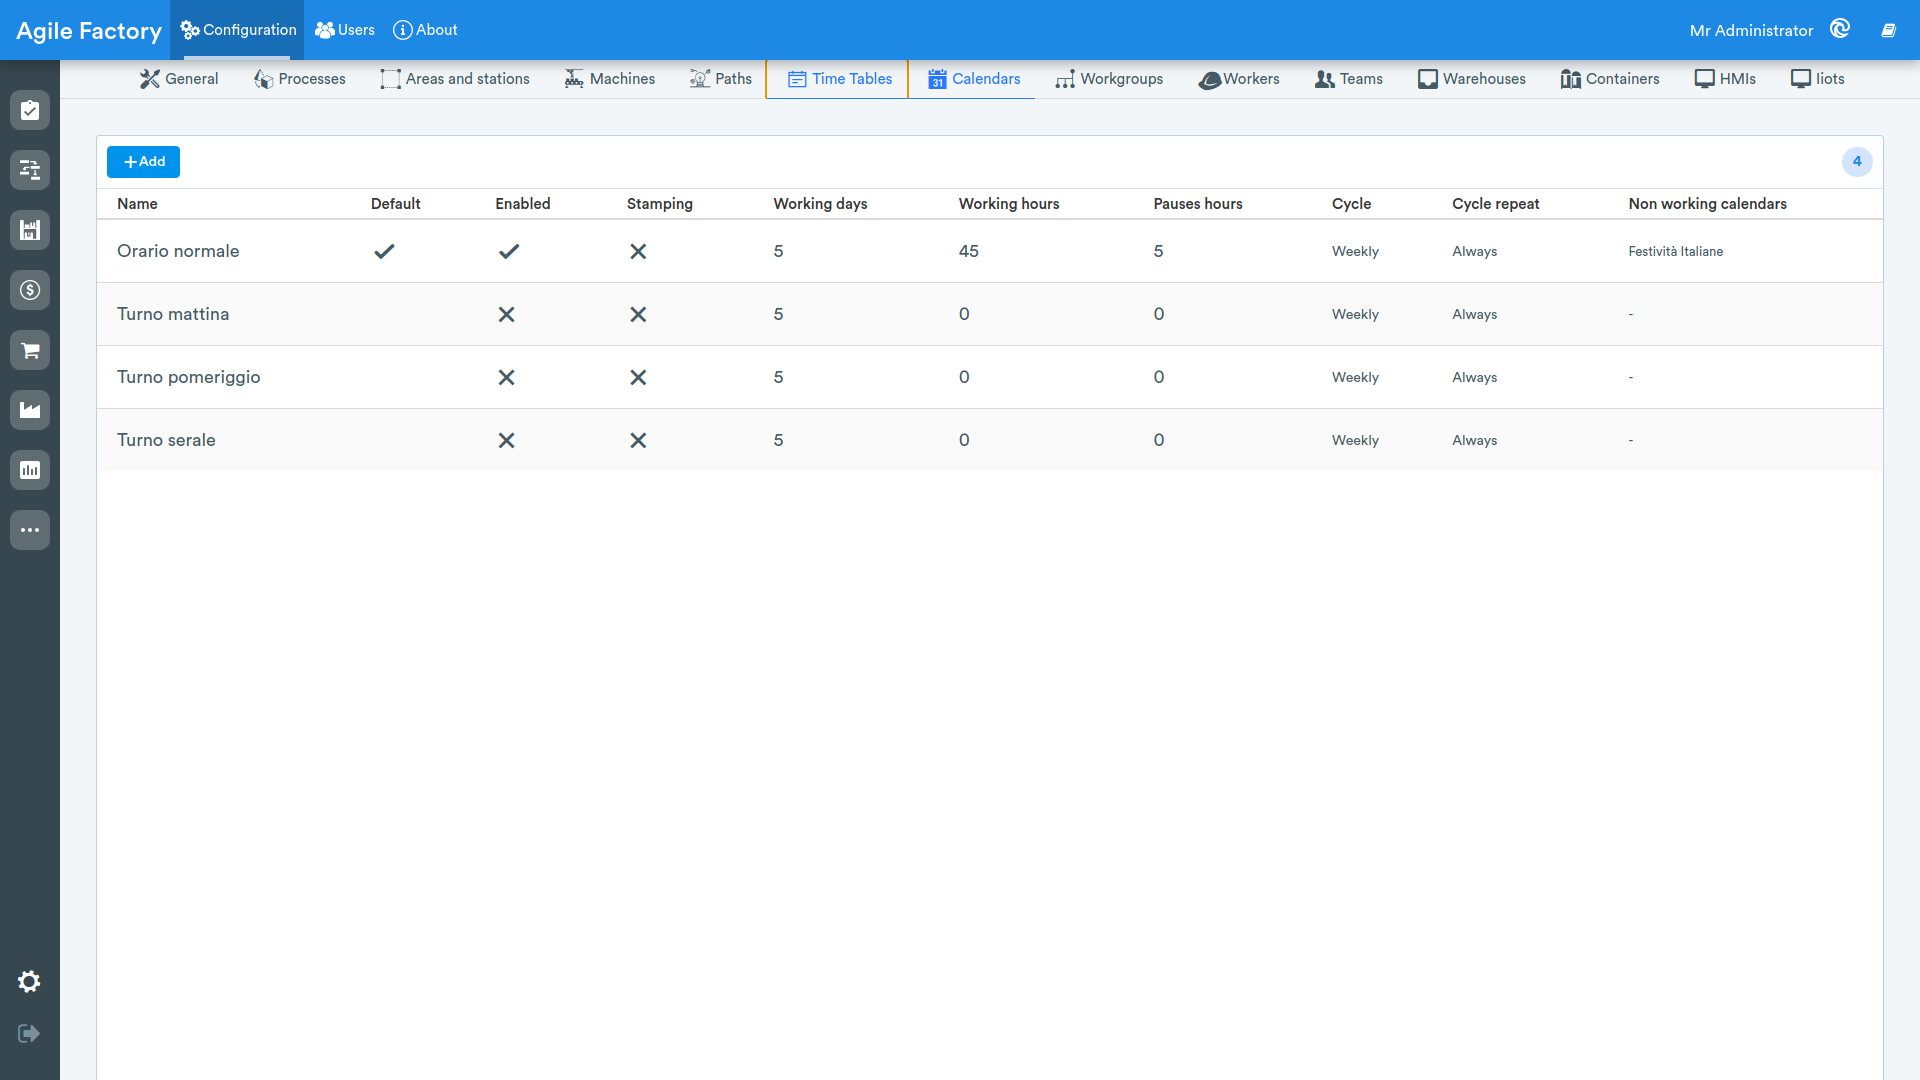
These settings are intended for configuring Time Tables types, which can then be used to schedule the Time Tables of employees engaged in fulfilling production orders. To add a Time Tables type, press the "+ Add" button and fill in the following fields.
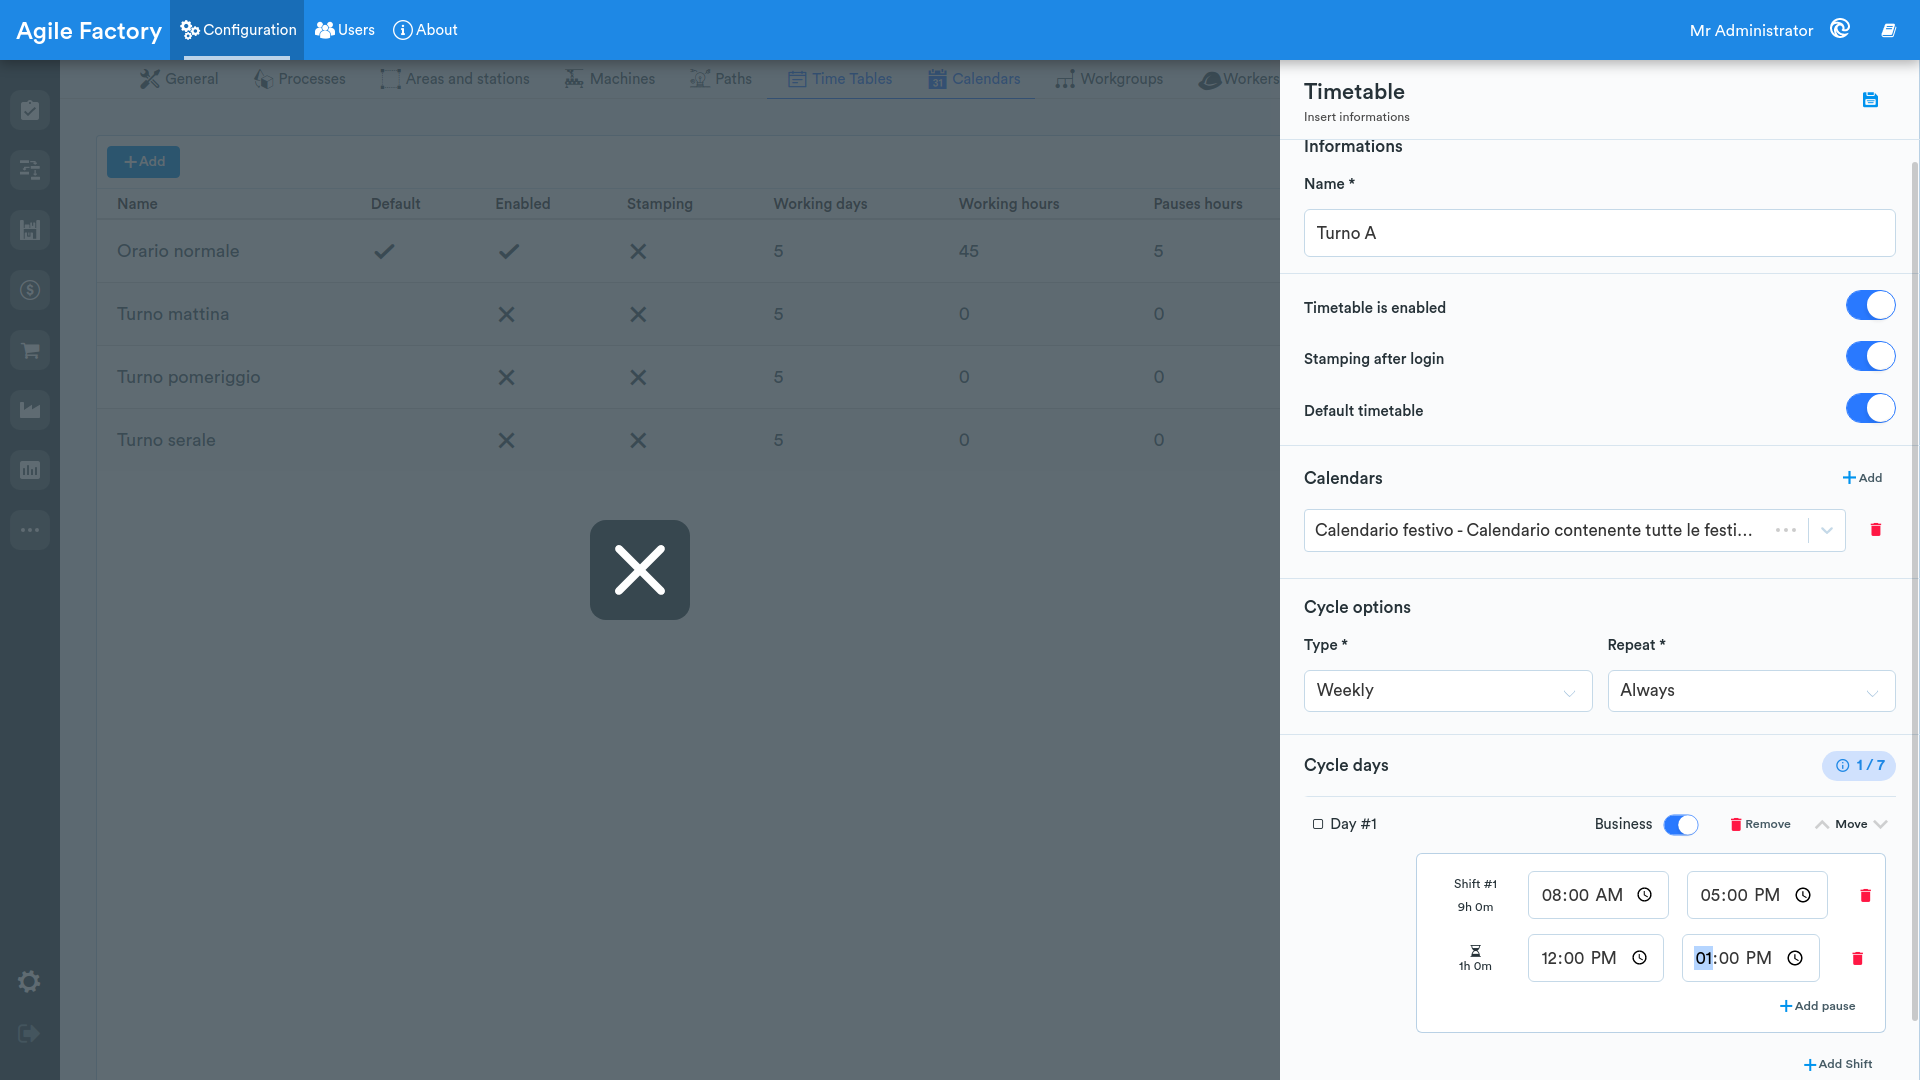
"Schedule is enabled" means that the schedule is active for use. "Clock-in after login" means that after logging in, you need to attach a badge to the device from which you logged in to confirm the identity of the user logging in. This functionality is intended to be used on the operator's HMI if there is a special reader on the HMI device. If you do not use this functionality in your company, leave "Clock-in after login" disabled. Fill in the start and end of working days and break periods and save the Time Tables so that it is ready for use.
Calendars
By selecting Calendars you can view the list of configured calendars. A calendar defines non-working days (public holidays and company closures) and can be marked as the default. Calendars are assigned to working time tables in the Time Tables section.
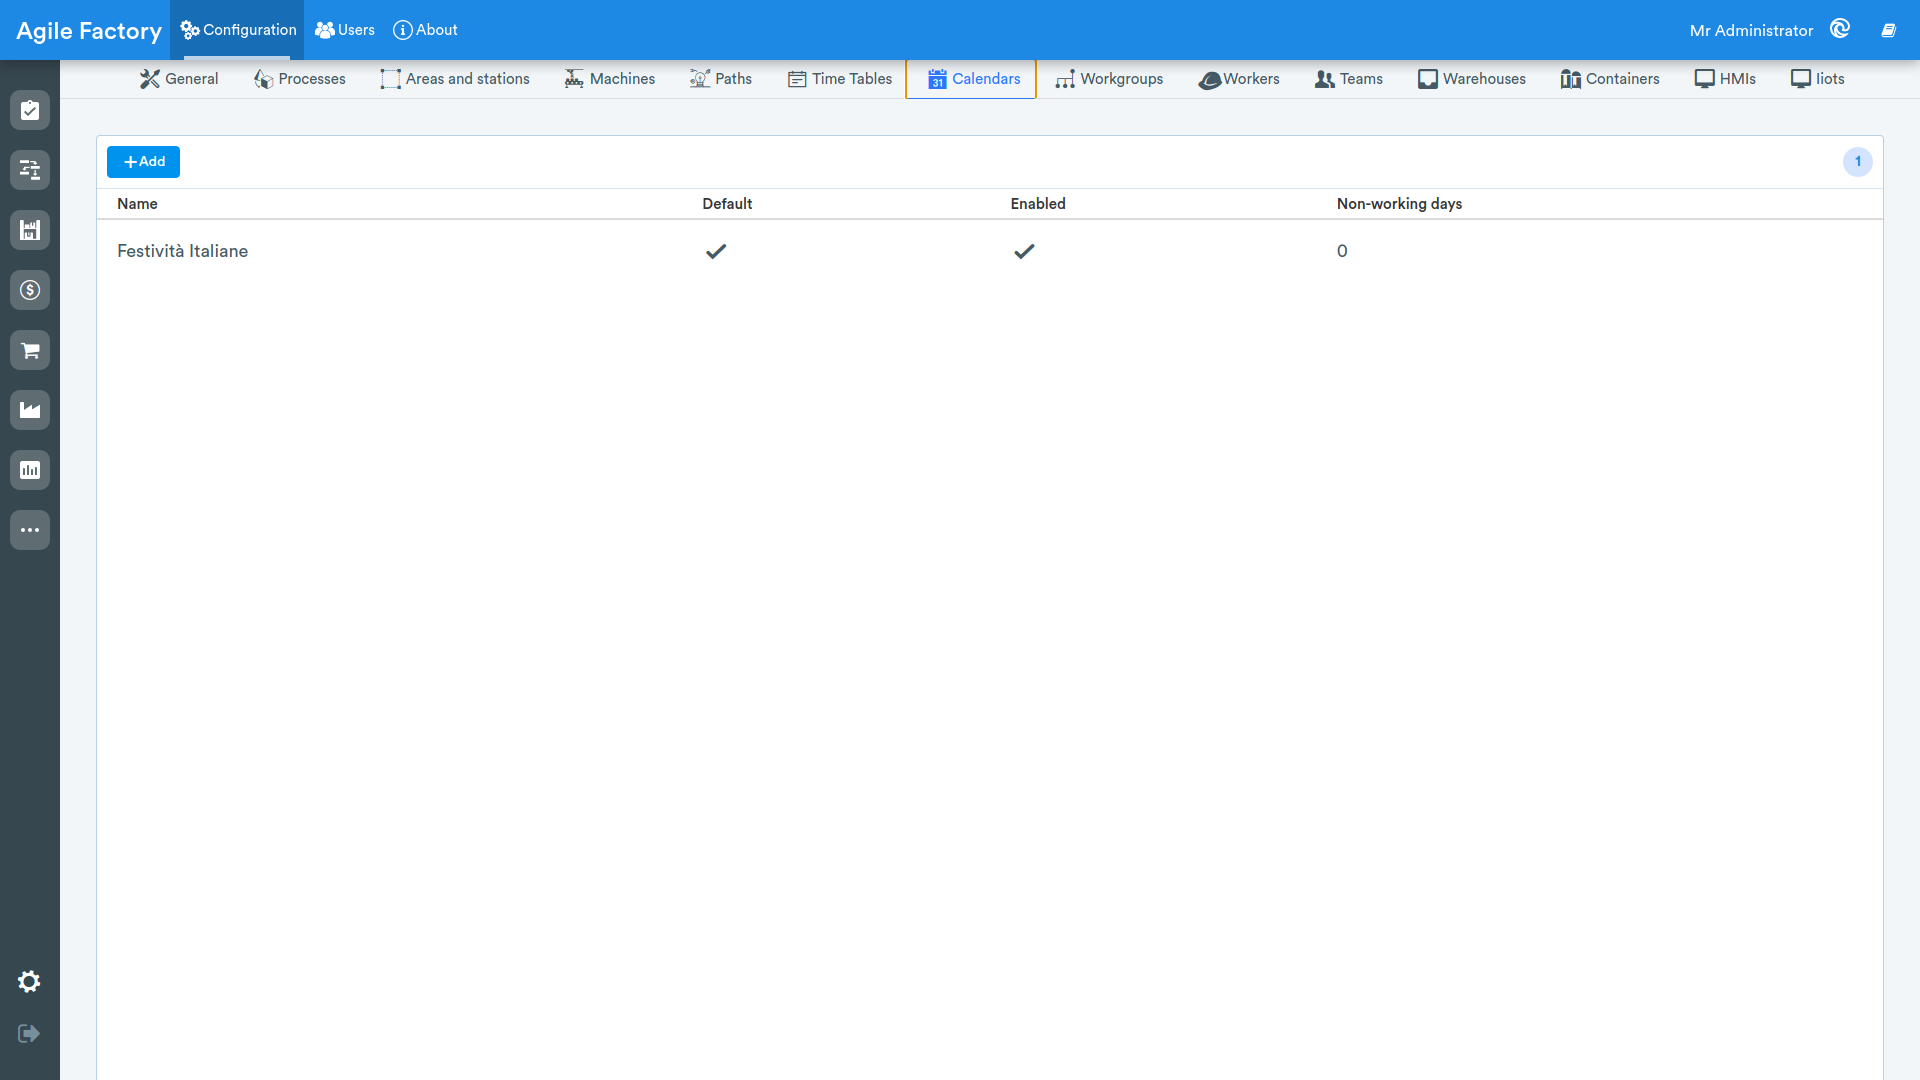
Click + to create a new calendar and enter its name and description. You can add non-working days by specifying the reason (e.g. national holidays, company closures).
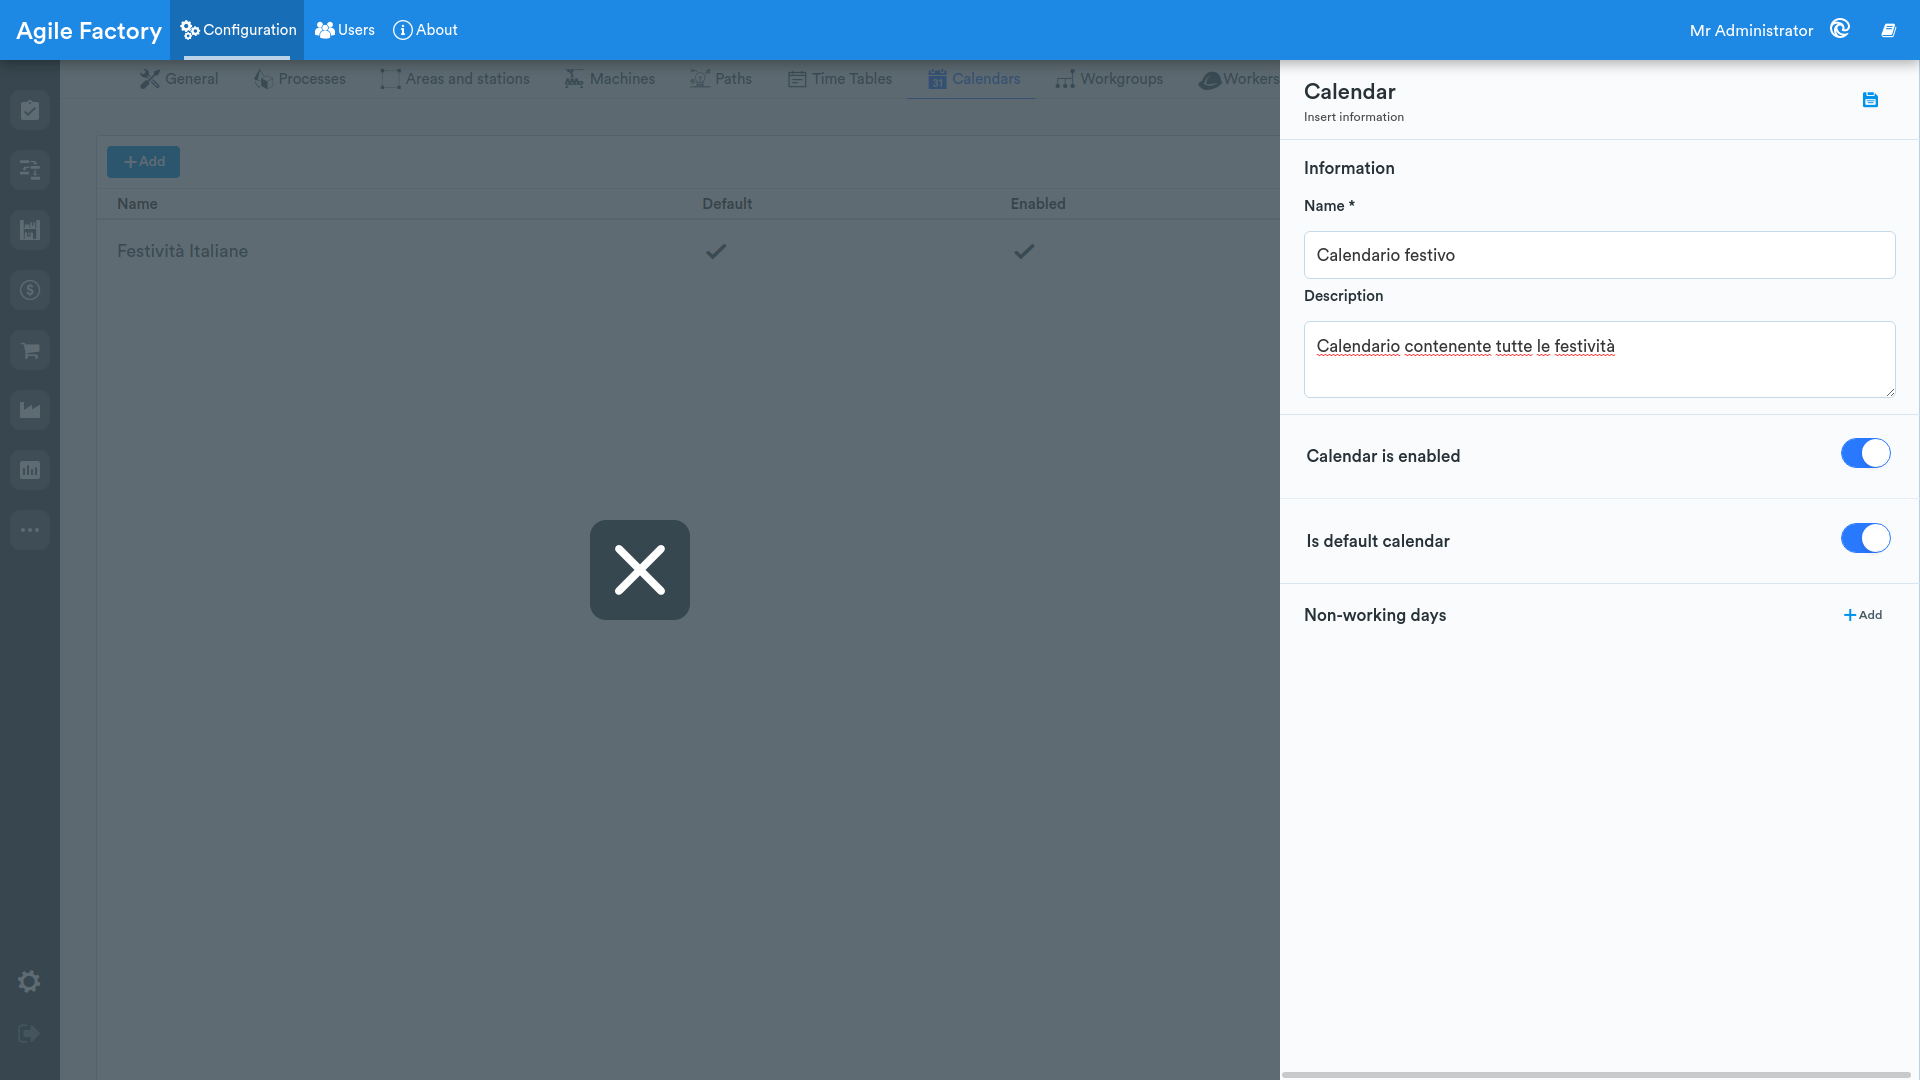
A calendar can be enabled or disabled and set as the default. A calendar assigned to other entities cannot be deleted.
Processes

The screen that appears shows the groups into which processes are divided. Click on "+" to add a process group and enter the required information.

By clicking on the icon with three dots to the right of each item, the context menu will open through which you can view details about the process group, change its name or delete it.

After adding process groups, you can add specific processes to the created group by clicking on "+ Add" at the top of the "Processes" section. For each process, you need to enter a name and verify that the specific process is assigned to the created process group (the created process can be assigned to another process group if necessary).


After creating the processes and saving them, select them and click edit to add the respective stations on which they are executed. By pressing the icon with three dots, the context menu will open.

Next, click on the "pencil" at the bottom right of the page next to "Stations".

Now you can correlate the process to the stations in your factory. After selecting the stations for the process, don't forget to click "Save" at the top right.

By clicking on the process, the details related to the description and the stations to which it is assigned will be shown.

Now we have finished configuring the processes for your factory.
Areas and Stations
By clicking on Areas and Stations, a screen will appear on which the work areas into which the factory is divided will be displayed.

To create a new area, click on "+ Add".

By clicking on the icon with three dots to the right of each item, the context menu will open through which you can view details about the area, change its name or delete it.

Once the area is created, you can start creating the stations that will be part of the area. To do this, click on "+ Add" at the top of the "Stations" section. For each station, you need to enter a name and verify that the specific station is assigned to the created area (the created station can be assigned to another area if necessary).


"External station" means that the station is not physically located in your factory. "Average unit cost" is the average cost per production unit for a particular production station, if you know this value and have activated the "Industrial Accounting" module, you will be able to monitor the financial performance of your production. You can also choose the unit of measurement if it is expressed in specific units.

After creating the stations for the area, don't forget to click "Save" at the top right.
After saving them, you can edit them by clicking on the icon with three dots and, if necessary, also add the respective processes and Workgroups.


Select the processes that should be correlated to your production station and click "Save".

And select the Workgroup that should be correlated to your production station, click "Save".

Warehouses
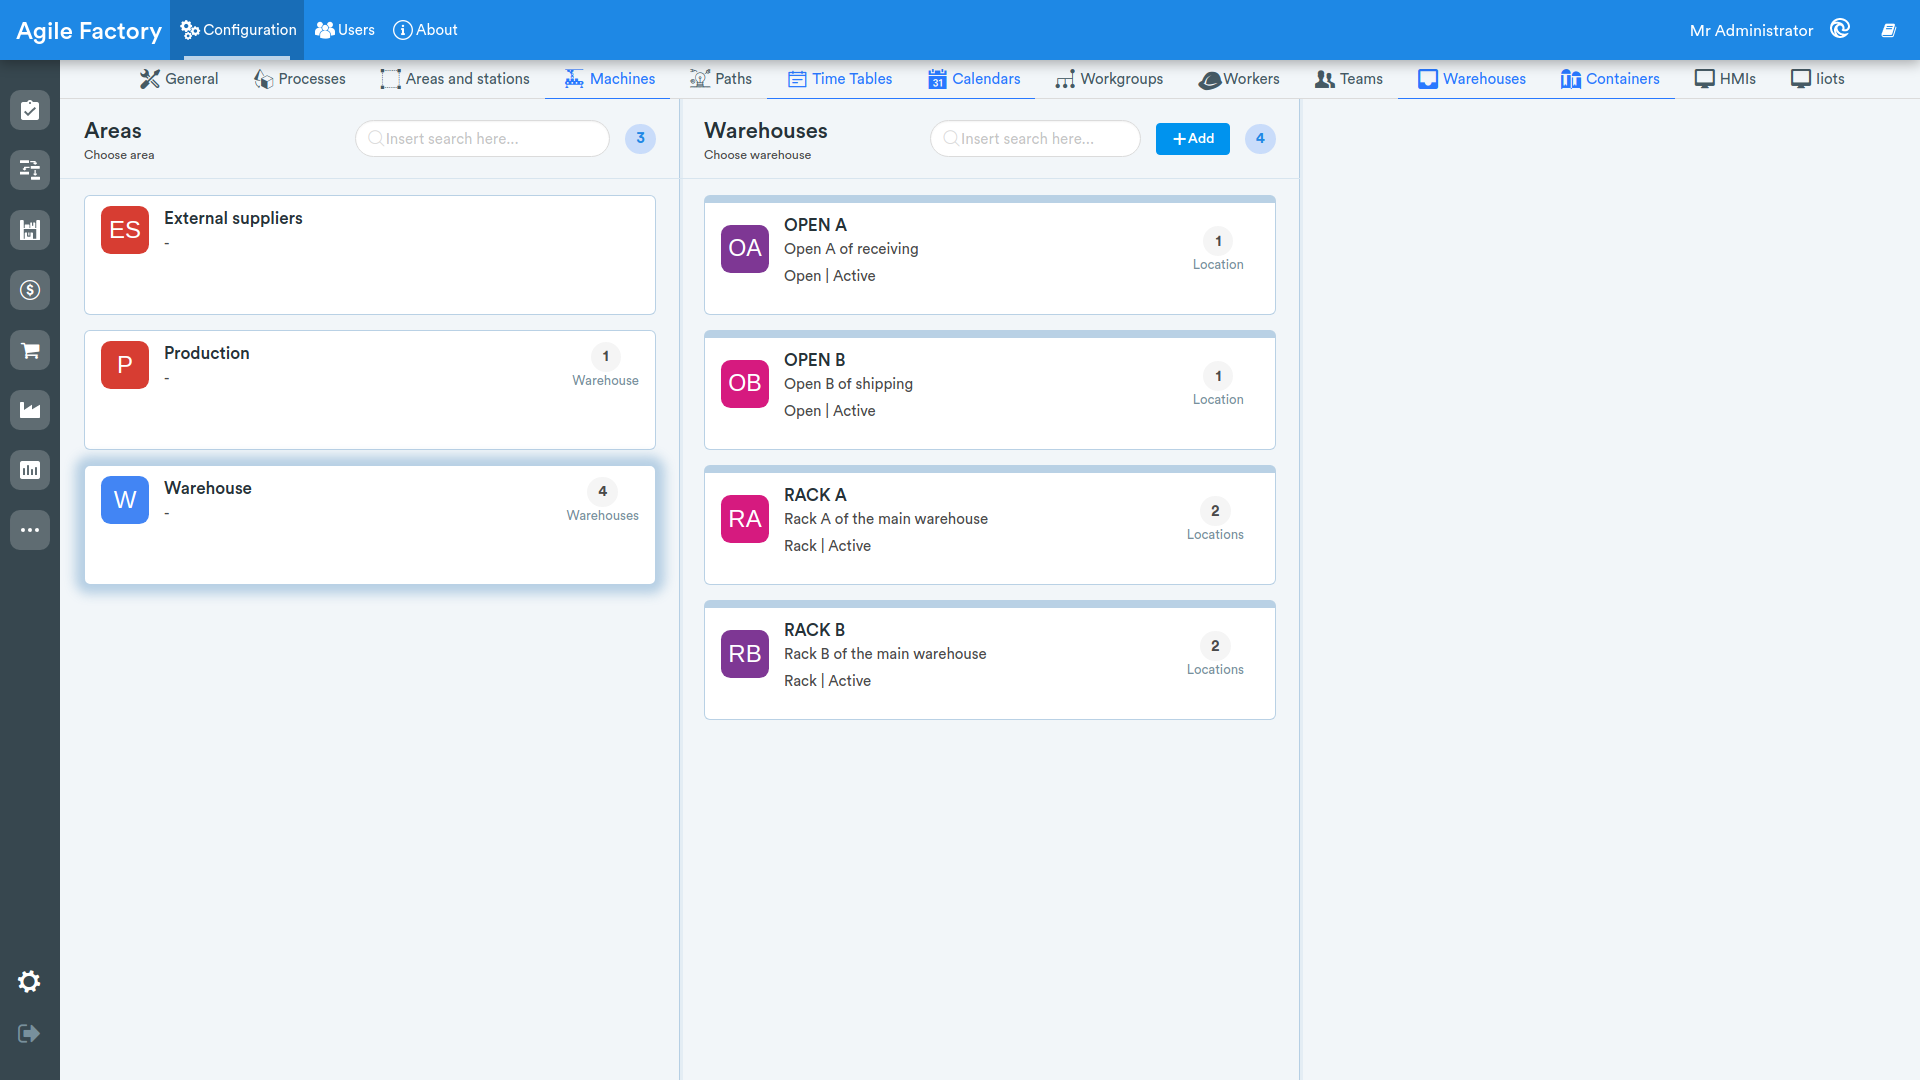
By selecting Warehouses, you are on a page where you can create warehouses for the areas of your factory. Warehouses indicate the location of the product in the area, these can be the names of specific product storage locations.
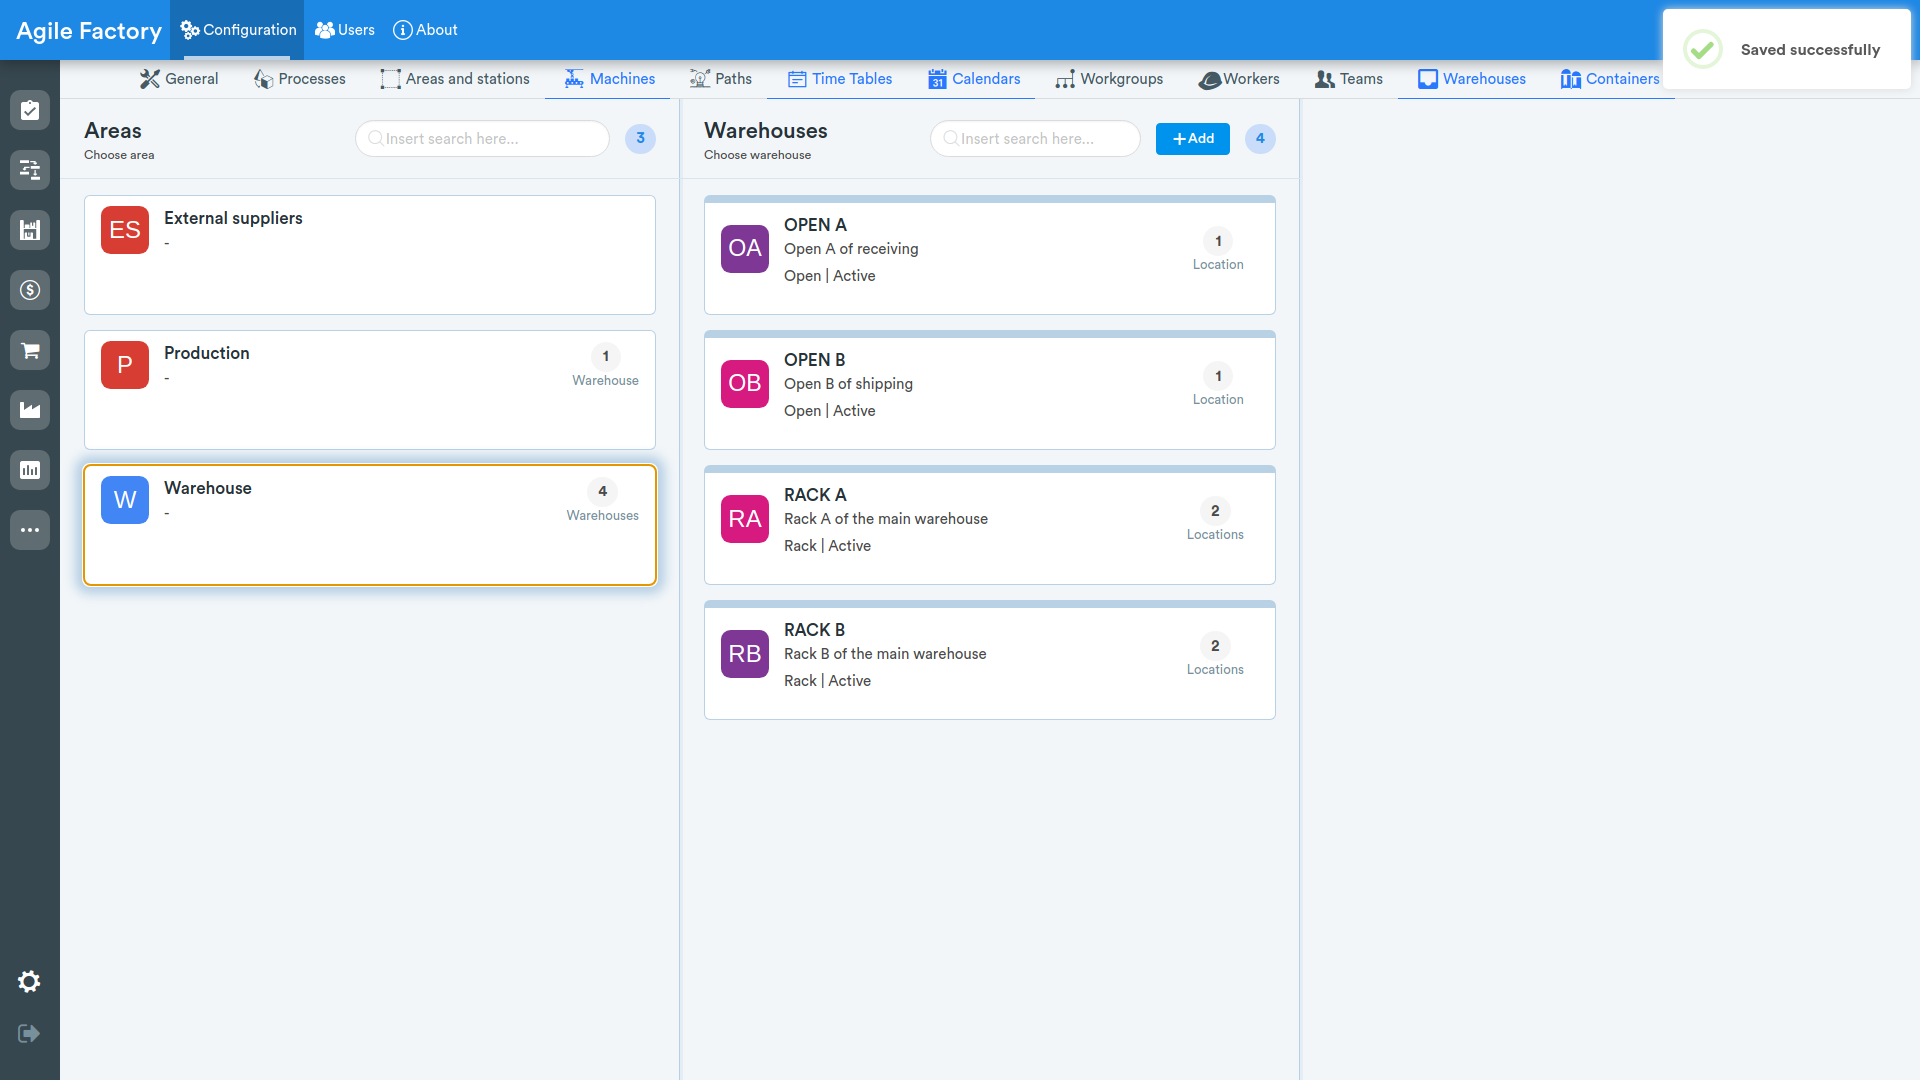
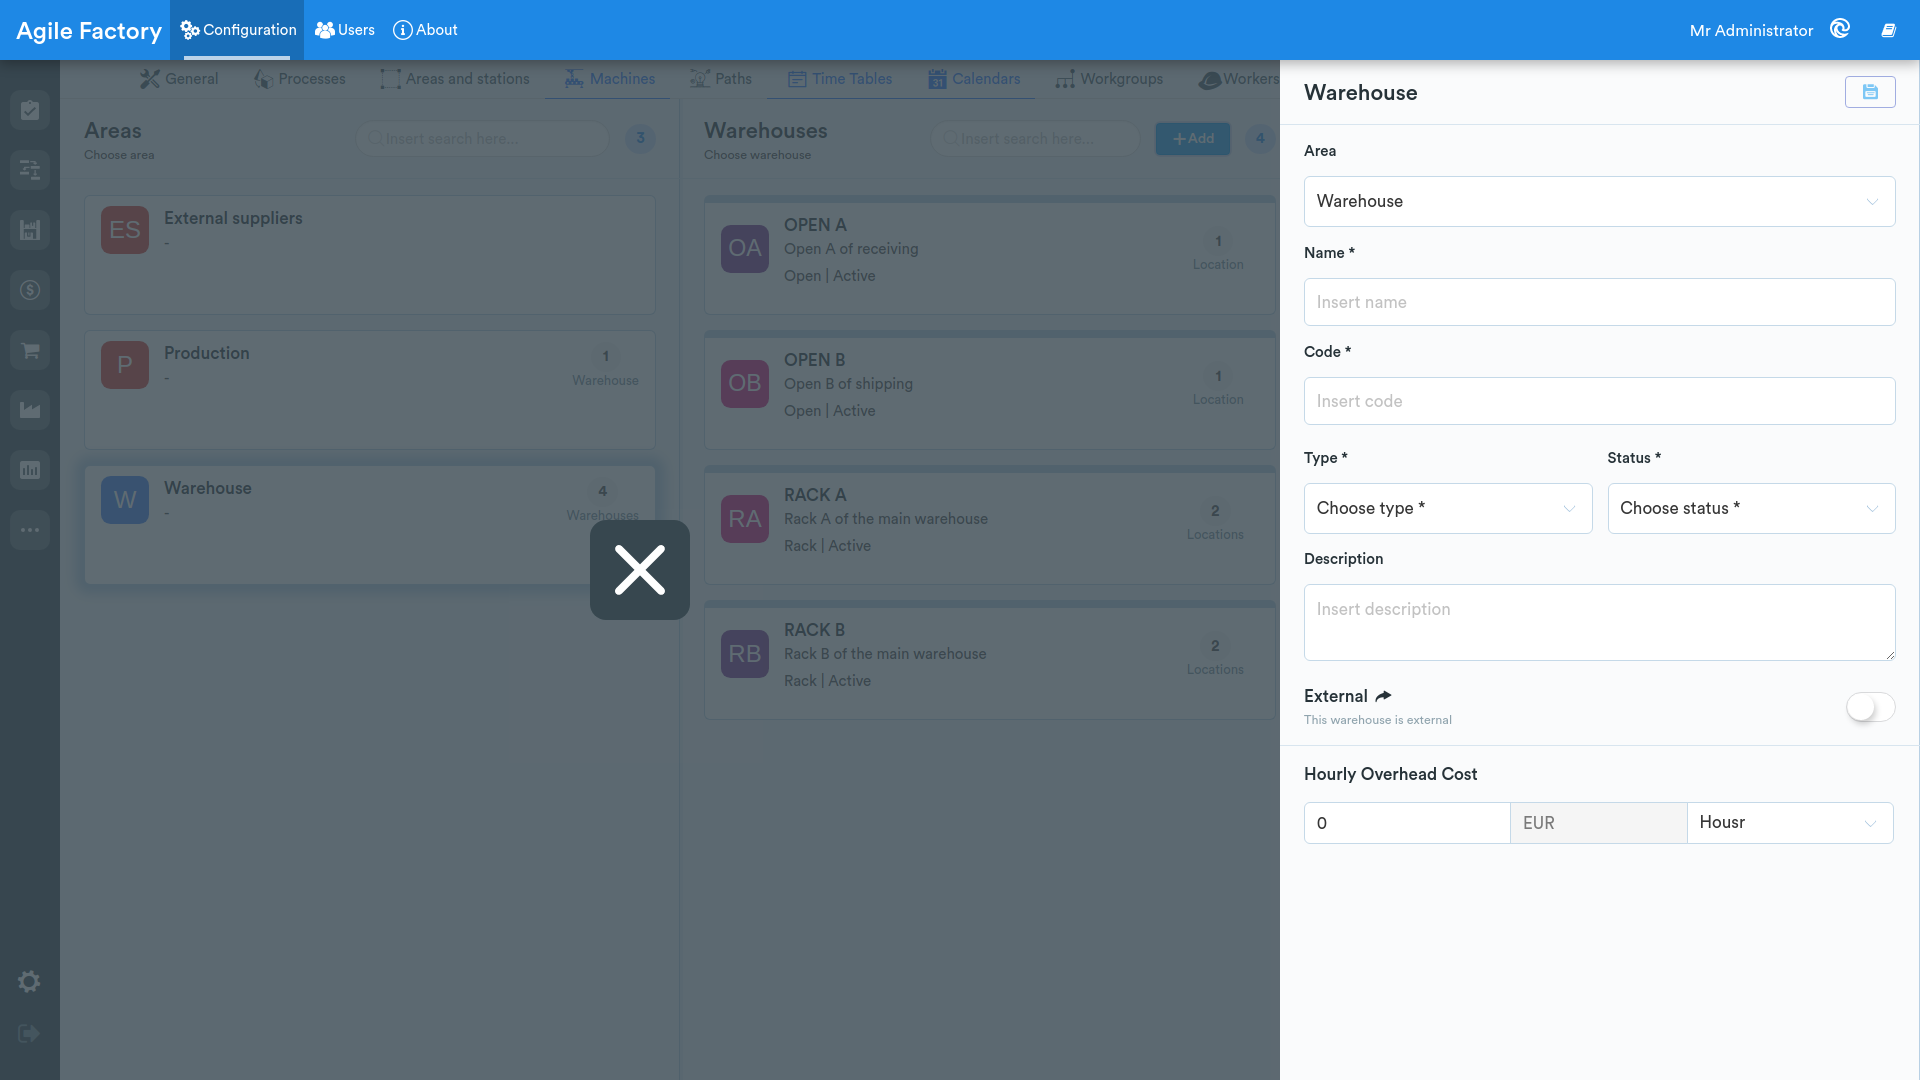
To add a warehouse for the selected site, press "+ Add" at the top center of the screen. For each warehouse, you need to enter a name, code, type, status and verify that the specific warehouse is assigned to the created area (the created warehouse can be assigned to another area if necessary). If the warehouse is external, set the switch to "External". "Average unit cost" is not yet used in Agile Factory's calculation logic, it is under development (you can leave it empty). Don't forget to click "Save" after entering the information and selecting the required parameters.
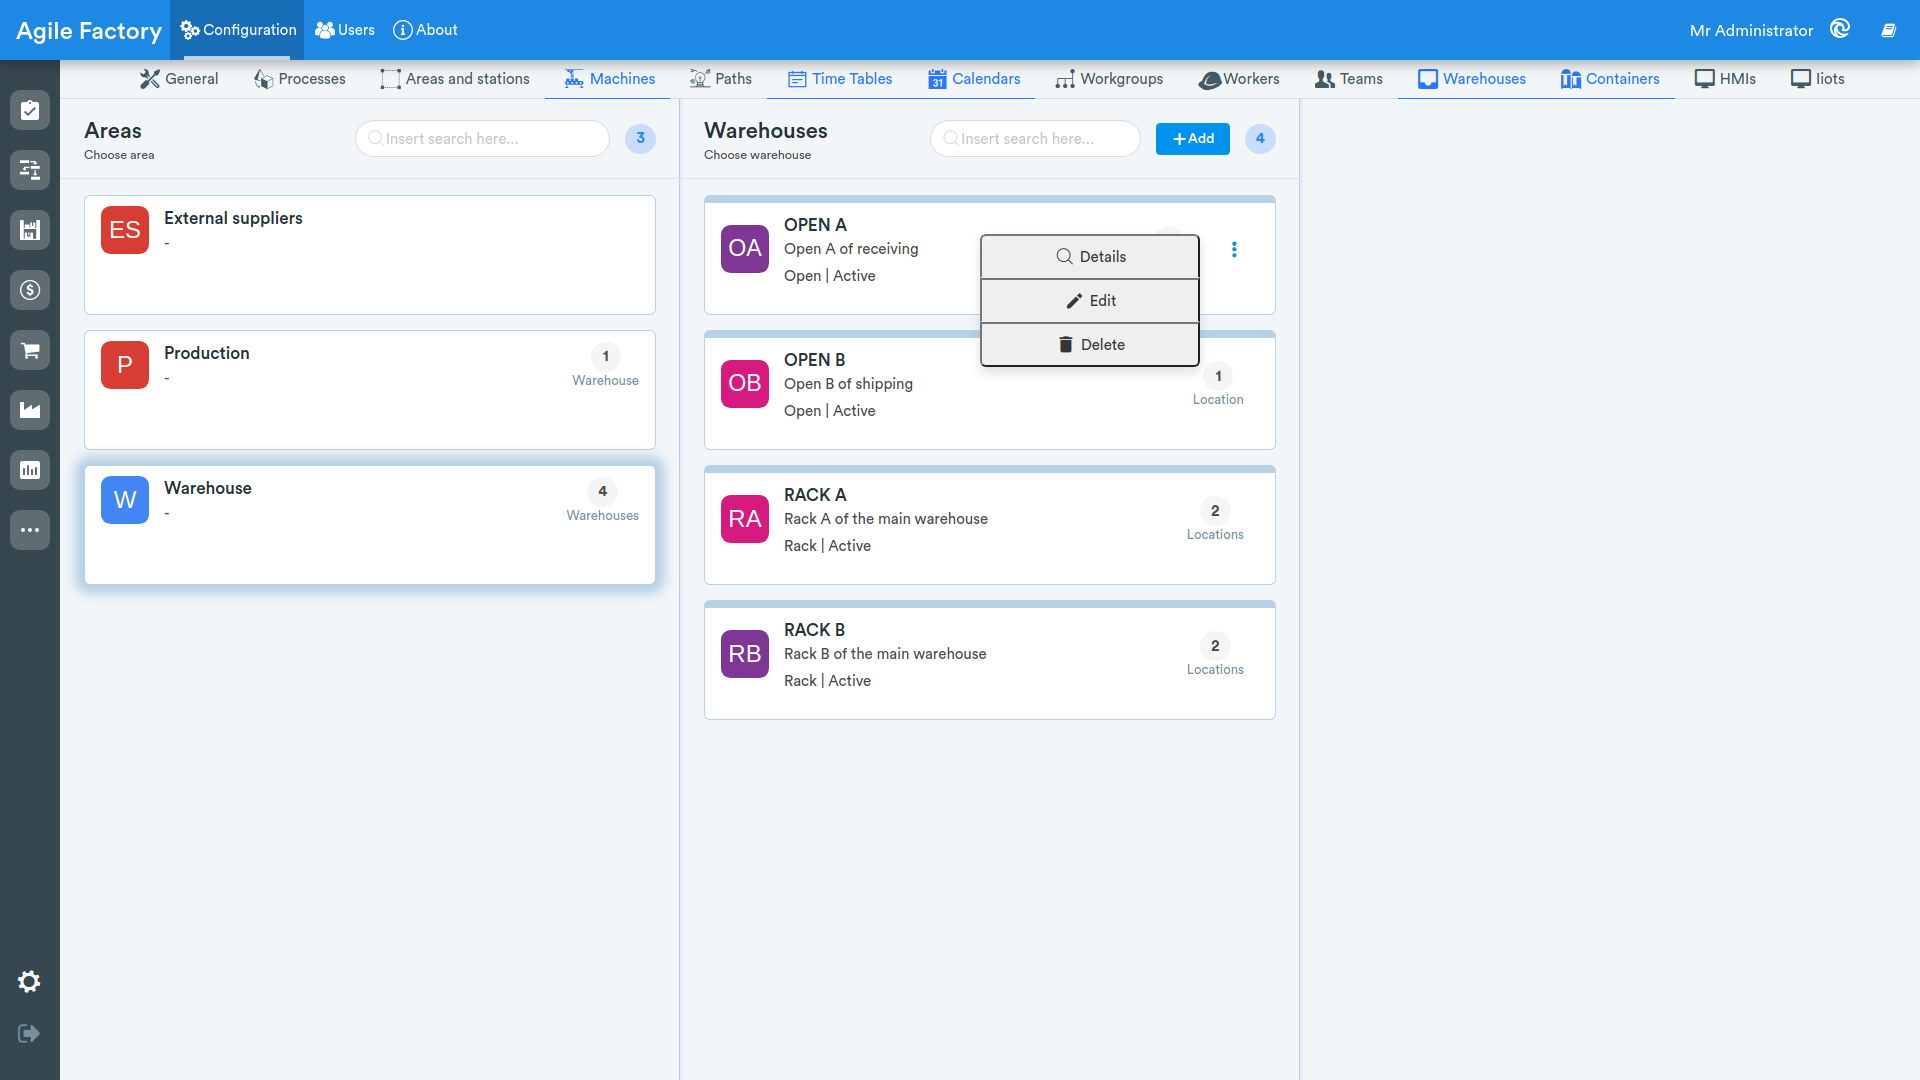
Now you can correlate the created warehouse to a specific location in your factory. Click on "Edit" in the dropdown menu and click on the "pencil" in the bottom right corner of the page.
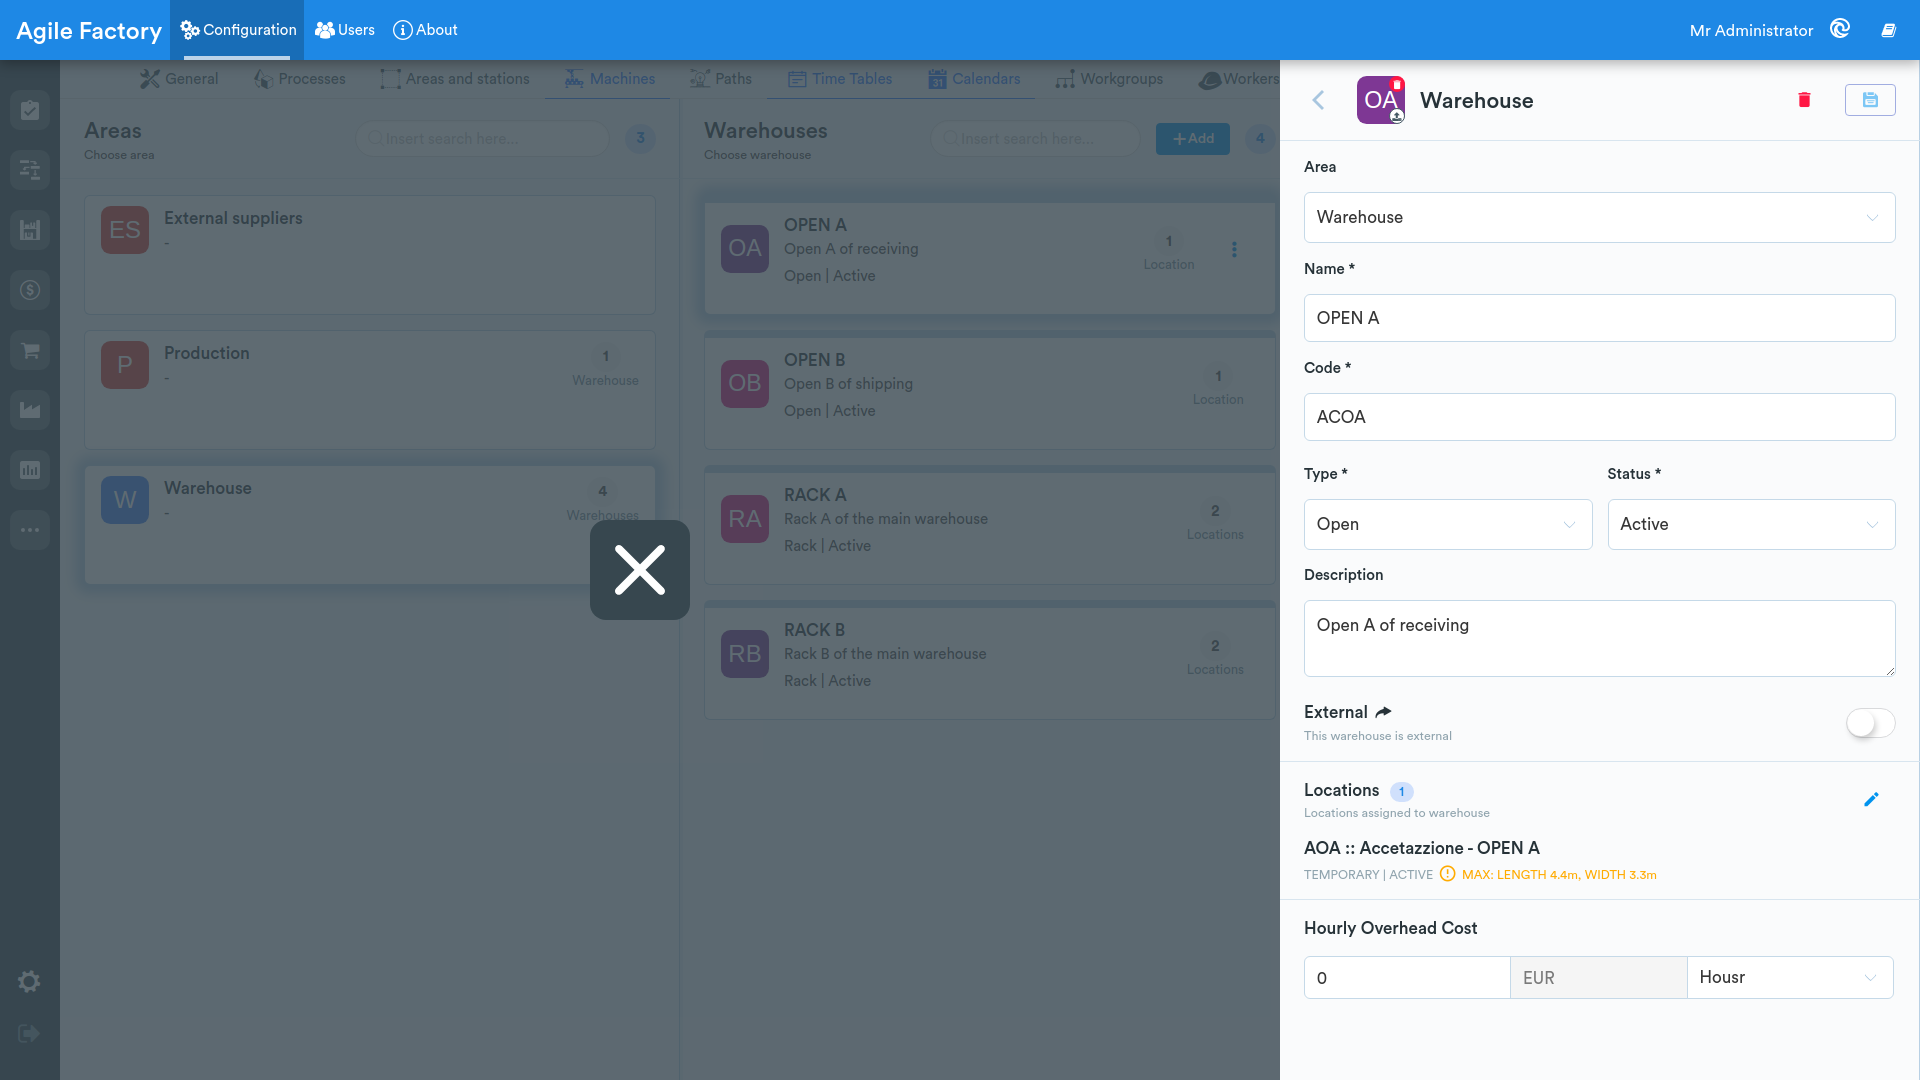
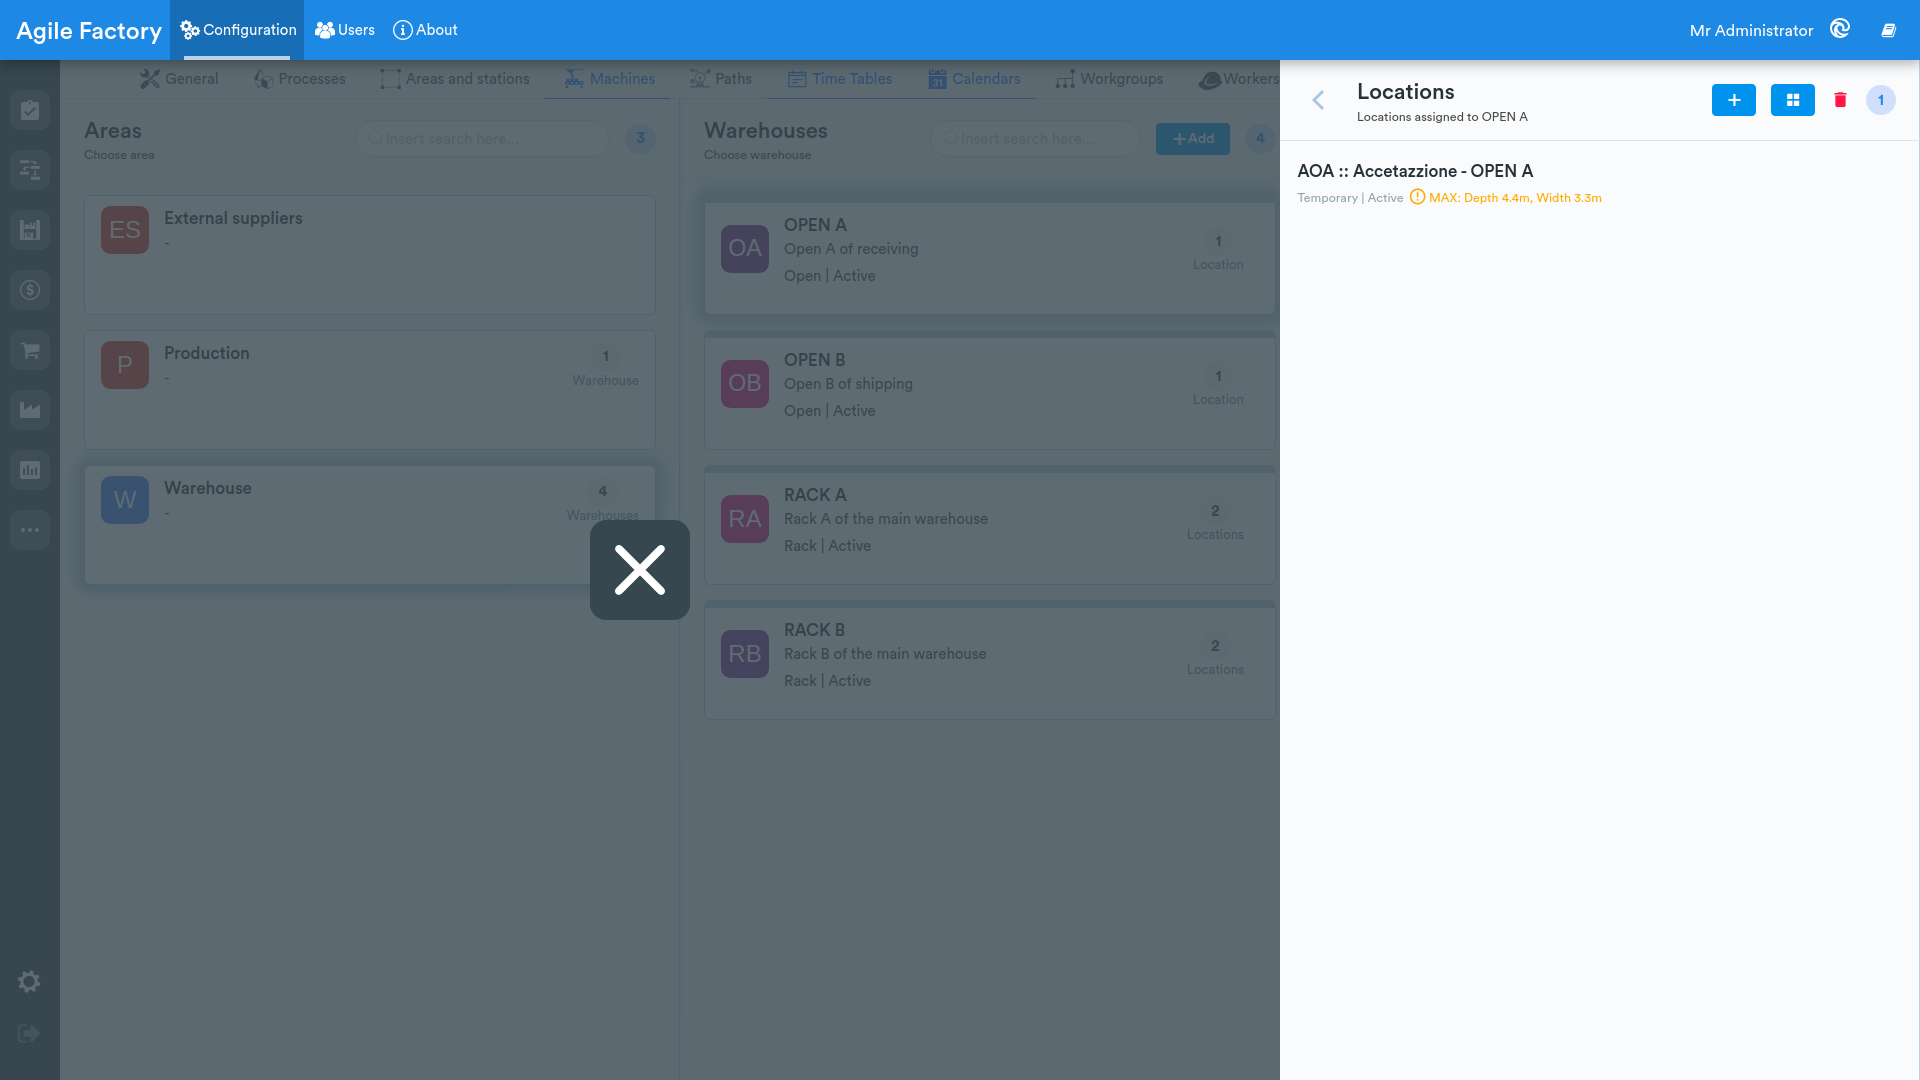
Click on the pencil in the bottom right corner of the screen and click on "+" to create the location of the warehouse you created.
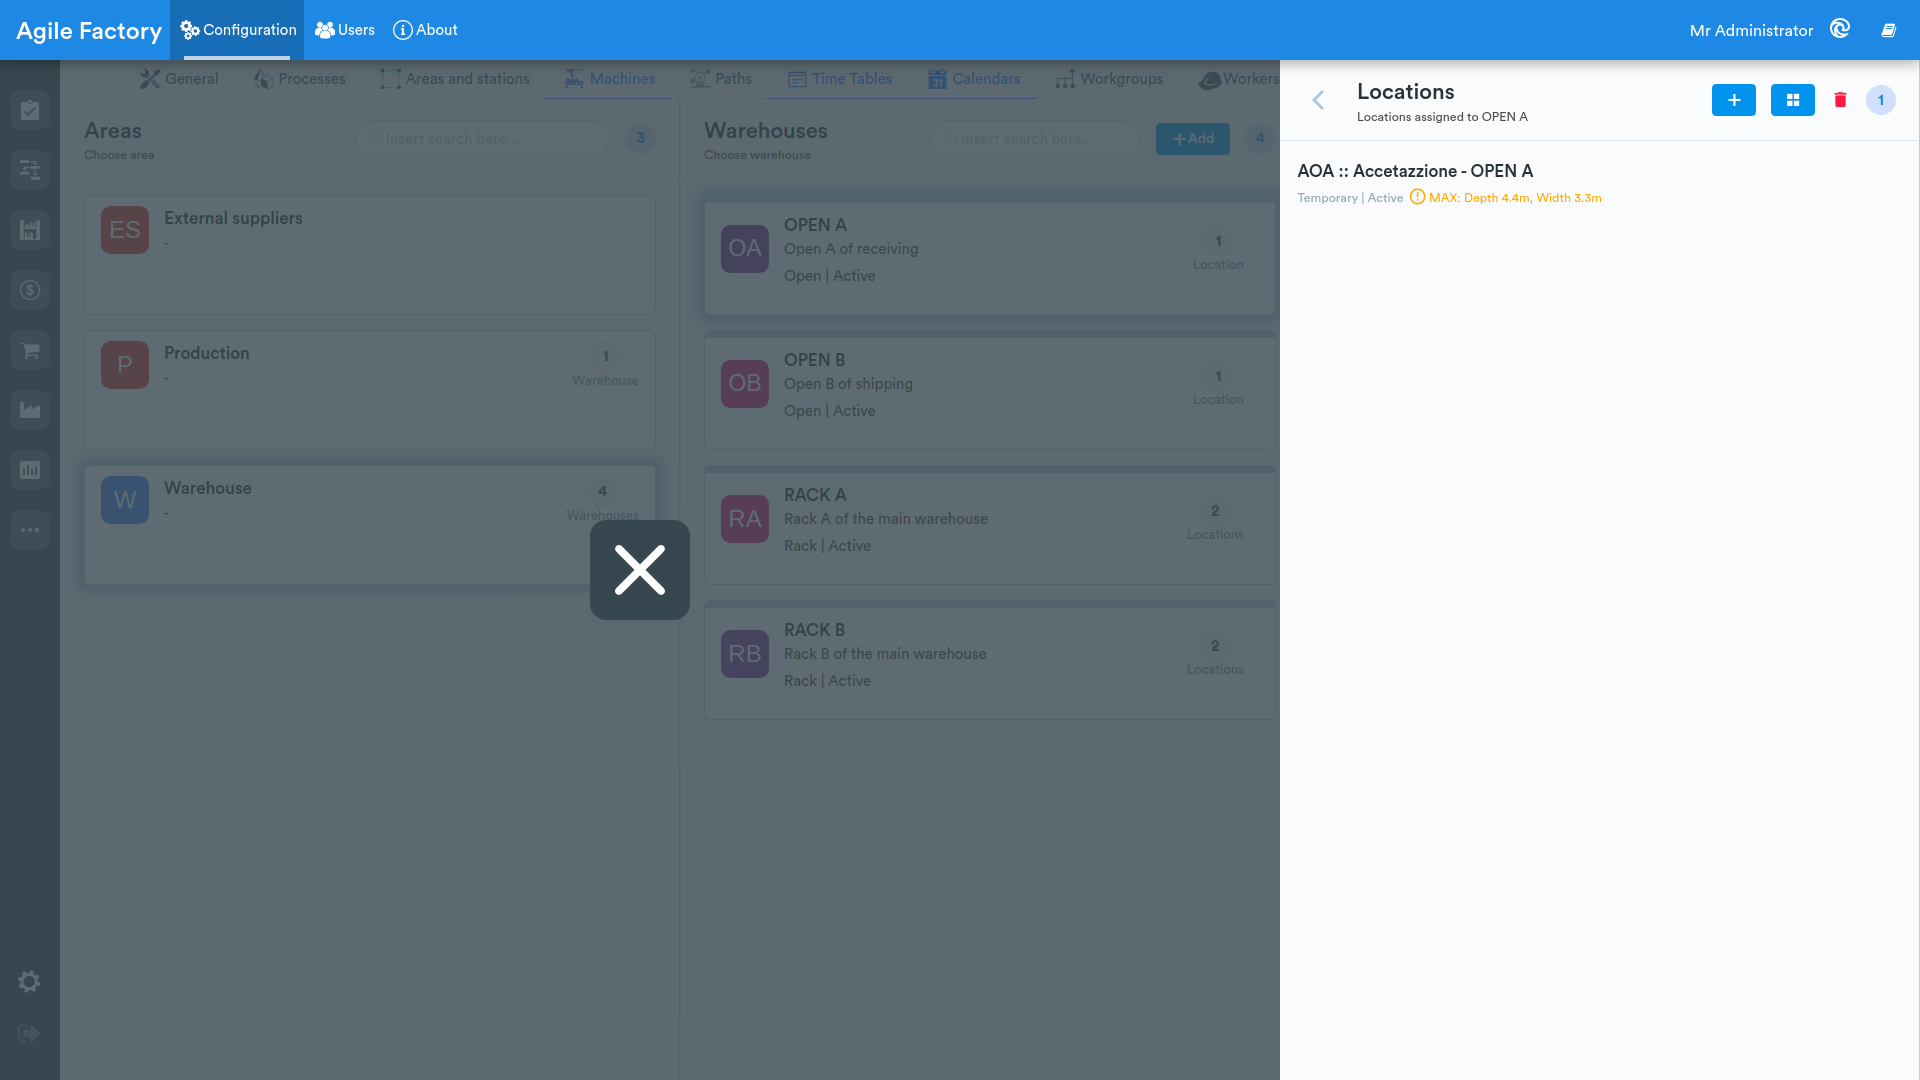
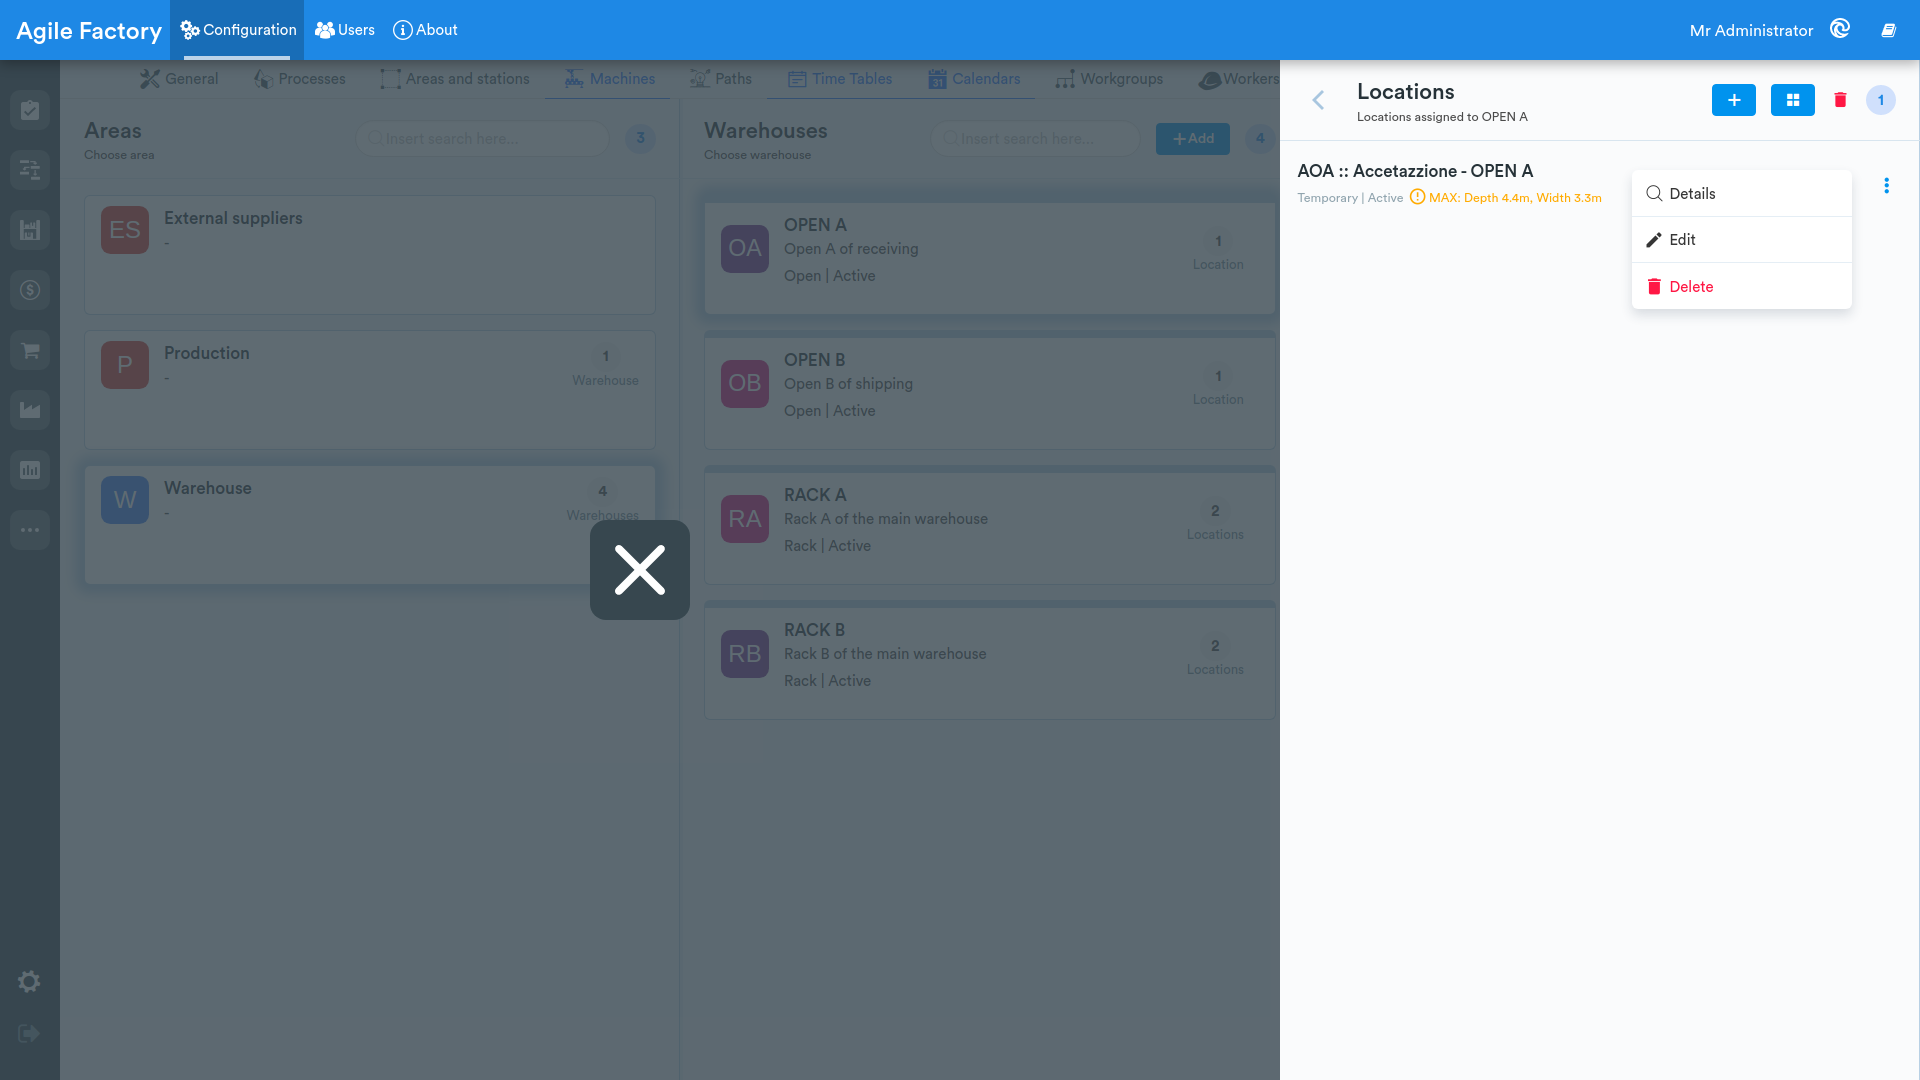
Fill in the required fields and don't forget to save. The new location then appears in the locations menu, where you can edit its parameters if needed.
Machines
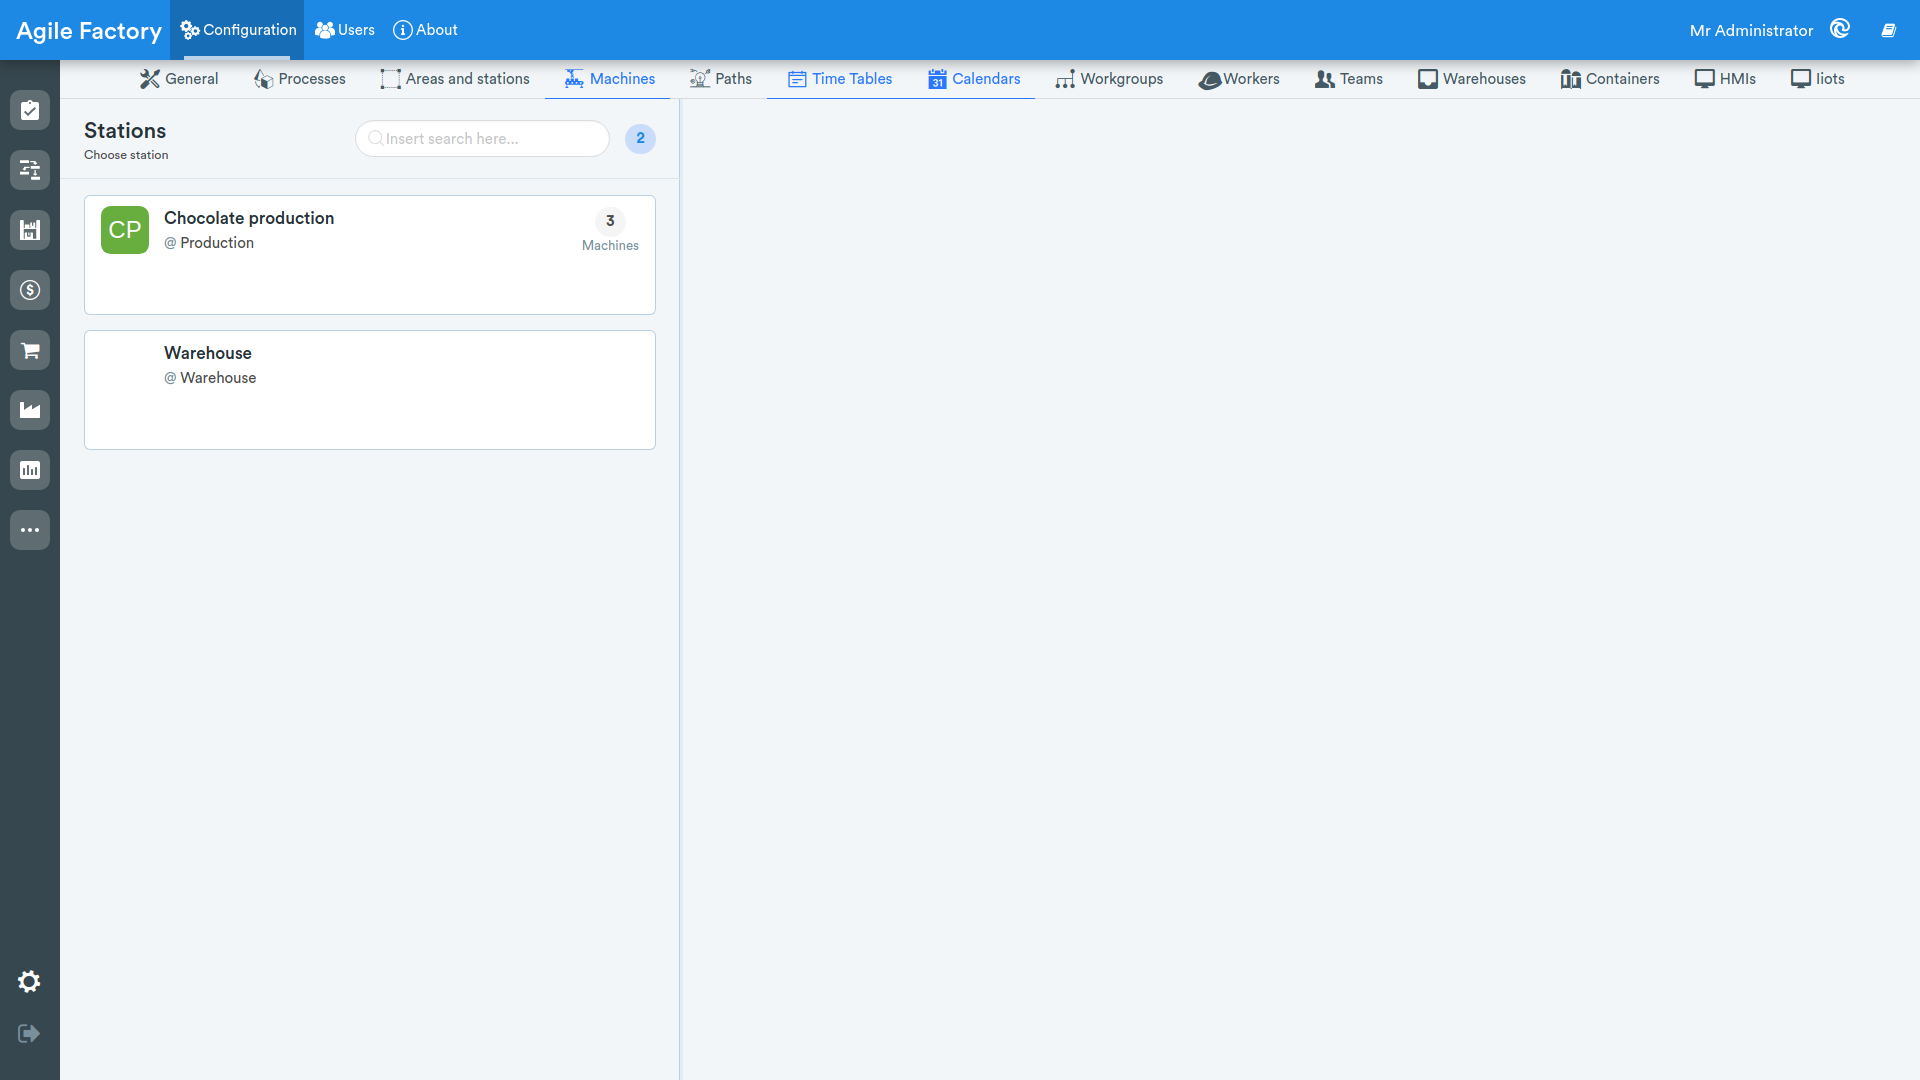
By selecting Machines you are taken to a page where you can select an area.
After clicking Add, enter the machine name and any other details and save.
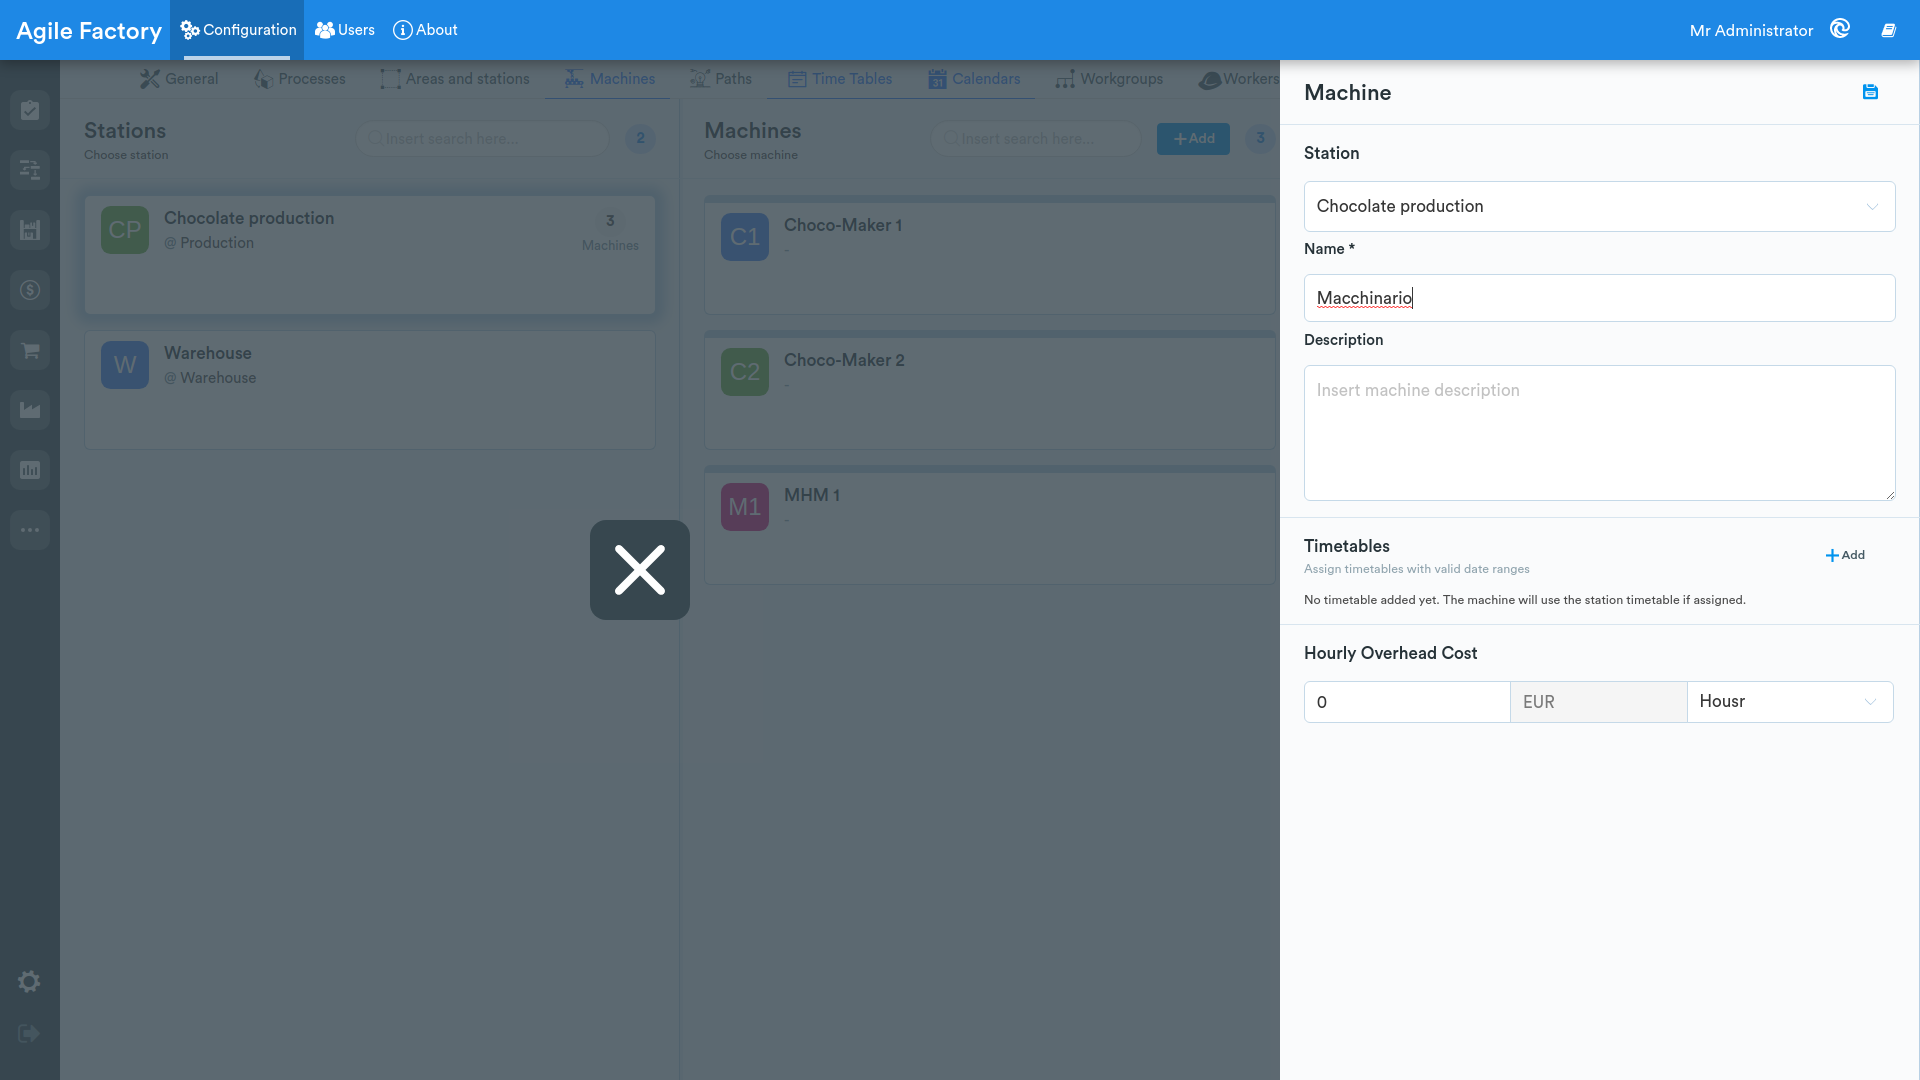
You can set the operating cost of a machine to be able to monitor the production cost of your product in the future.
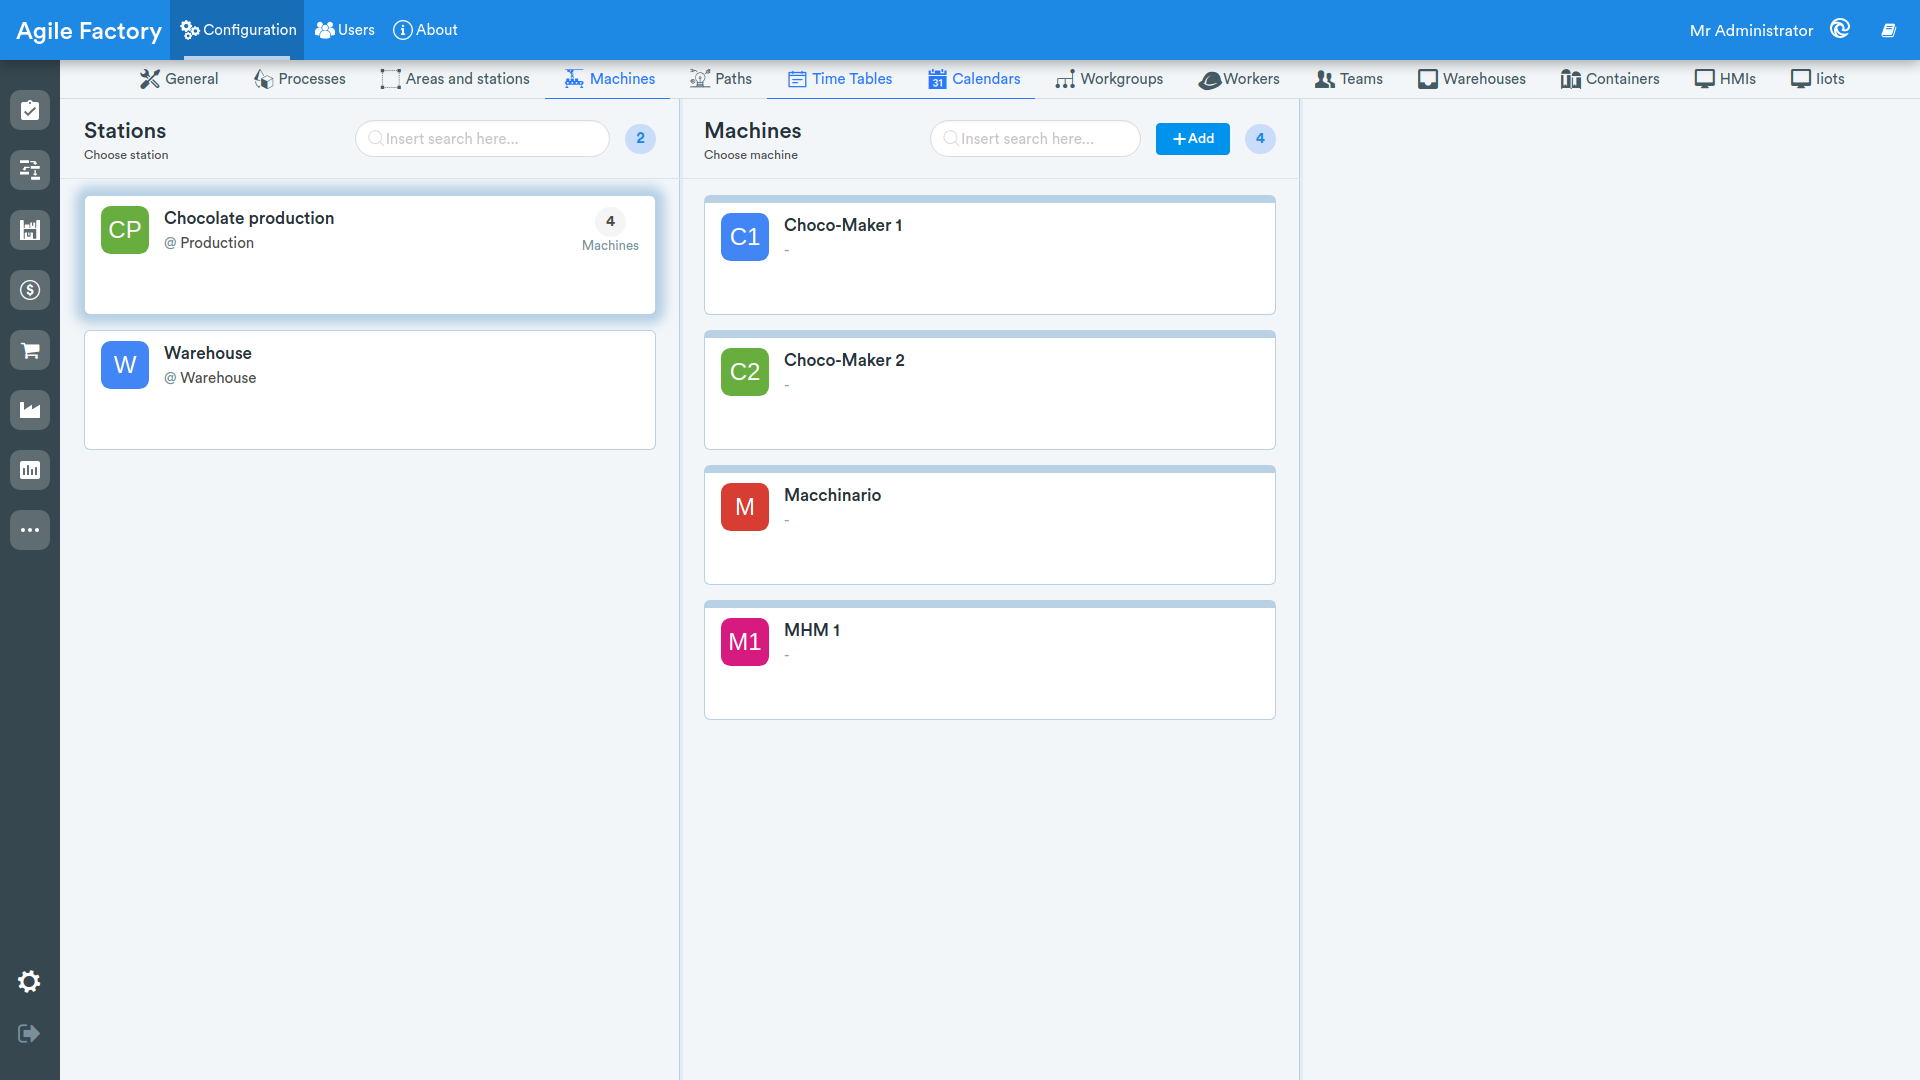
You may also notice an empty "Programs" field, which we will discuss in subsequent sections.
Iiots
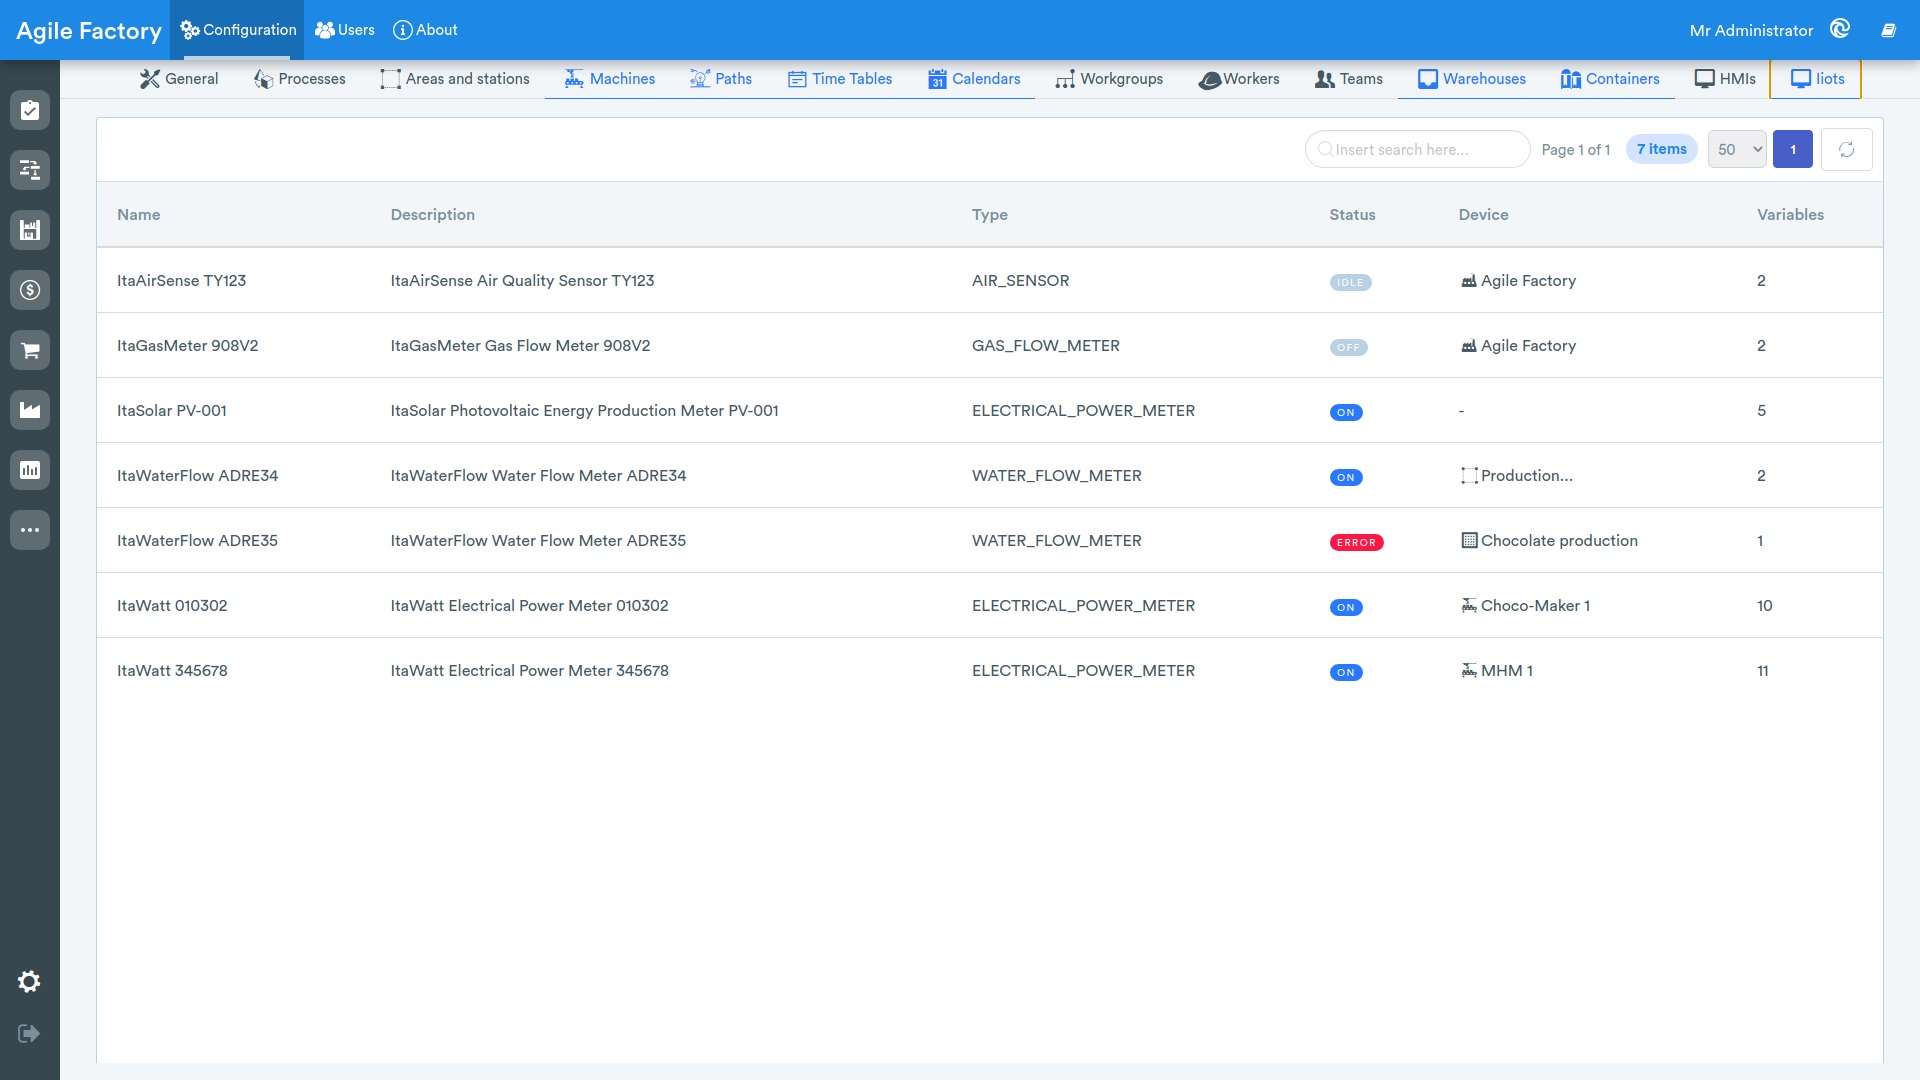
By clicking on Iiots, a screen will appear on which there is an available list of devices for automatic measurement of resources used in production (gas, water, electricity, etc.). This list and characteristics are not currently available for editing from this interface, but can be configured with the assistance of Industrial Cloud S.r.l. specialists. The configuration of this section is relevant if you are using the Connect4i module.
Containers
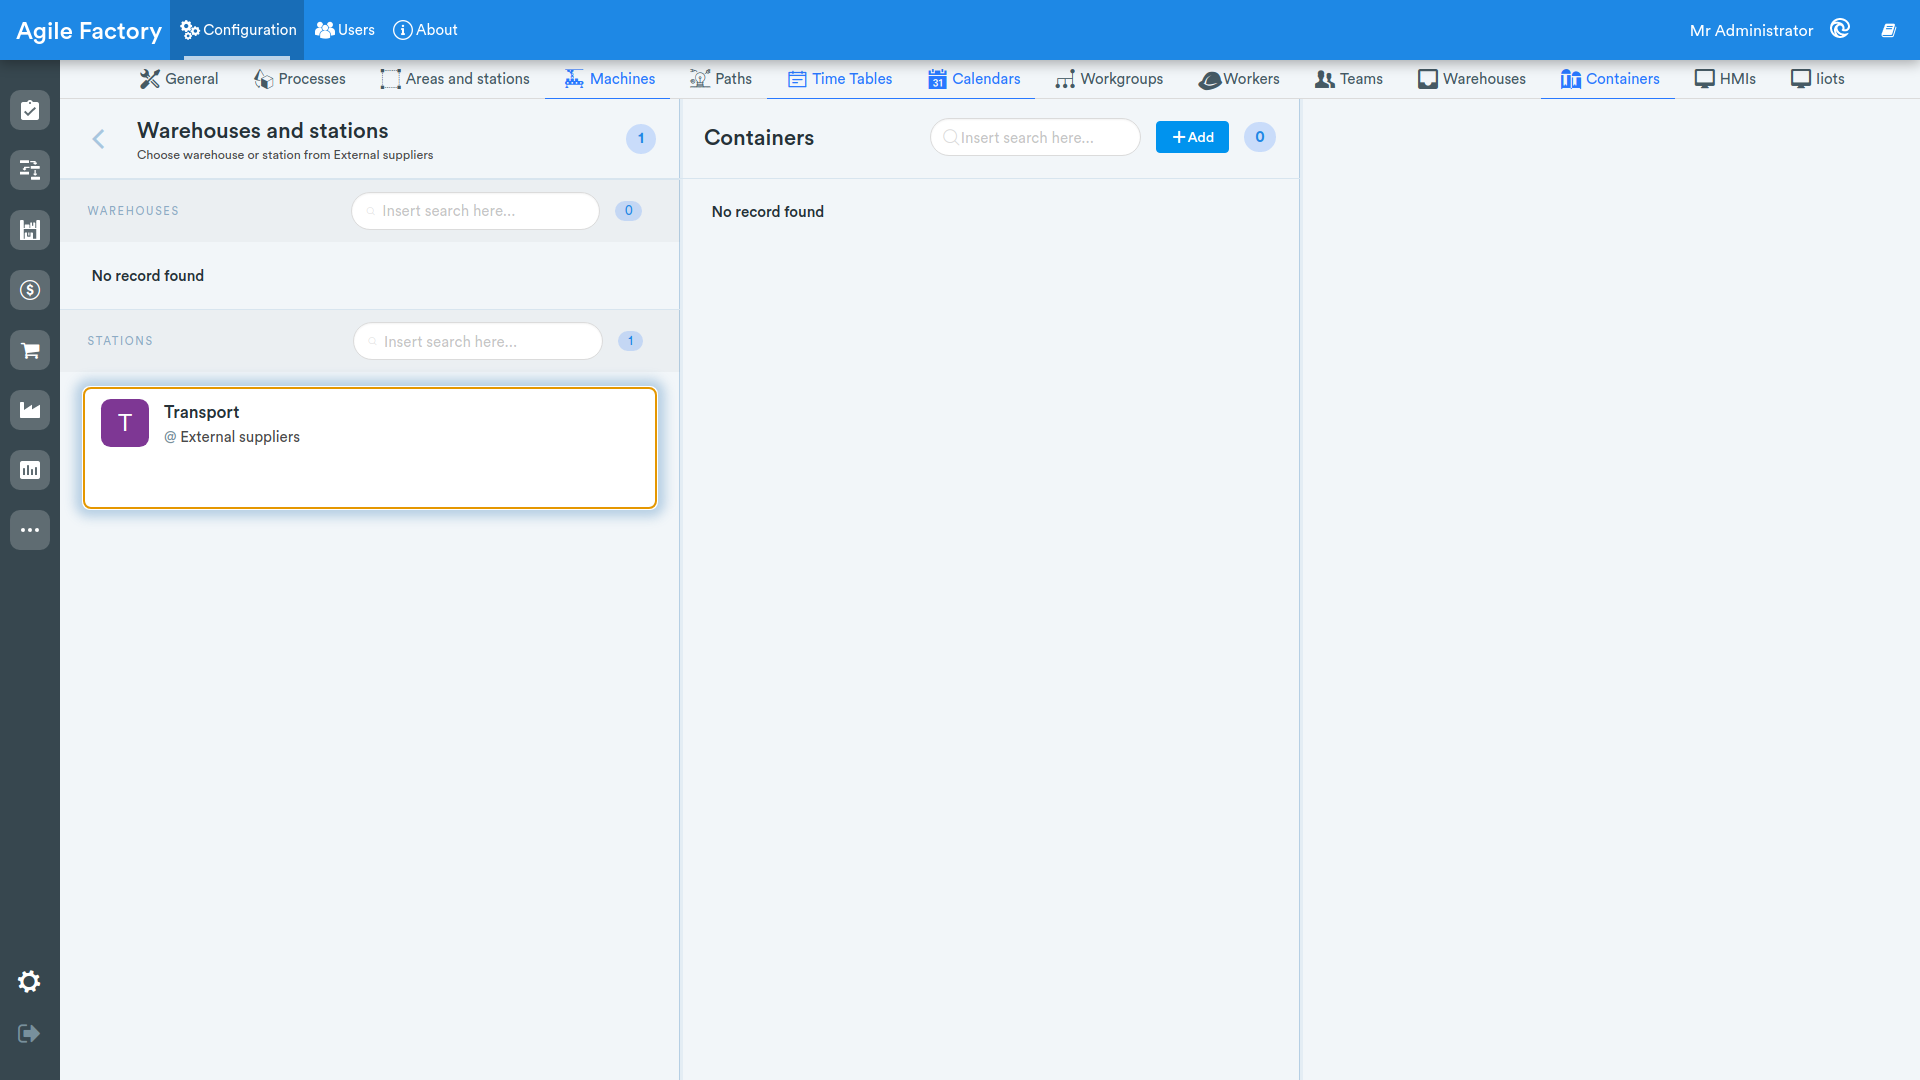
By clicking on Containers, a screen will appear on which the work areas into which the factory is divided will be displayed. By selecting the desired location, you can add a container for a previously created location or station.
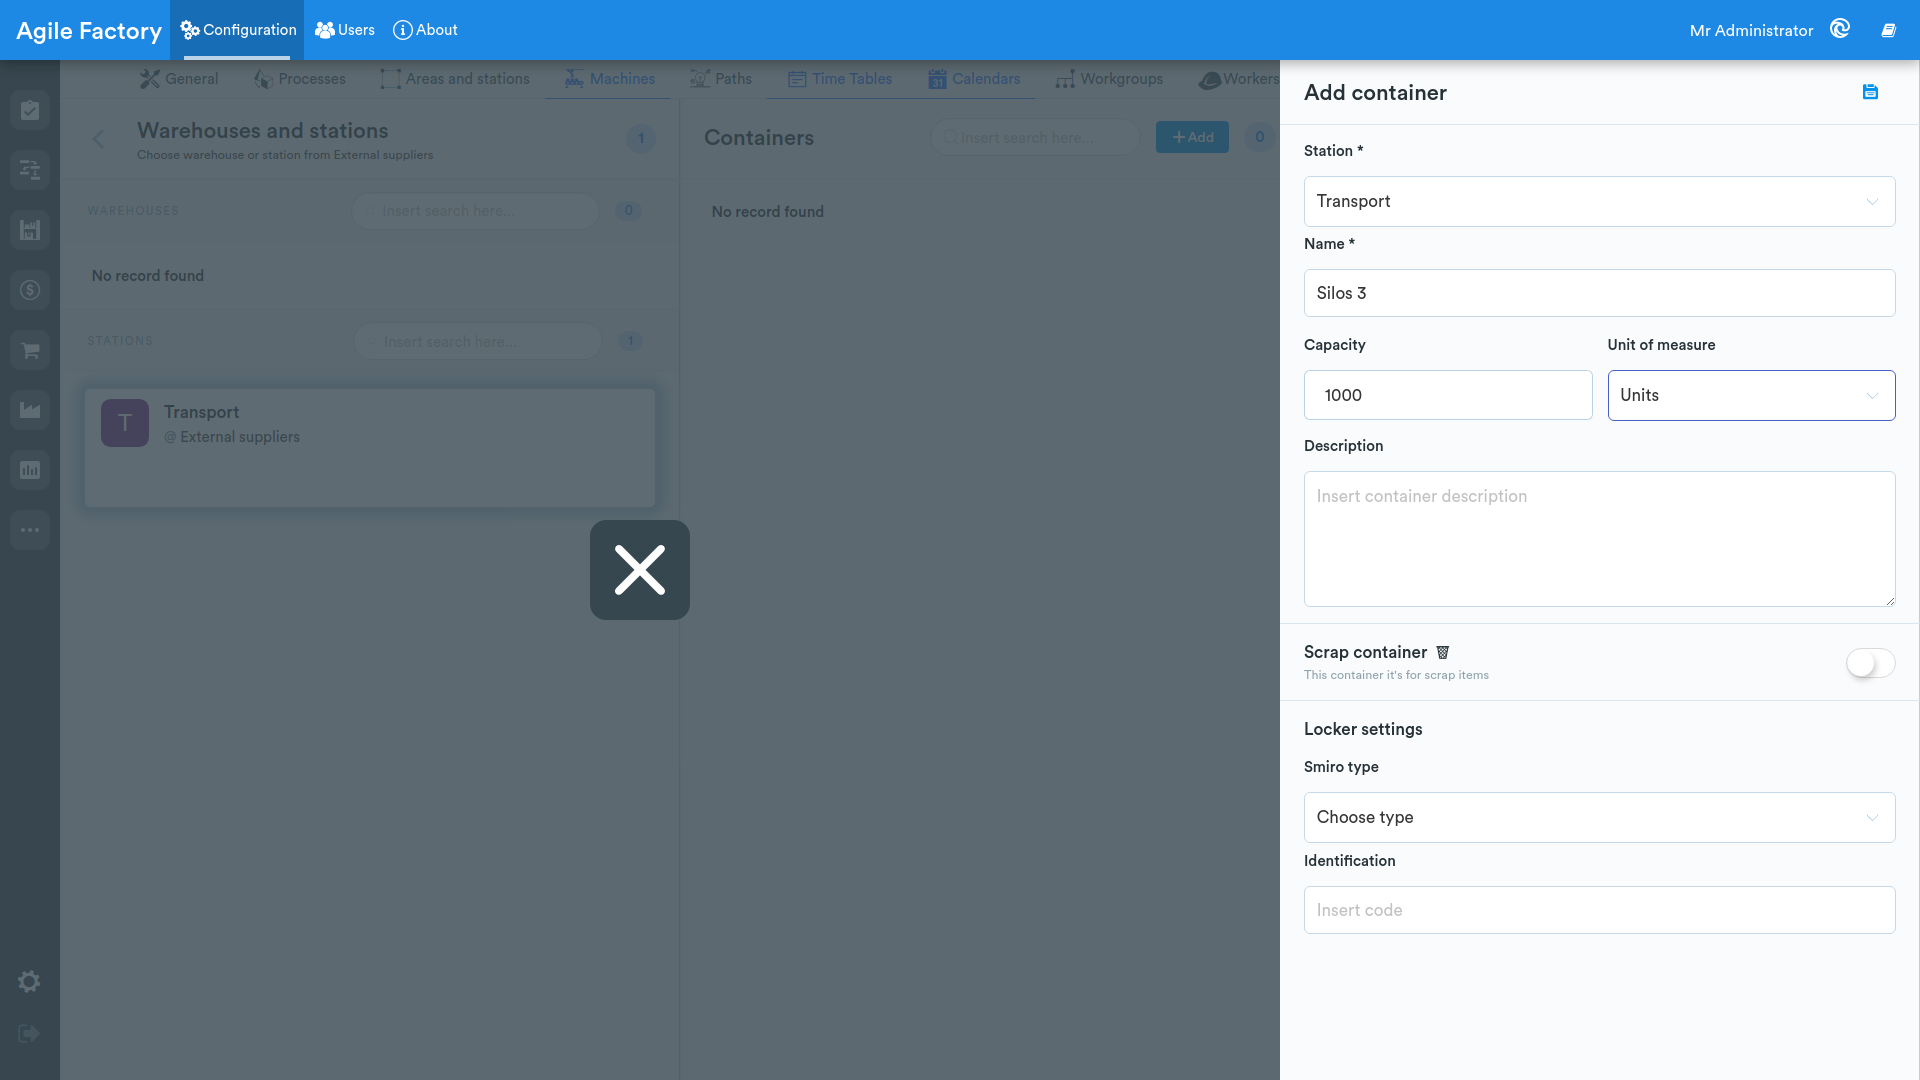
After clicking Add, enter the container name and other details and save. If it is a scrap container, change the switch.
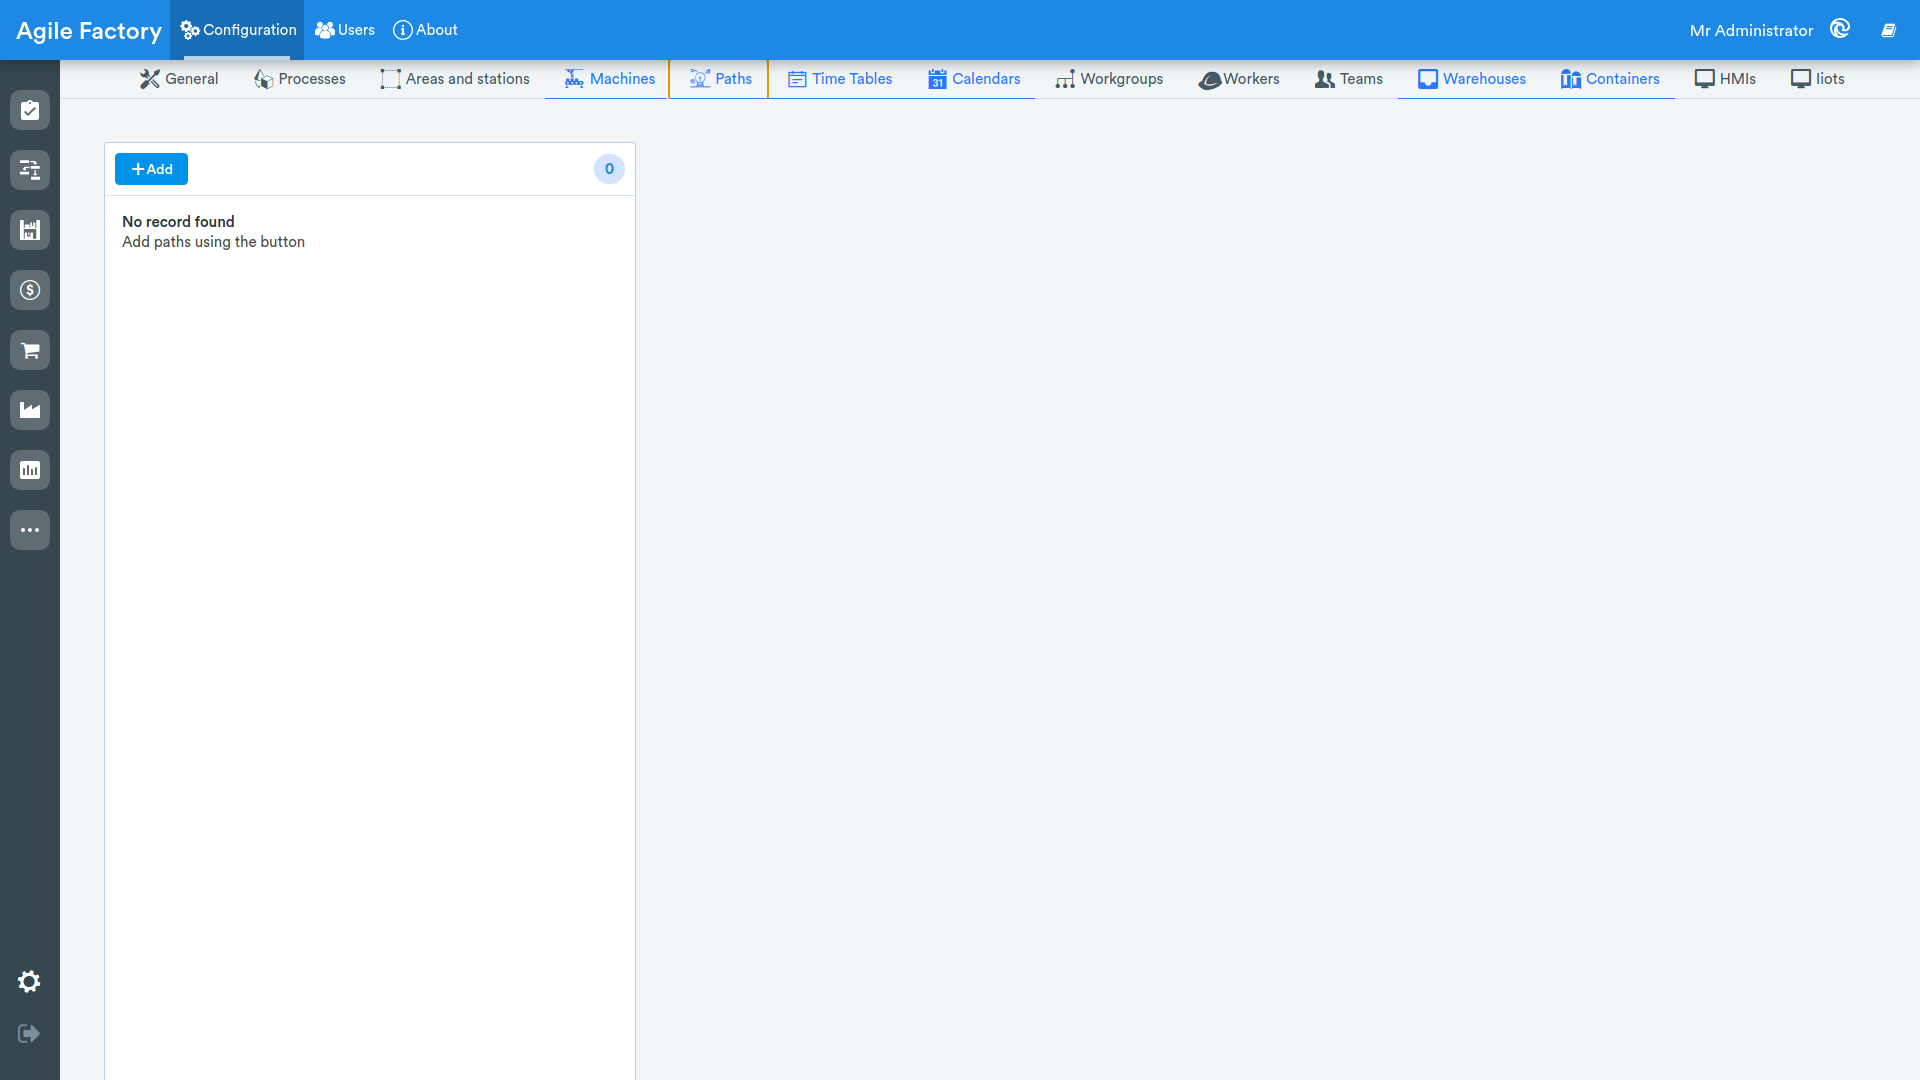
Paths 🔬 
The Paths functionality is currently under development and will be available in the future, we will be sure to let you know.
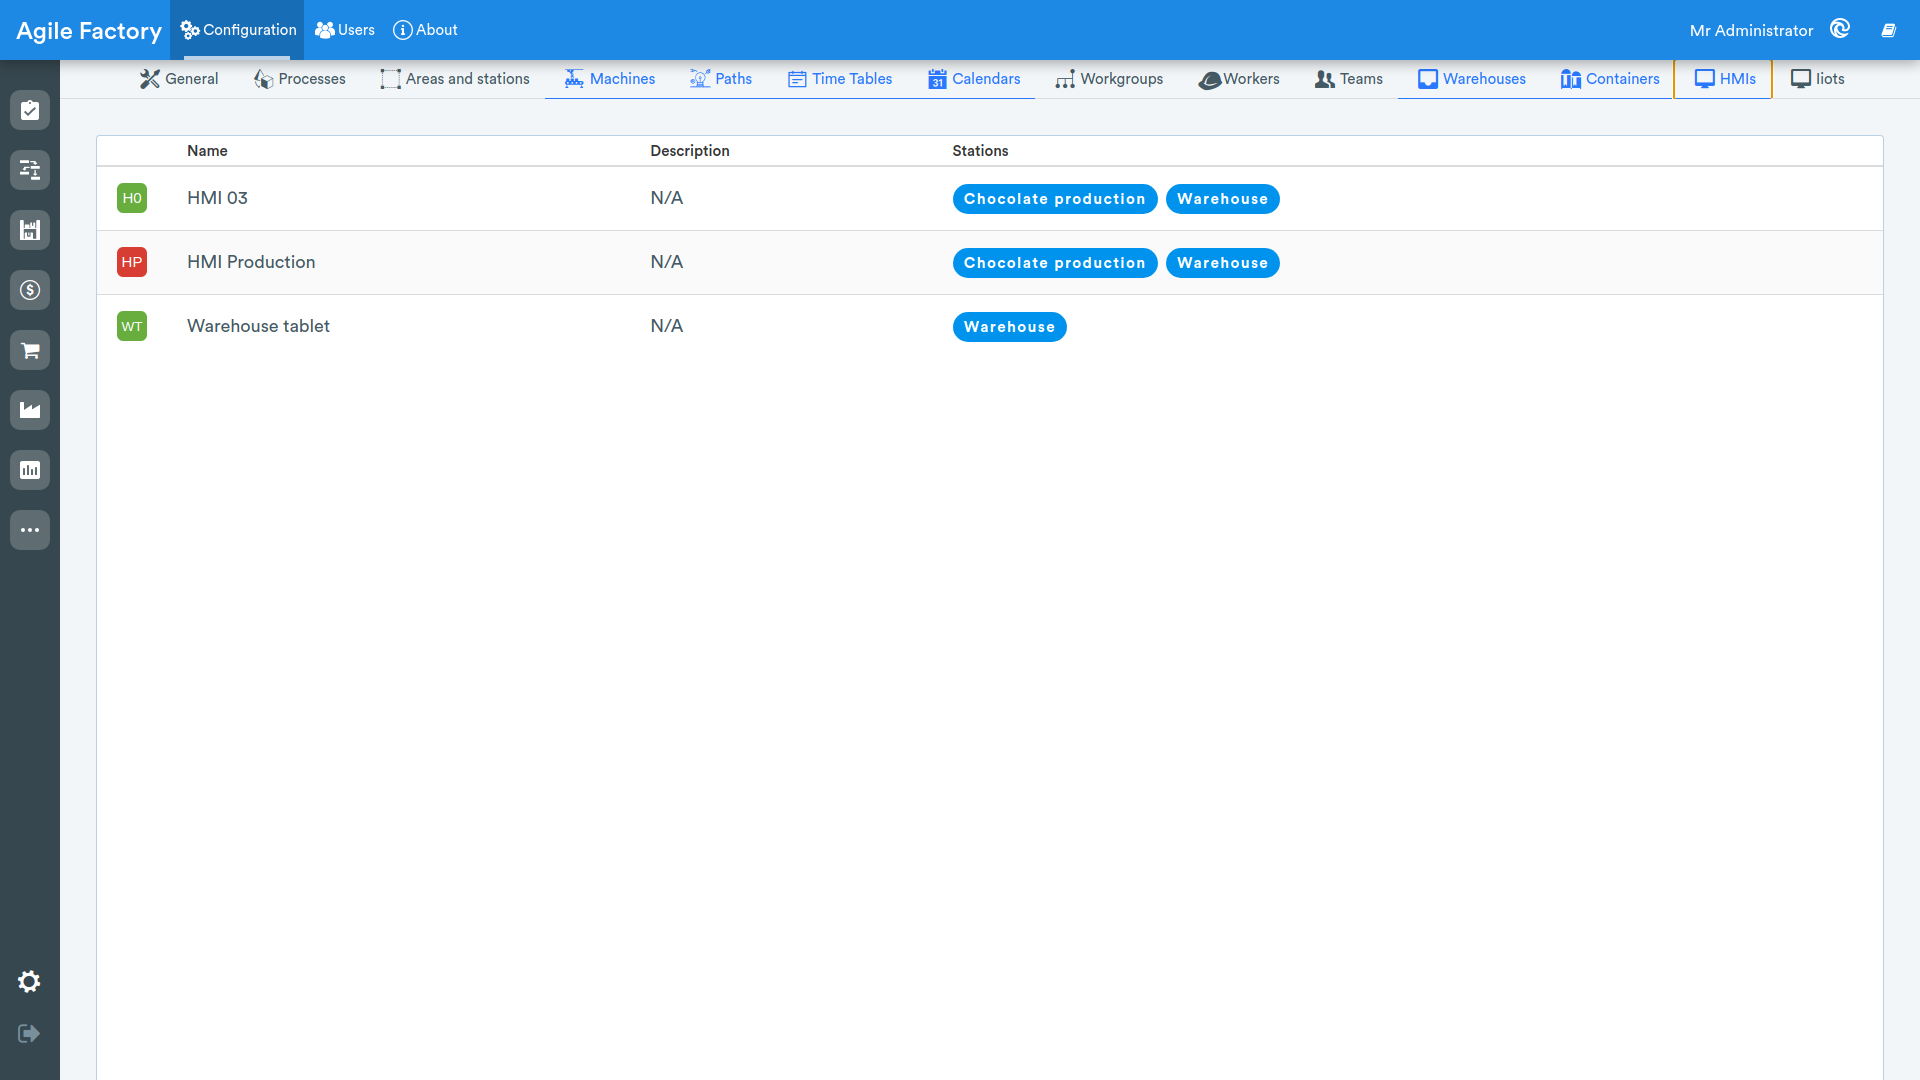
HMI
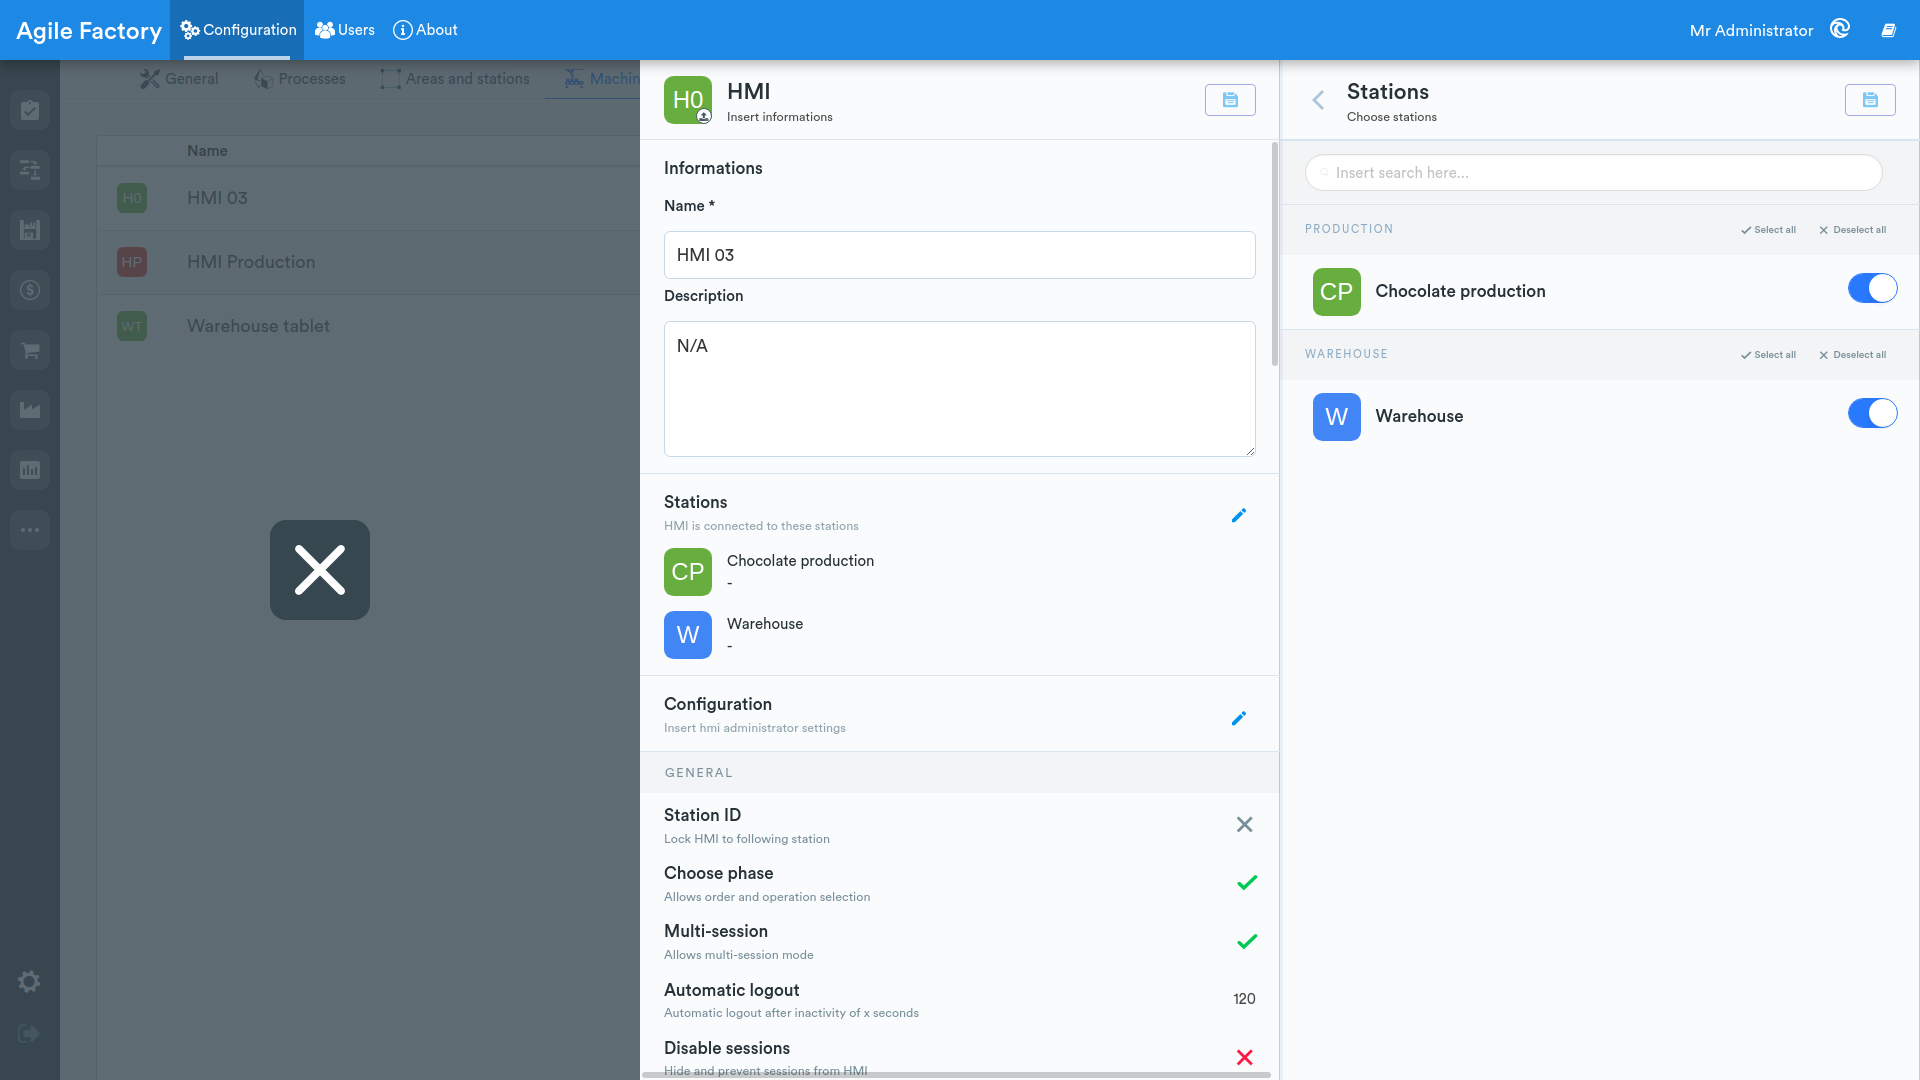
Click on HMI to view the HMIs in the factory, their description and the stations to which they are connected. To use HMIs in your factory, you need to add and describe existing devices, the physical connection of HMIs is carried out as part of the Agile Factory delivery and can be done internally or with Industrial Cloud S.r.l. specialists.
By selecting an HMI, additional information will be displayed. Adding/removing devices is not yet available to the user, we preconfigure the number and type of devices, but in these settings you can change the device description according to your factory's needs. To change the name or description, click on the edit option in the upper right corner.
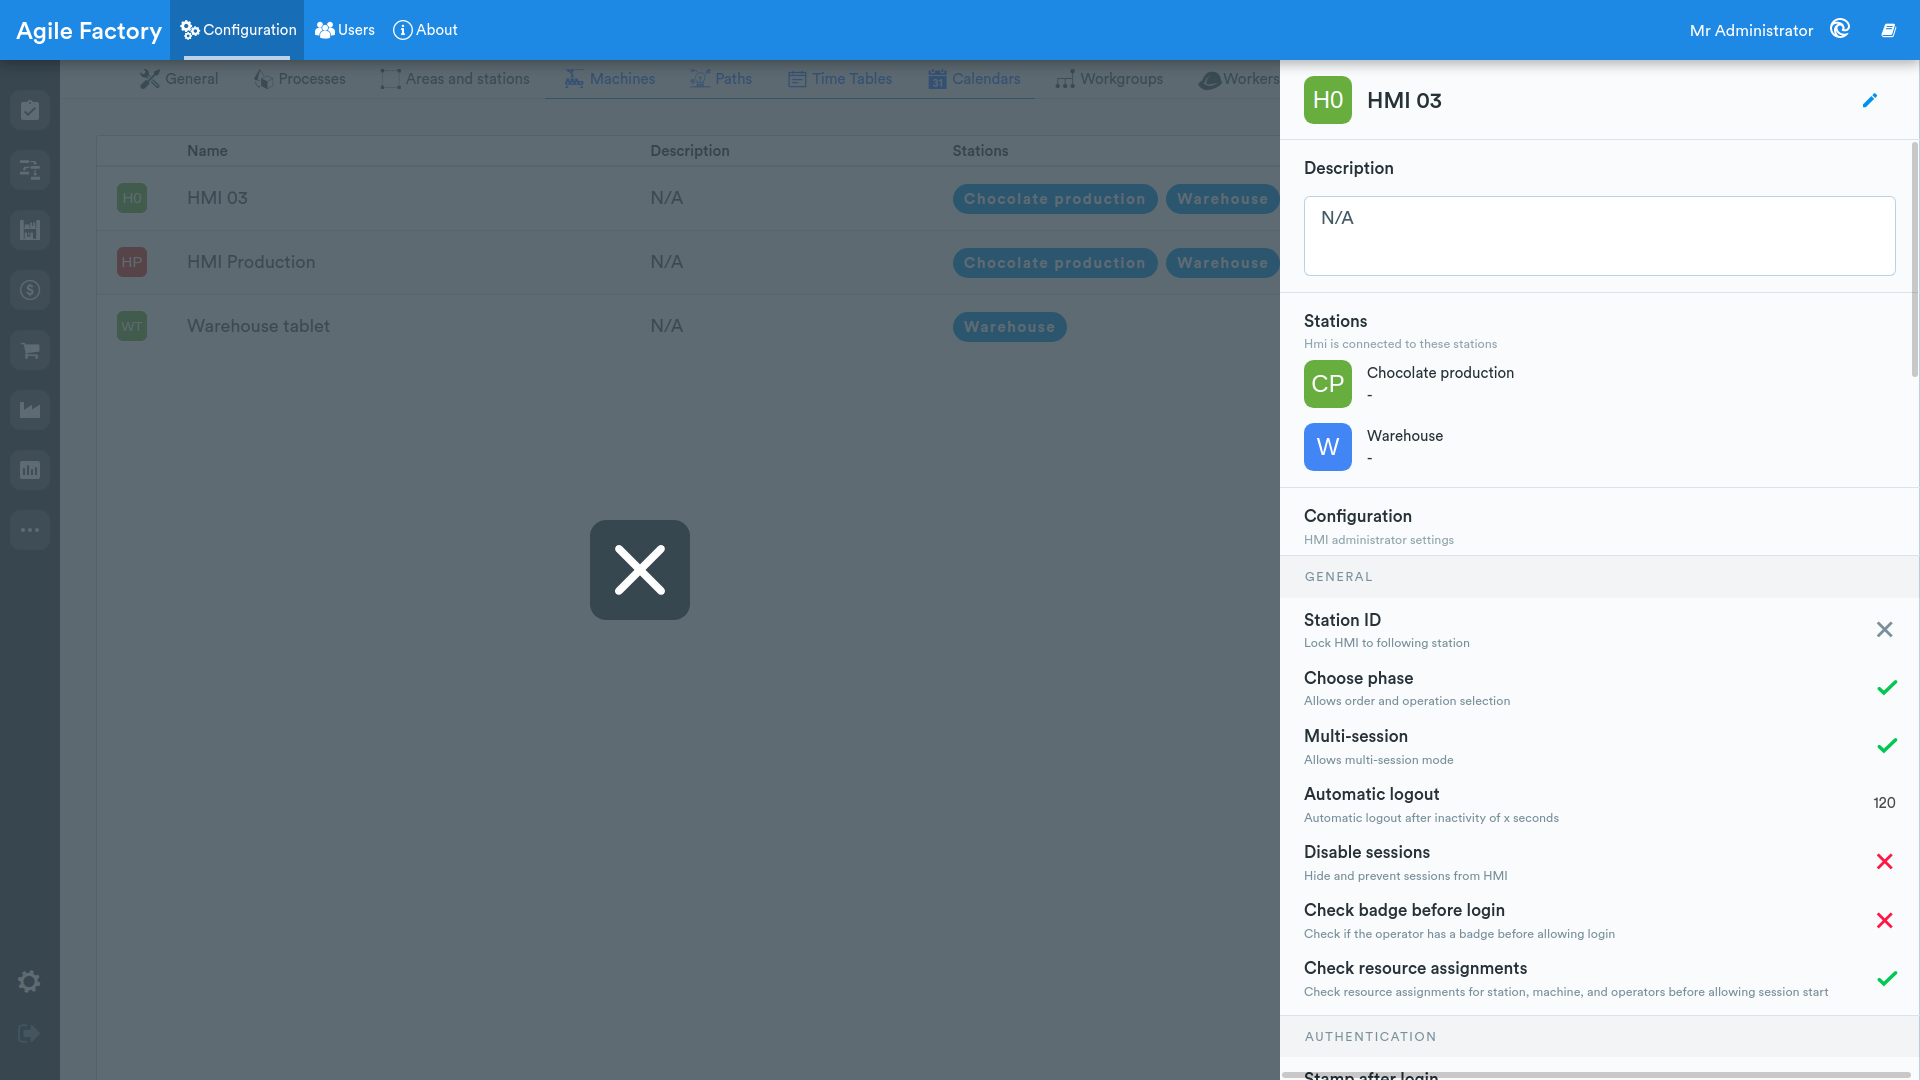
In particular, there are details about the HMI configuration that cannot be changed in this section:
- Multi-session, more than one operation can be performed on the HMI simultaneously
- Automatic logout, disconnects when the set time expires
- Selectable operation, allows the operator to select the operation to perform or binds them to the first order in the station queue.
- Operators can choose the machine on which to perform the operation.
The above parameters are configured as part of Agile Factory delivery by Industrial Cloud S.r.l. specialists.
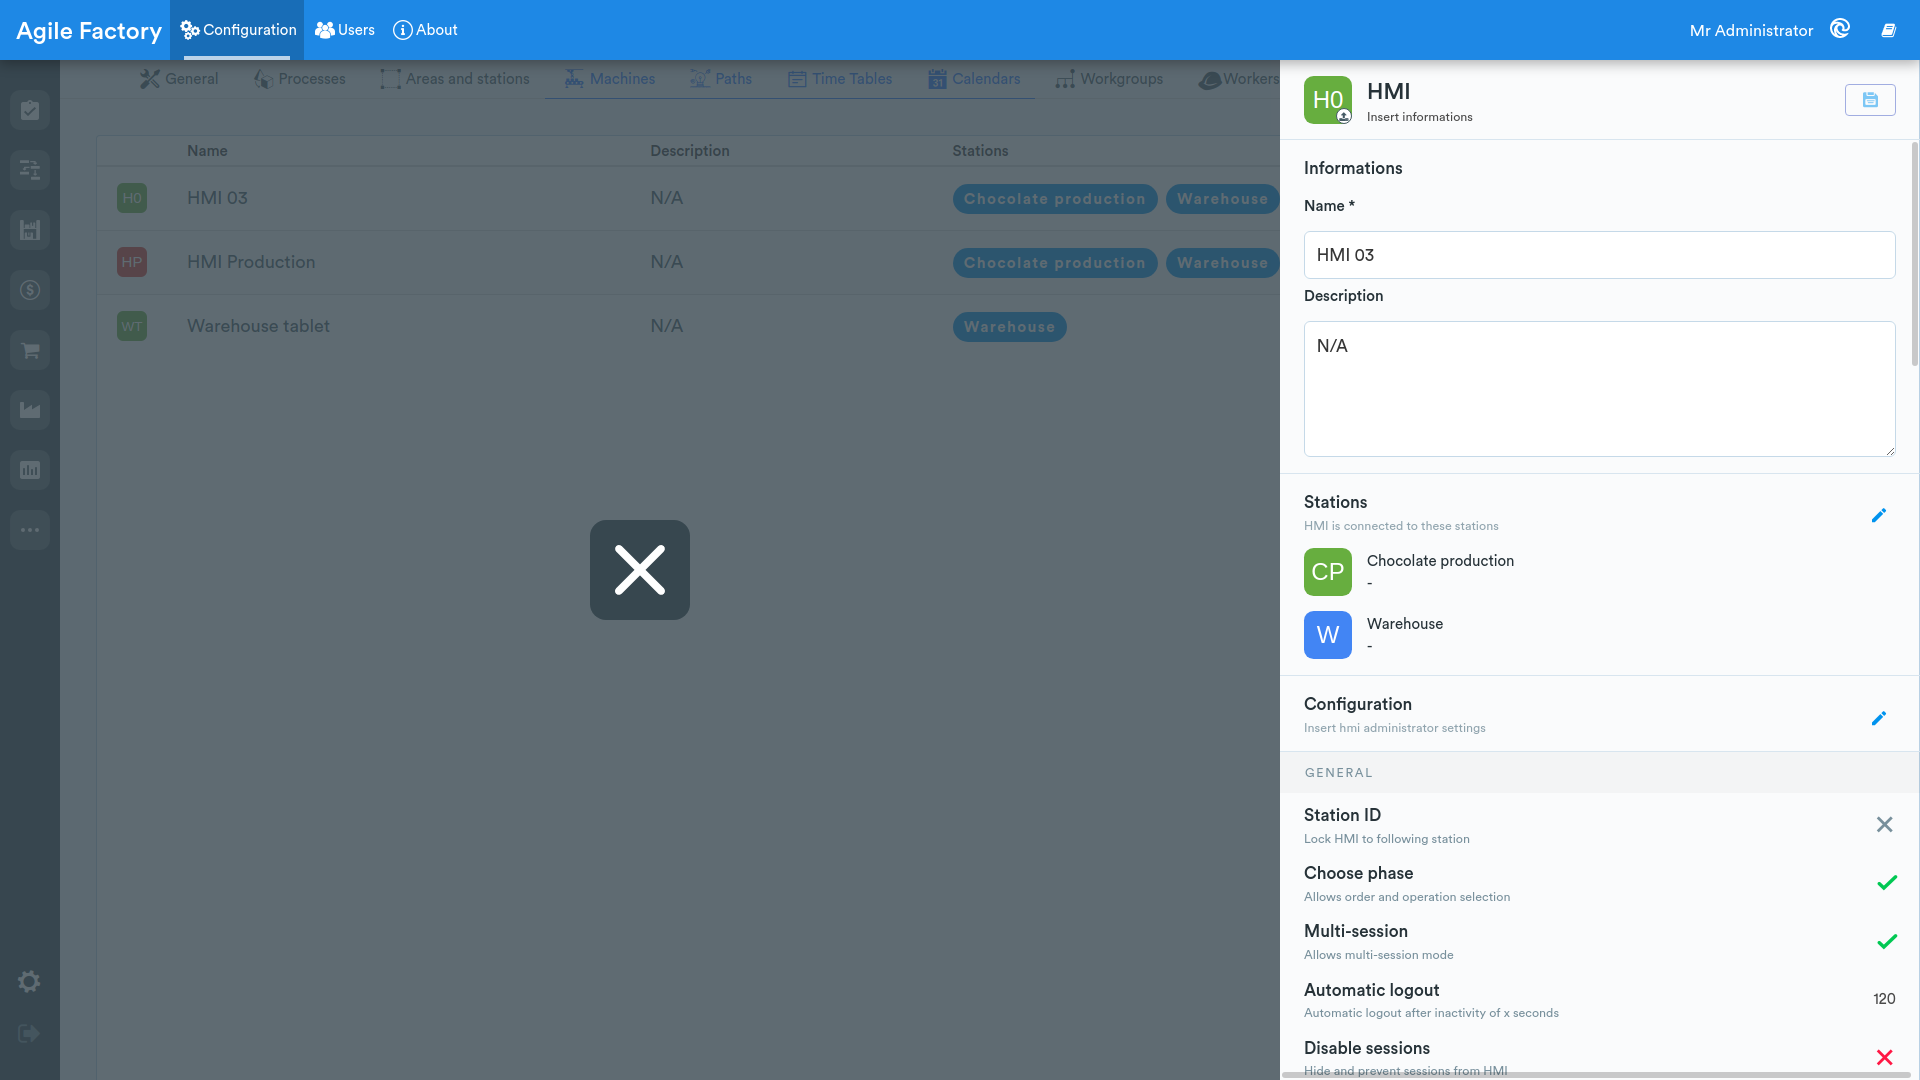
You can change the name of the stations to which the device will be connected by clicking on the pencil.
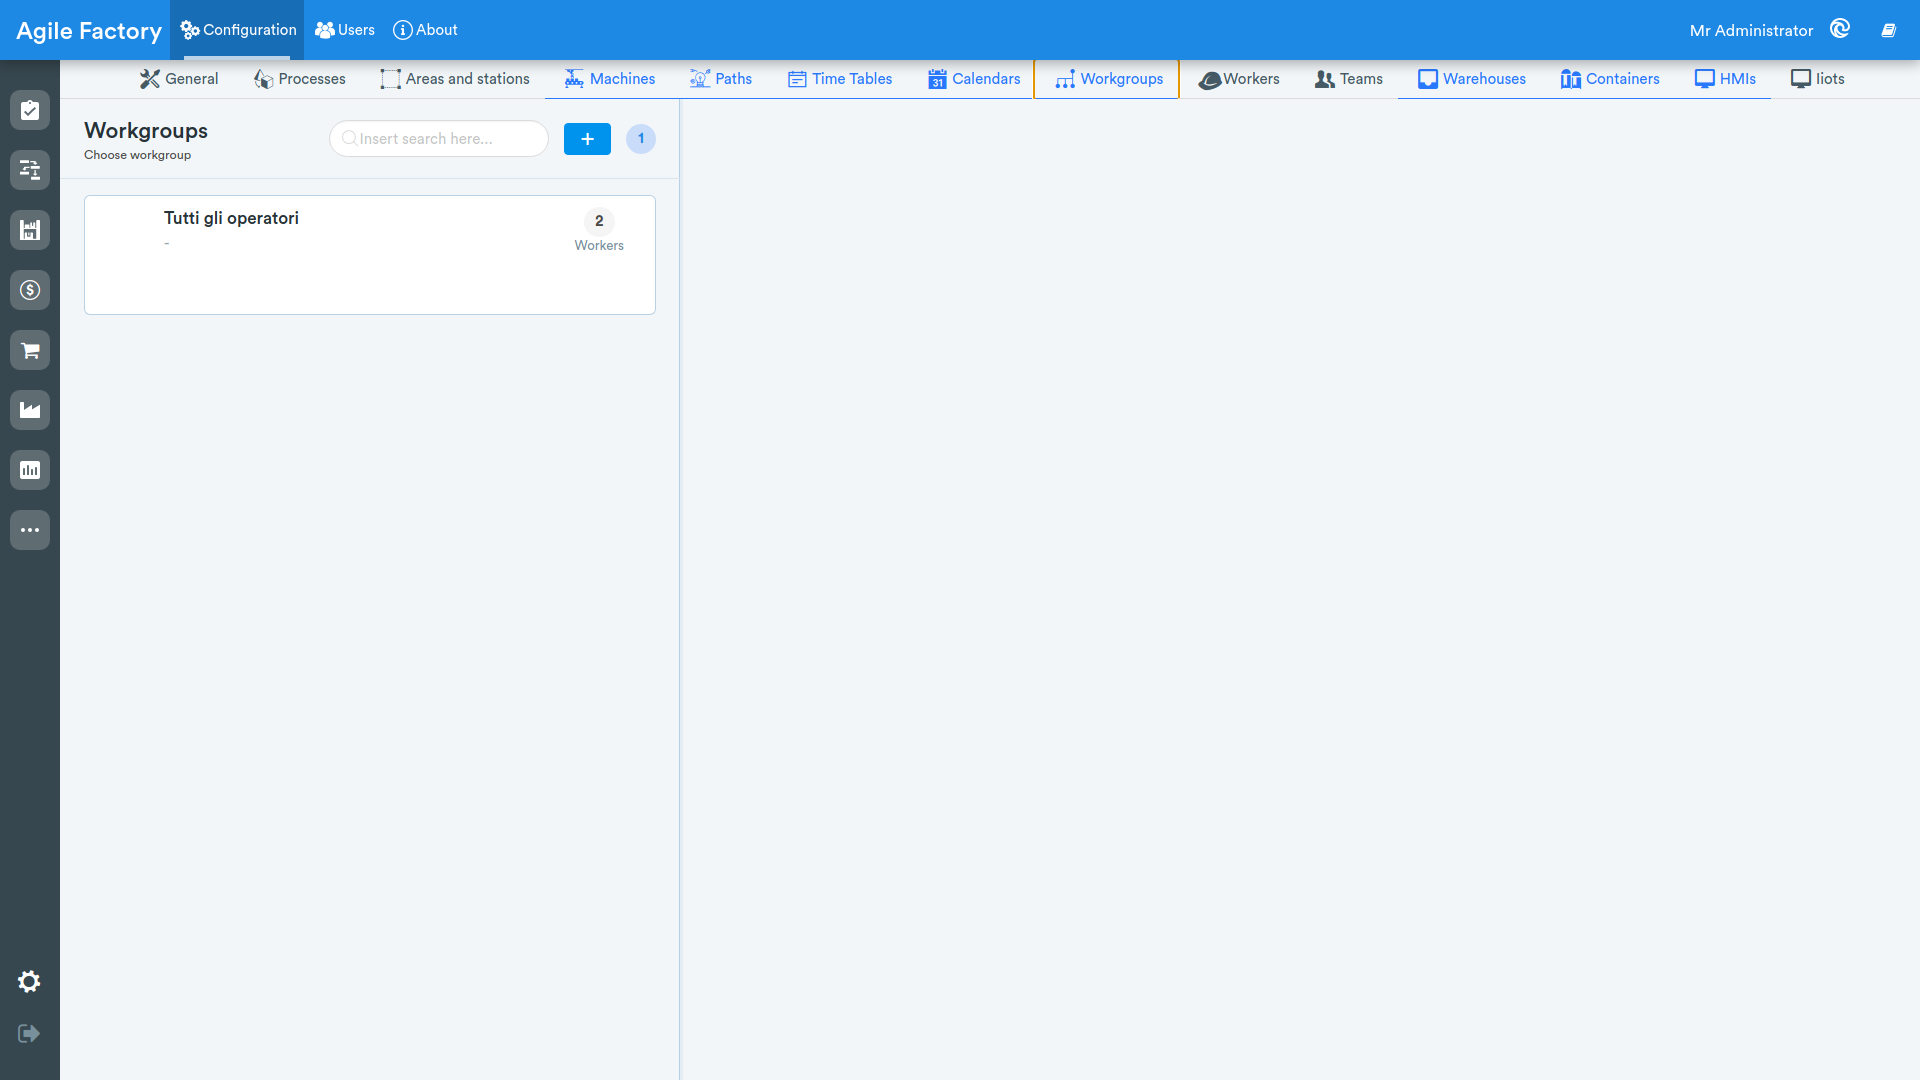
Workgroups
By selecting the Workgroups item, a screen appears that presents the created Workgroups.
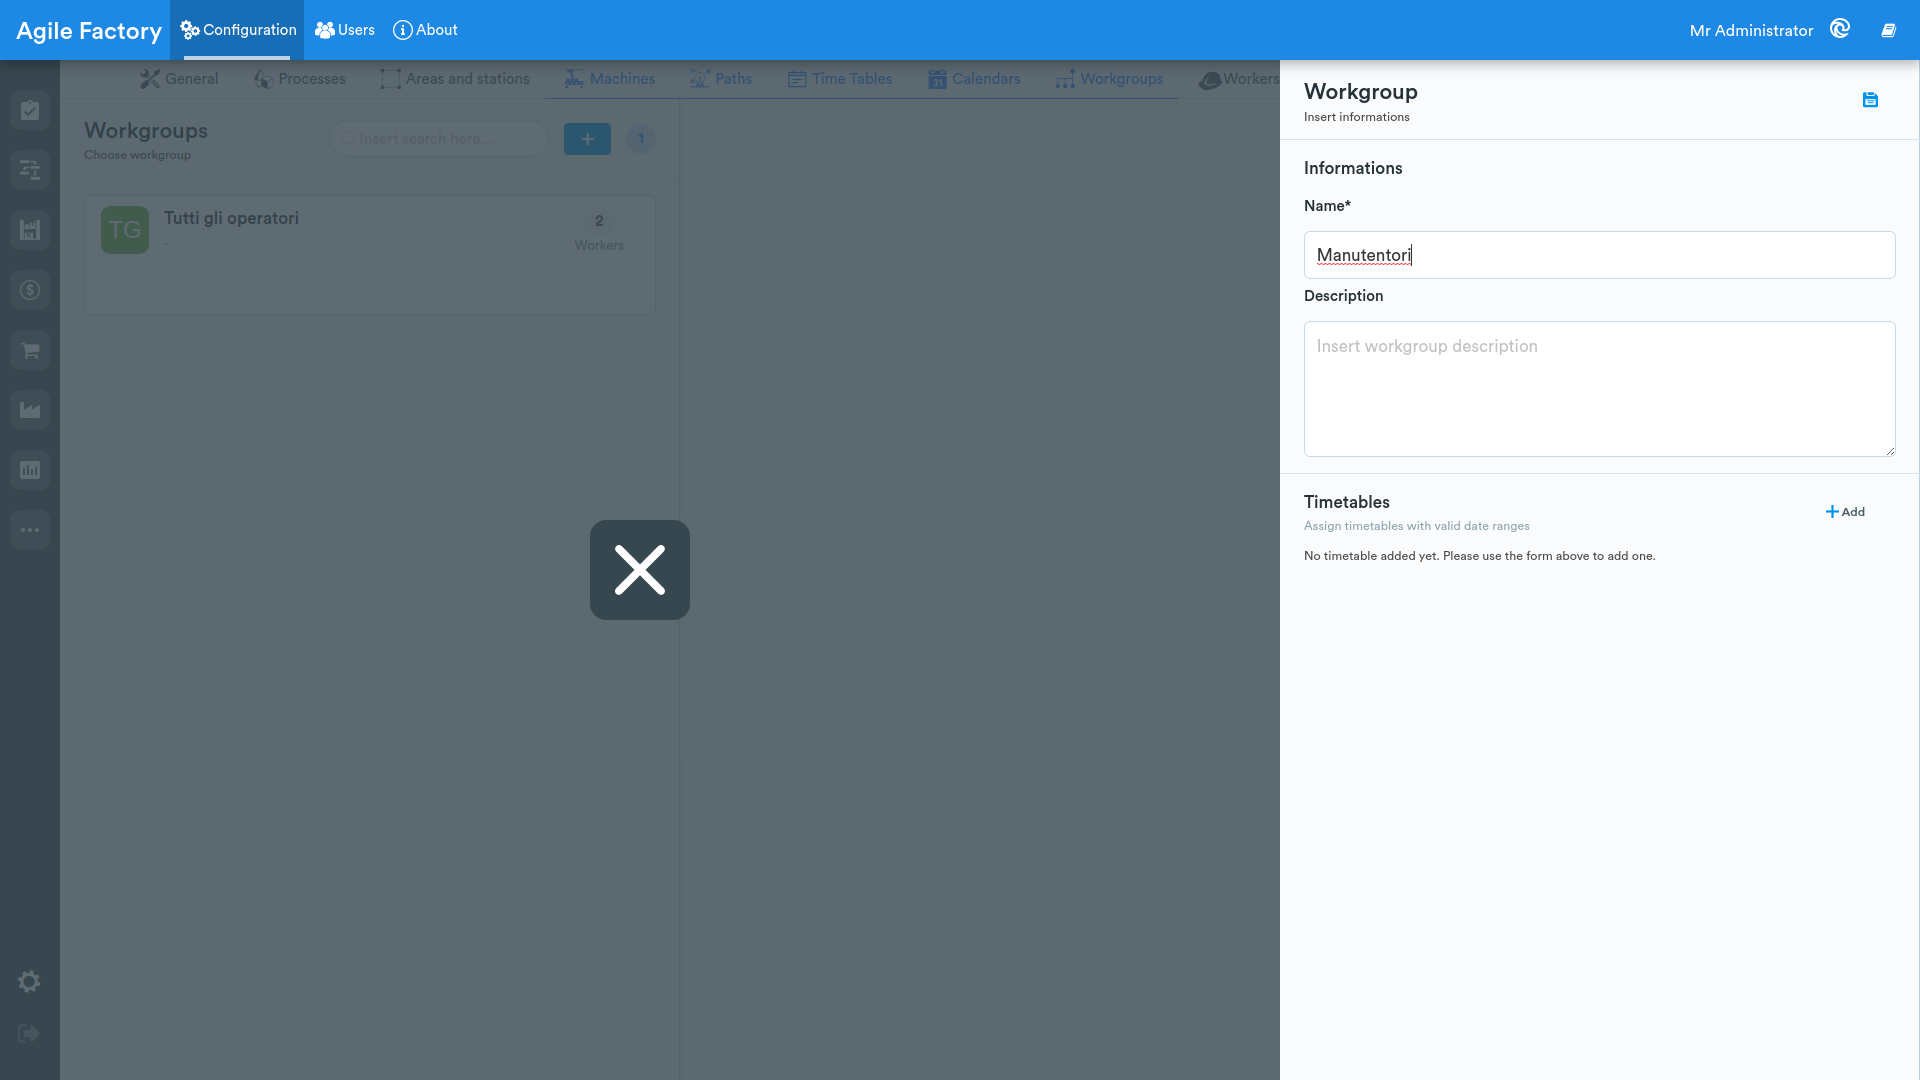
Click on + to create a new Workgroup.
By clicking on the icon with the three context dots, you can view details about the Workgroup.
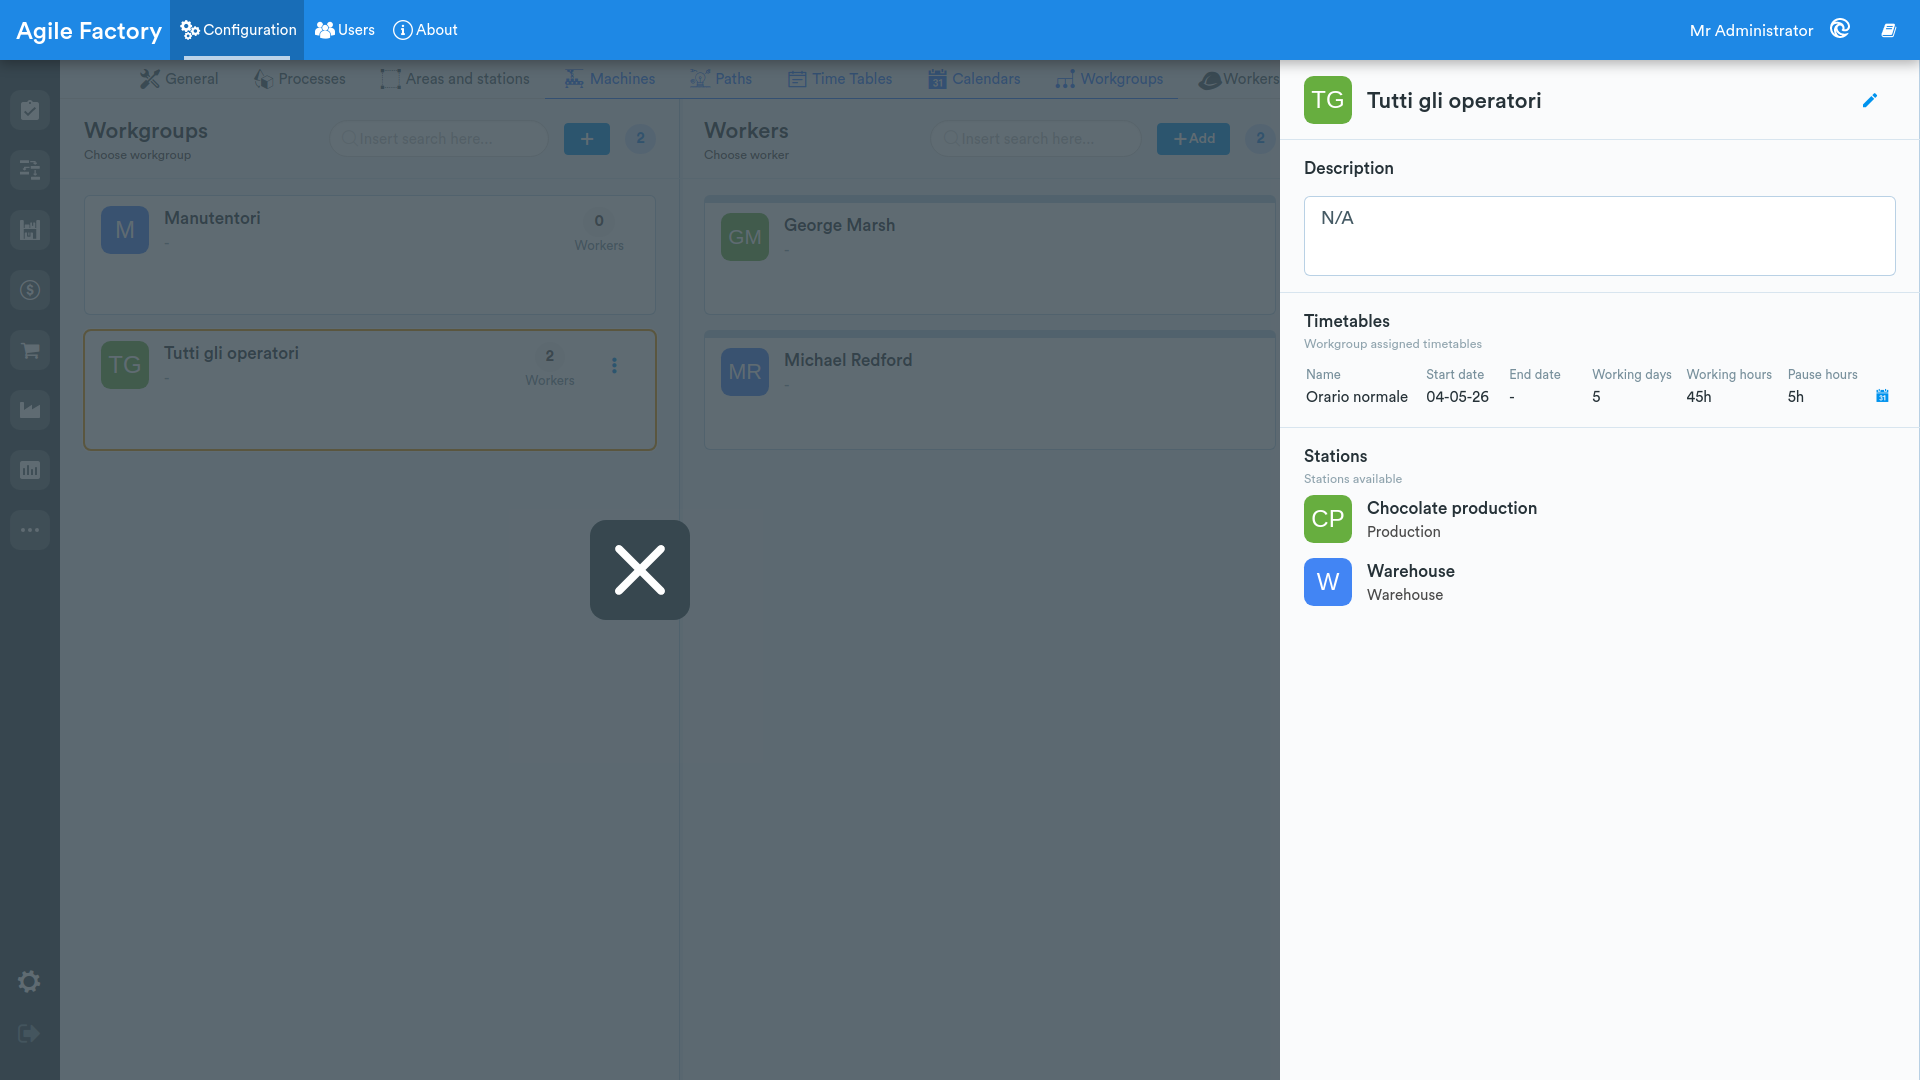
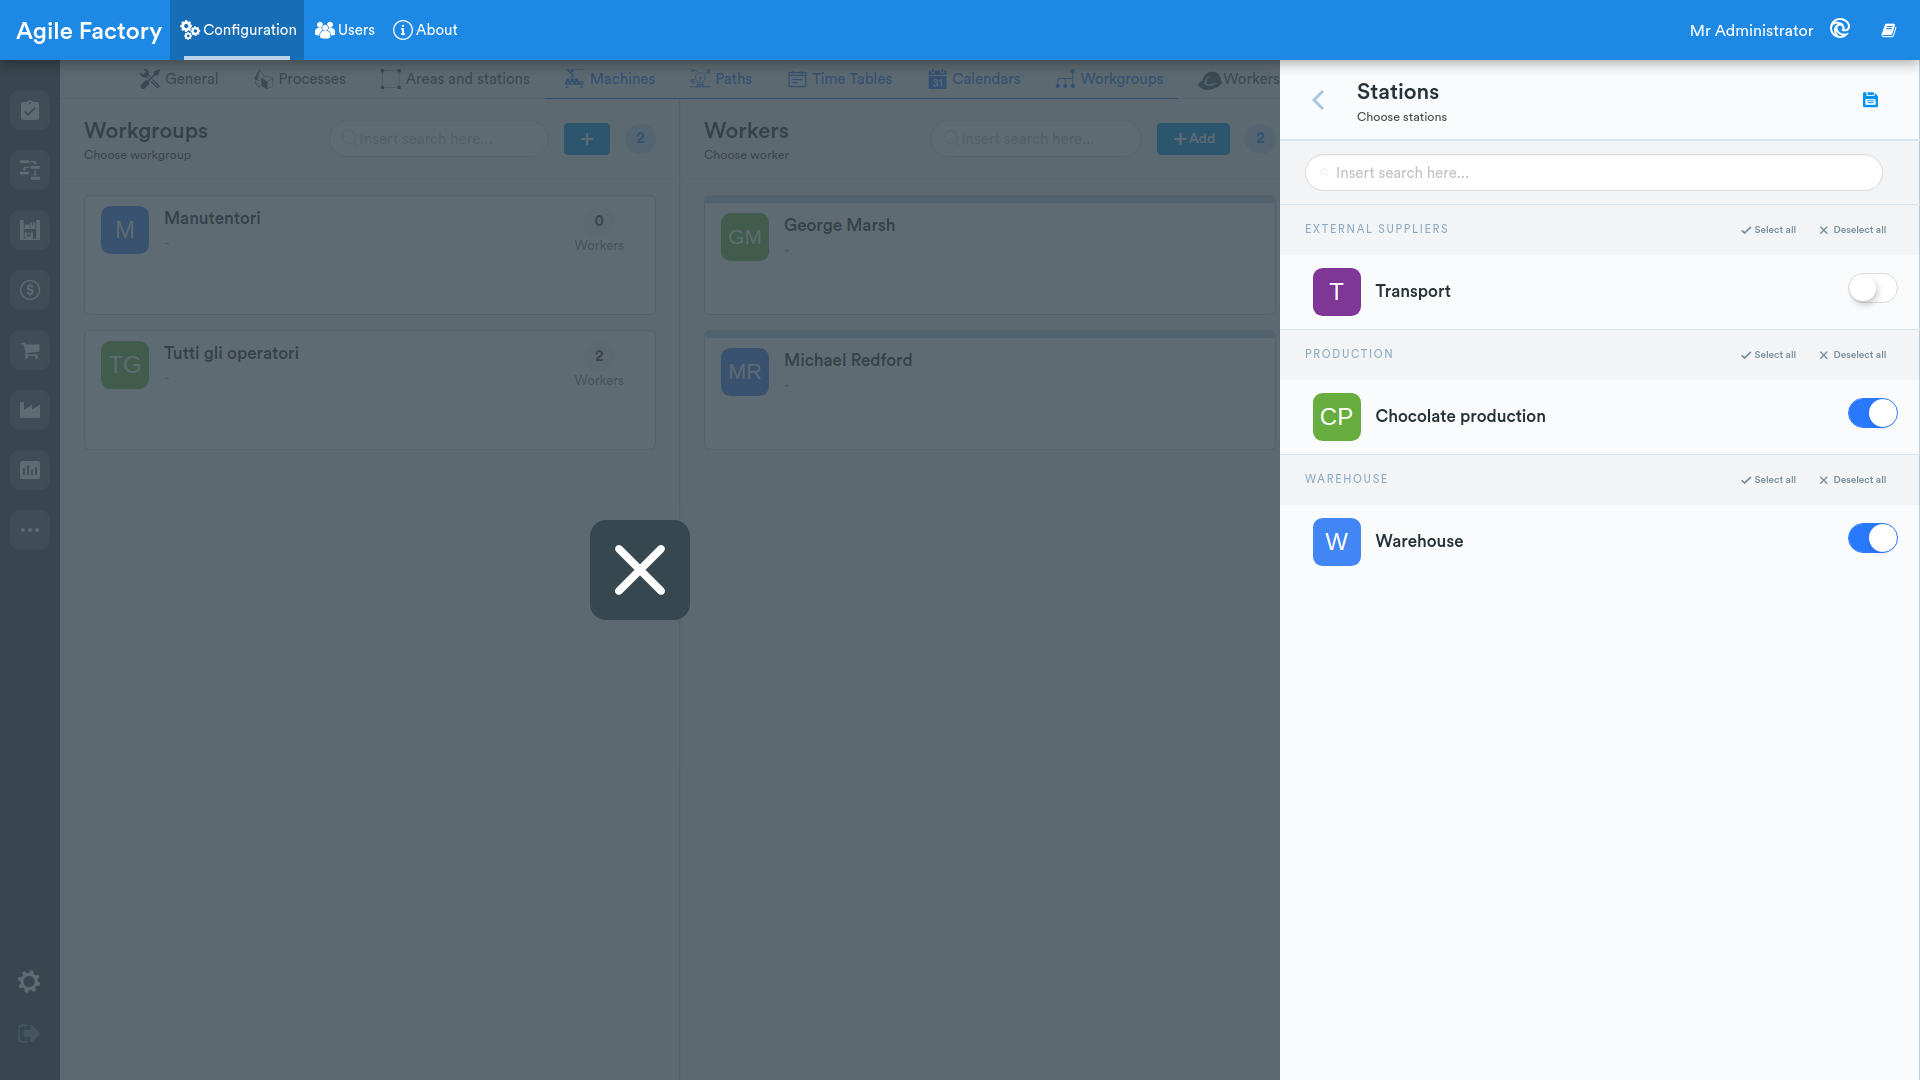
By clicking on the edit option, the group name and respective description can be changed, and you can also select the stations to which the production station will be assigned.
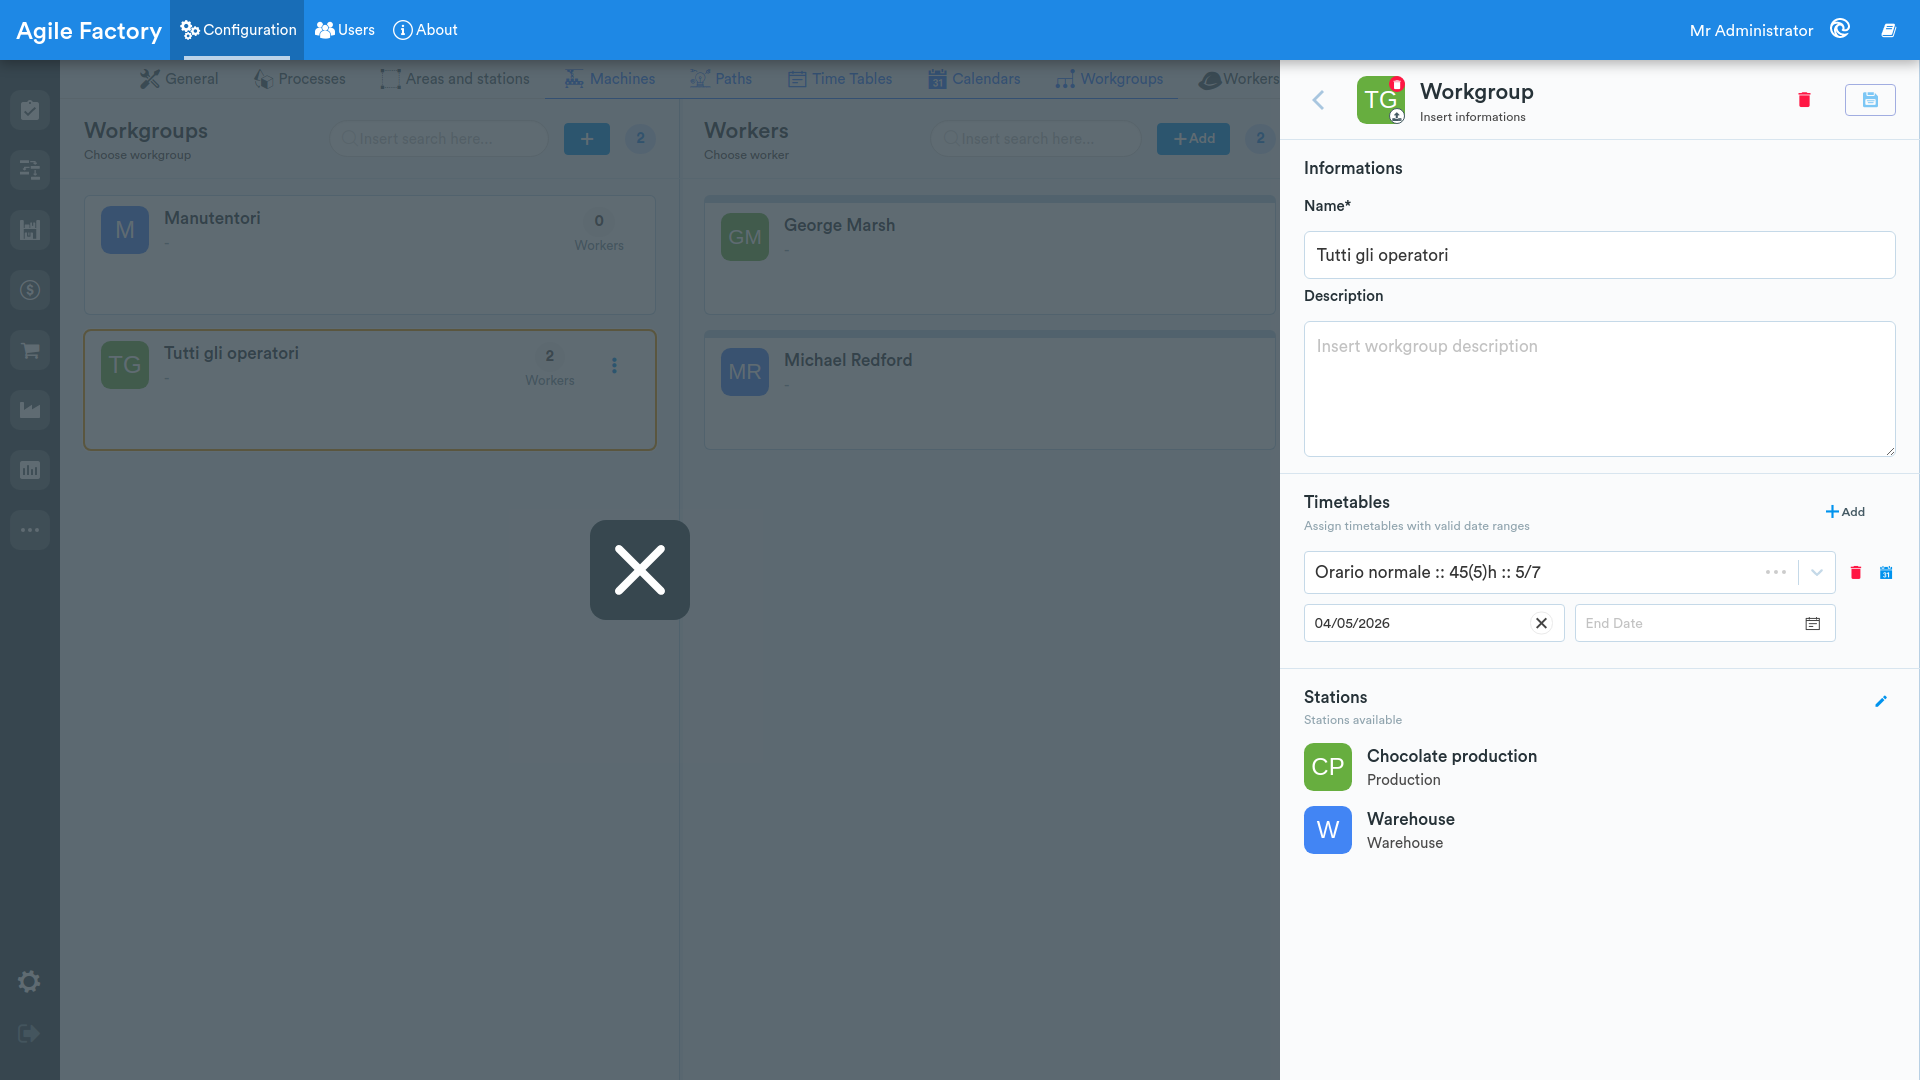
By selecting a Workgroup, a list of operators who are part of it will be displayed.
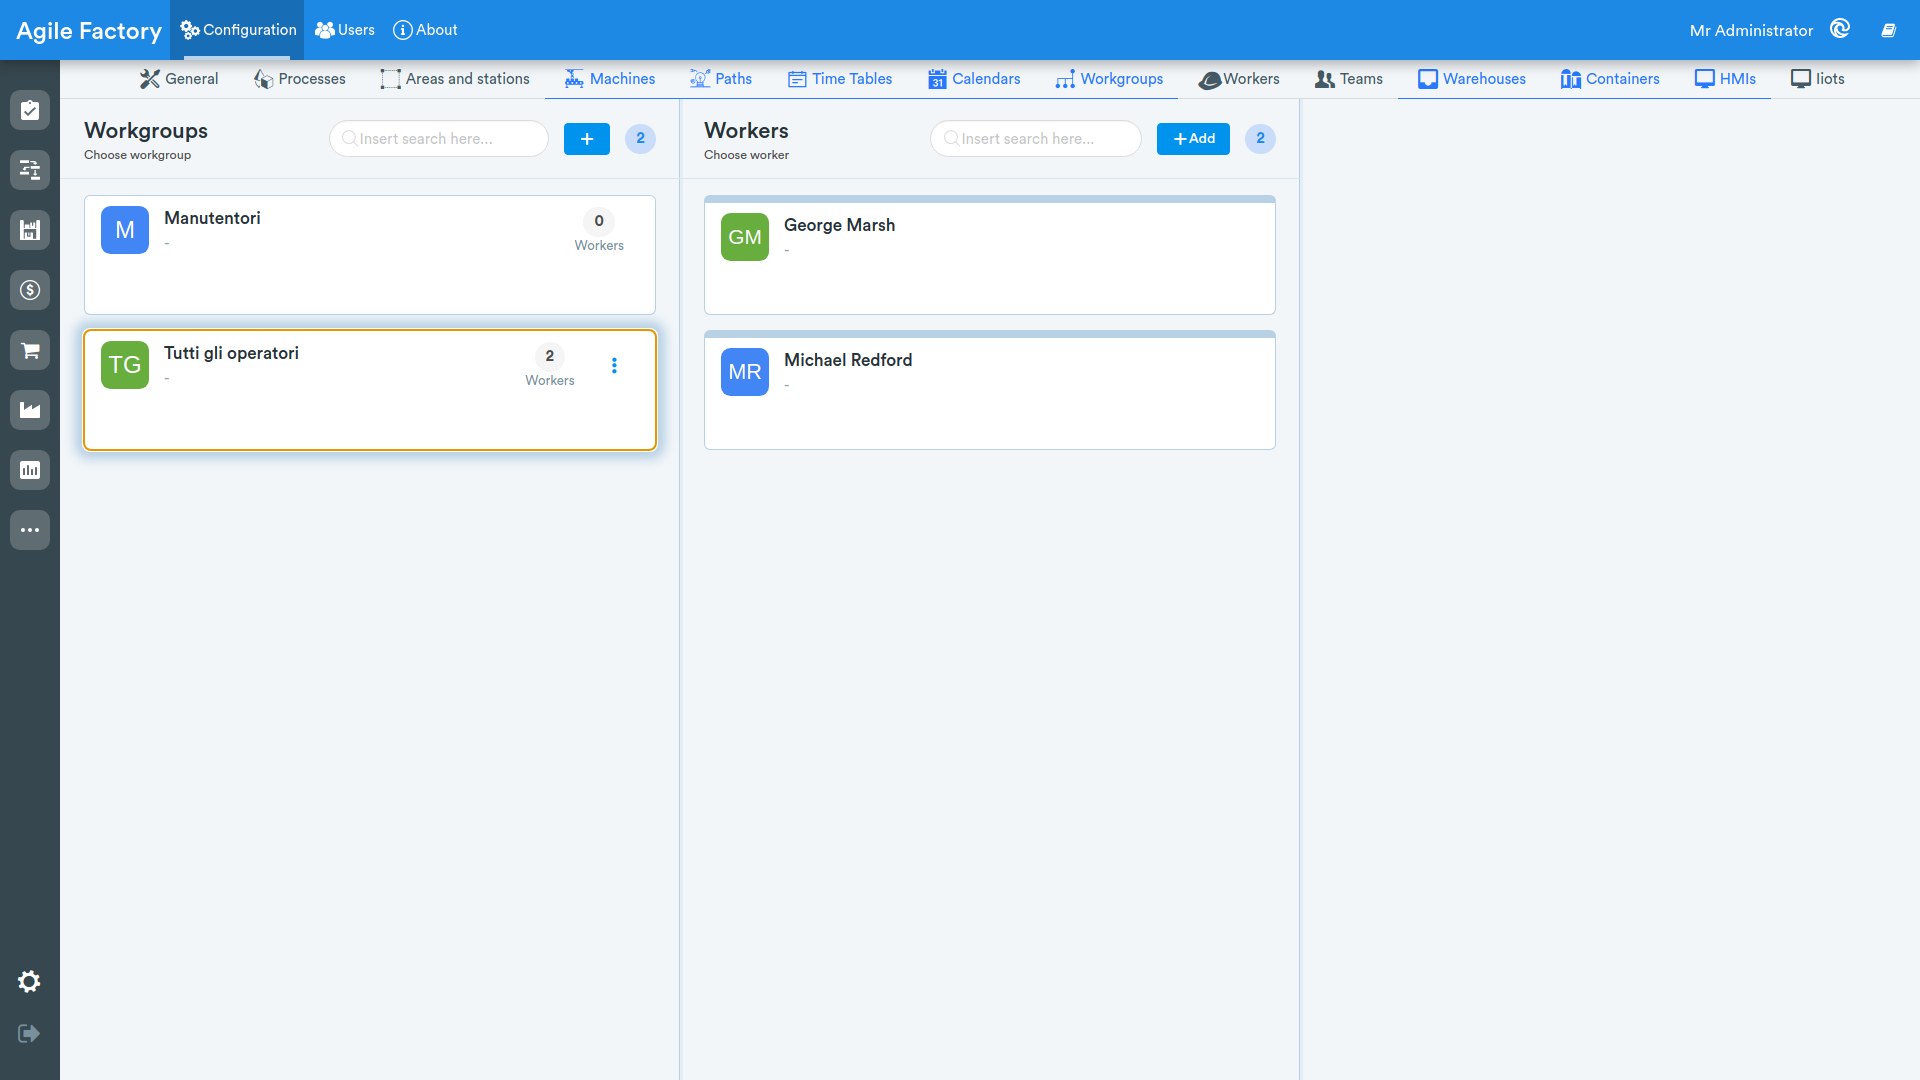
By pressing the Add button, the operator selection screen will be presented. It is important that before this step the list of workers has already been entered into the Agile Factory database, this is done in the Operators section of the settings.
It will be sufficient to click on a worker to add or remove them from the Workgroup.
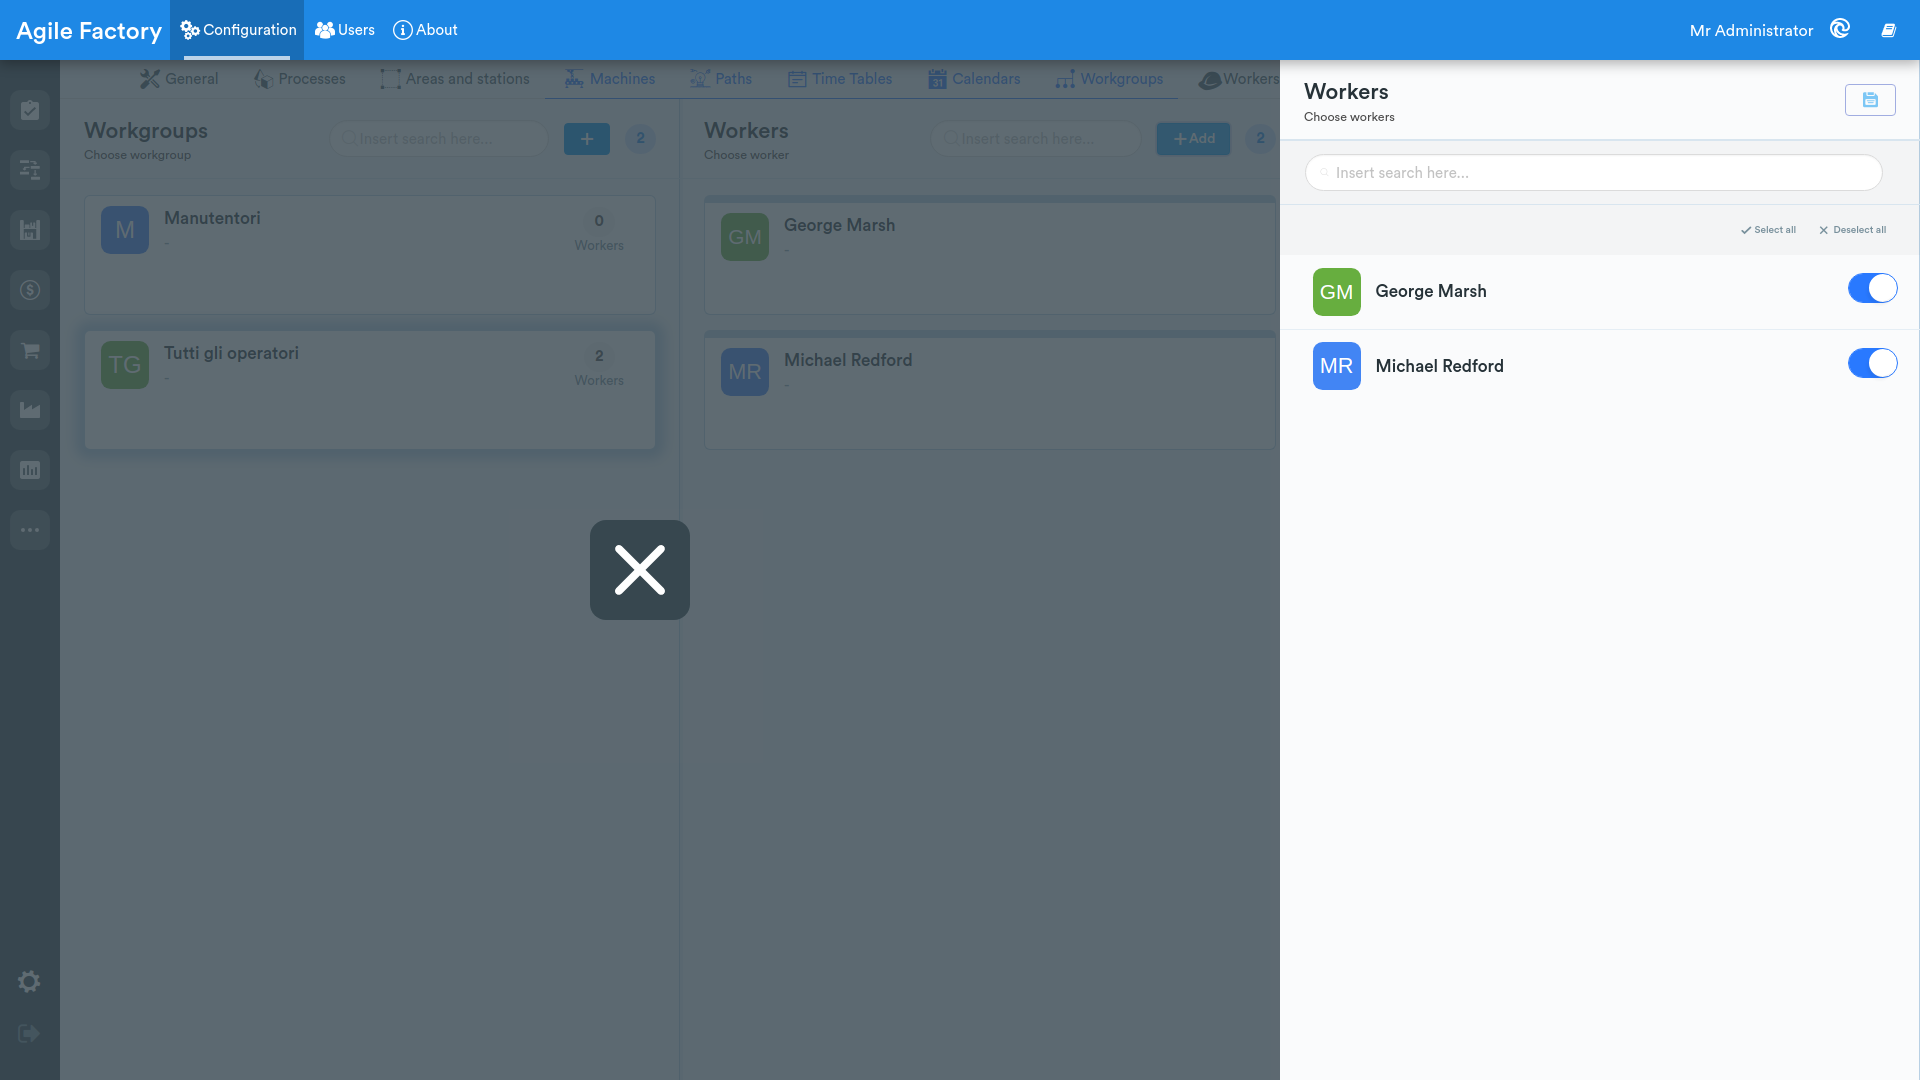
Don't forget to save after selecting workers in the Workgroup.
Operators
Through the Operators item, you can view the list of workers in the company and information related to their name, role, security PIN and Workgroup they are part of.
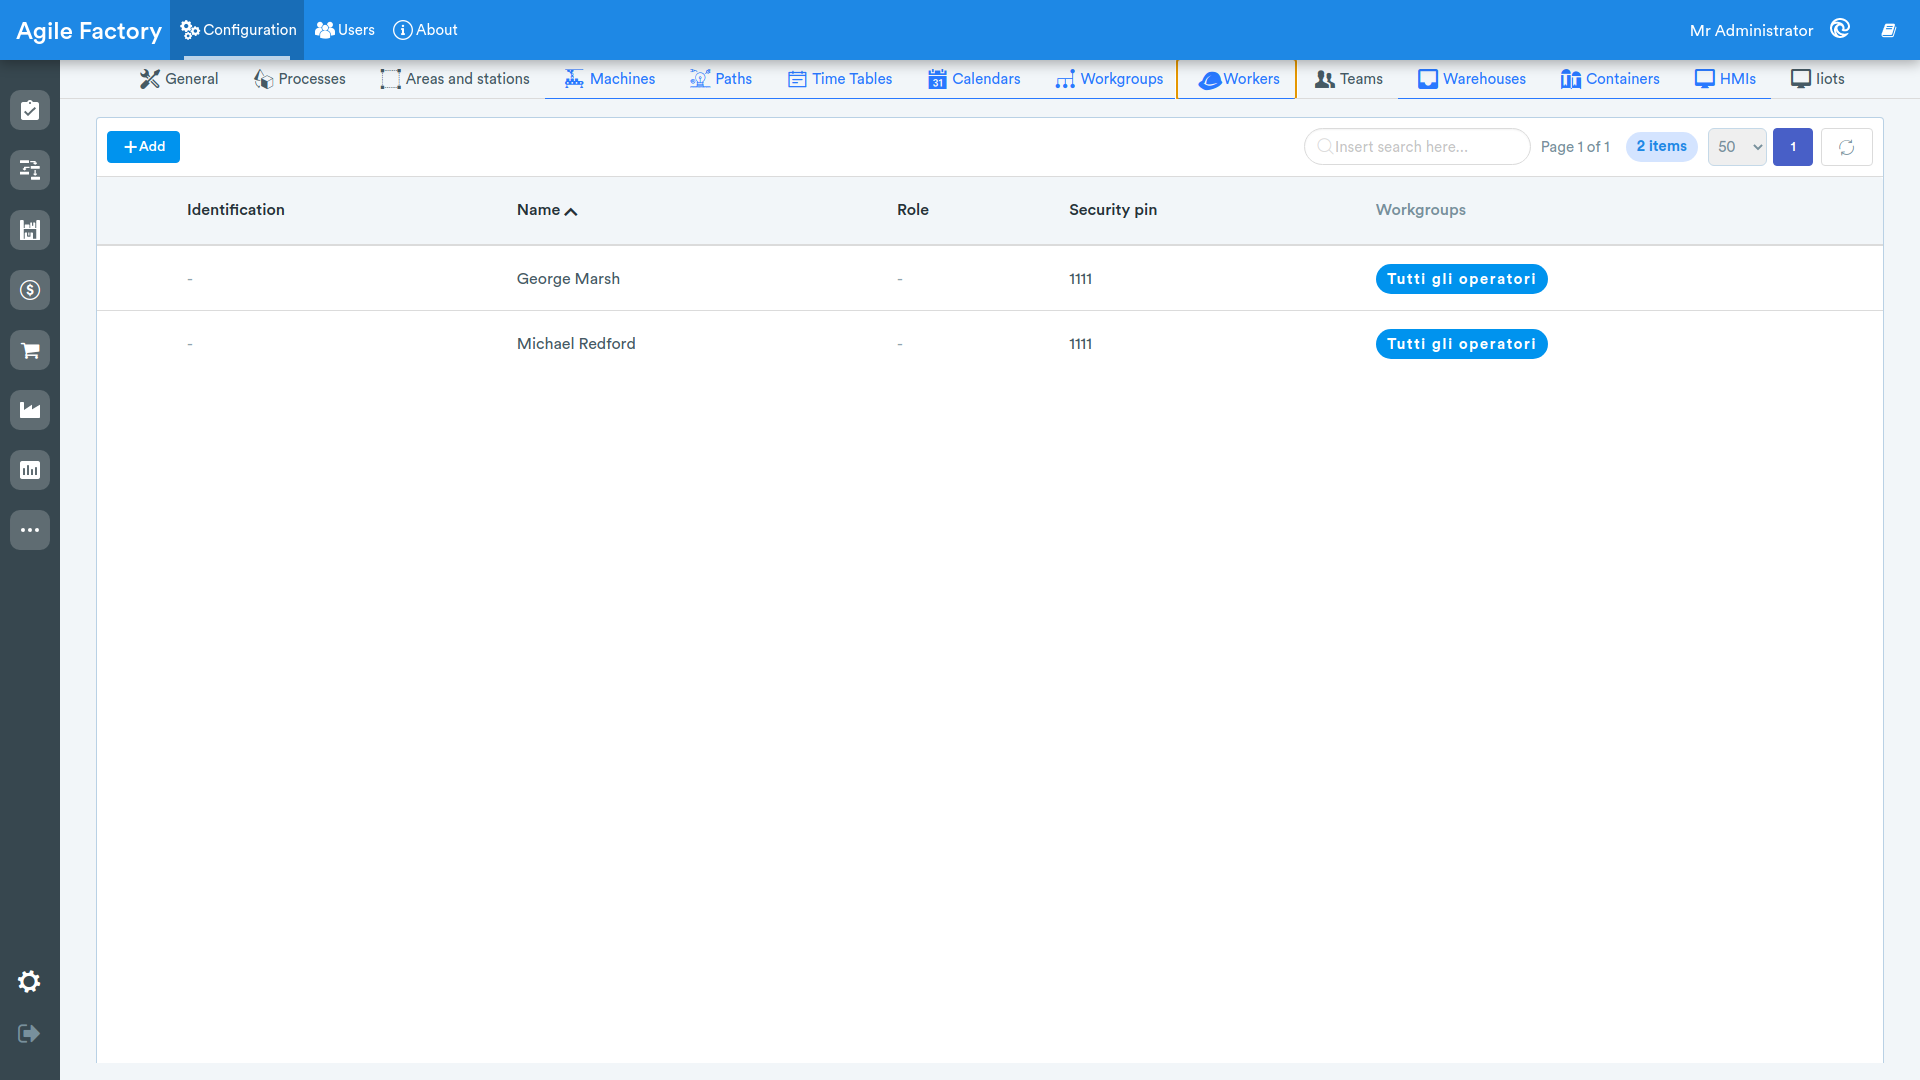
Click on Add to enter a new worker and related information.
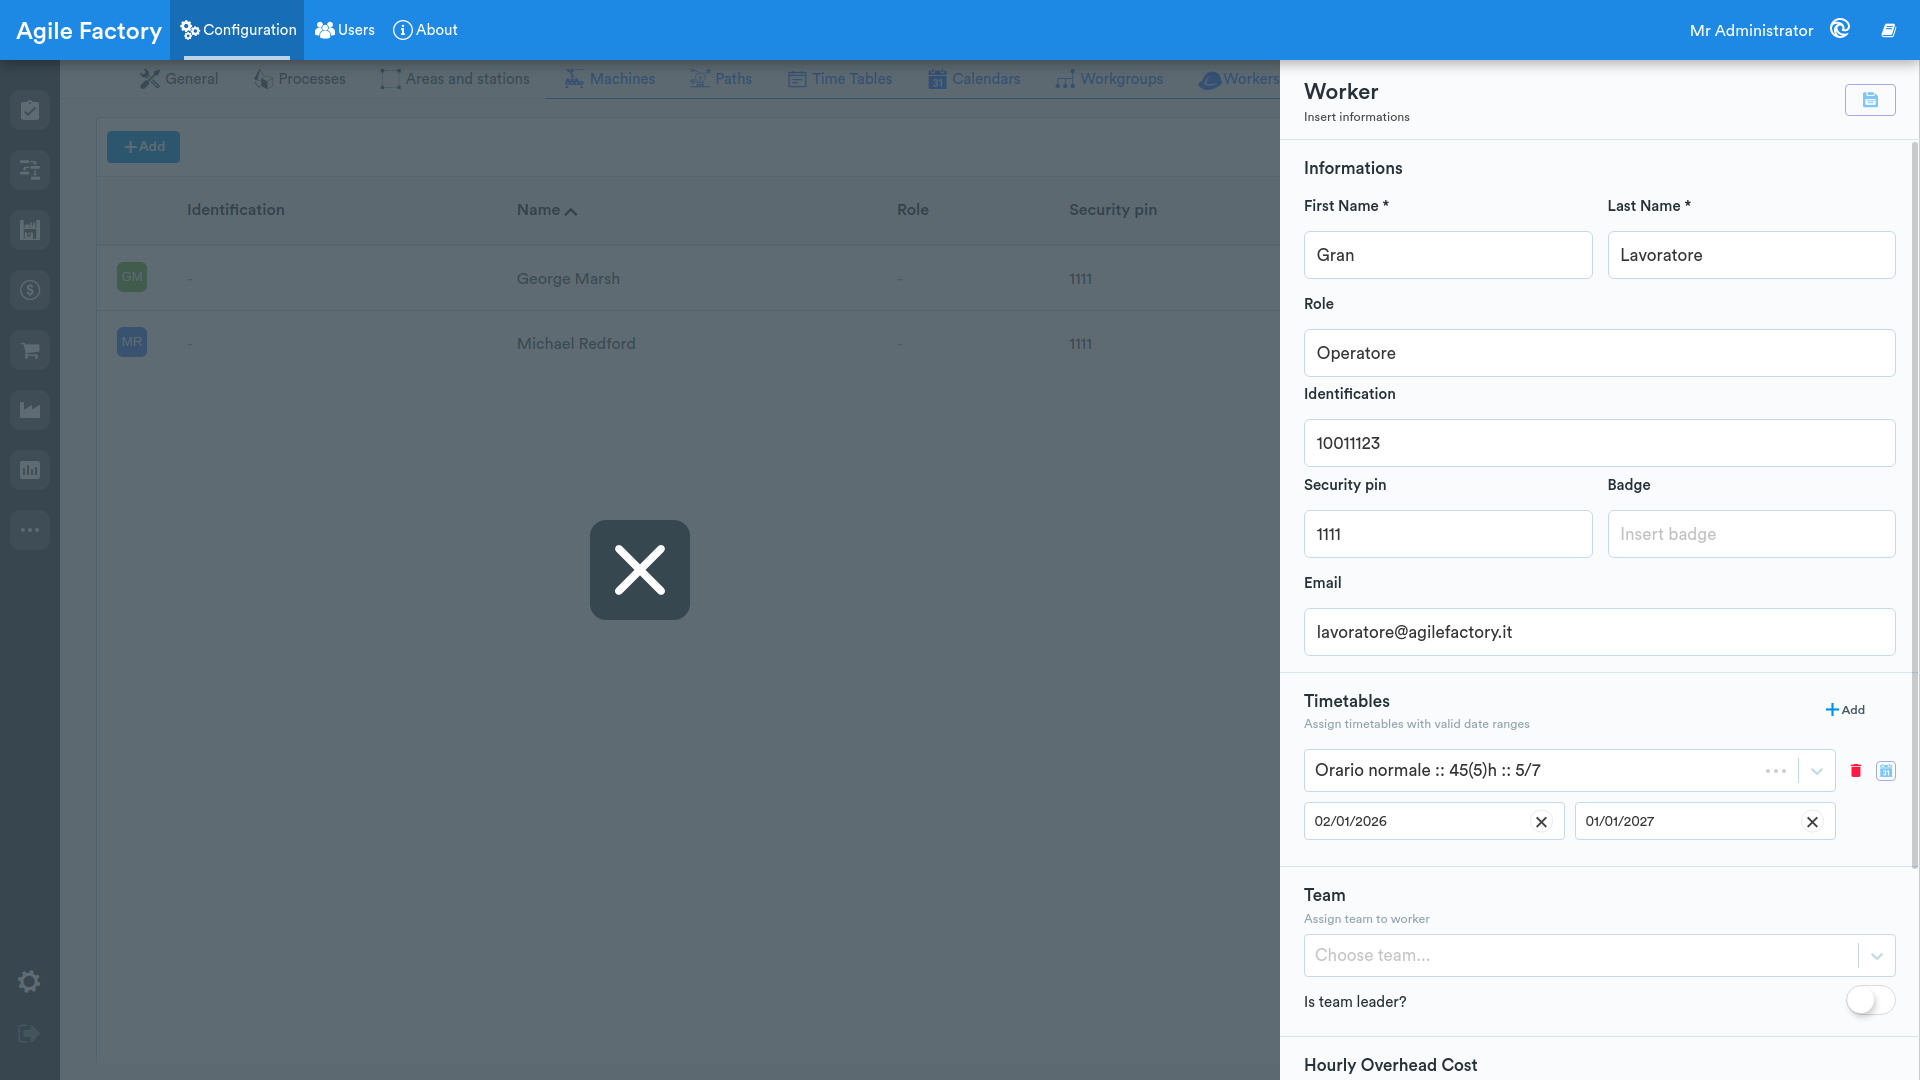
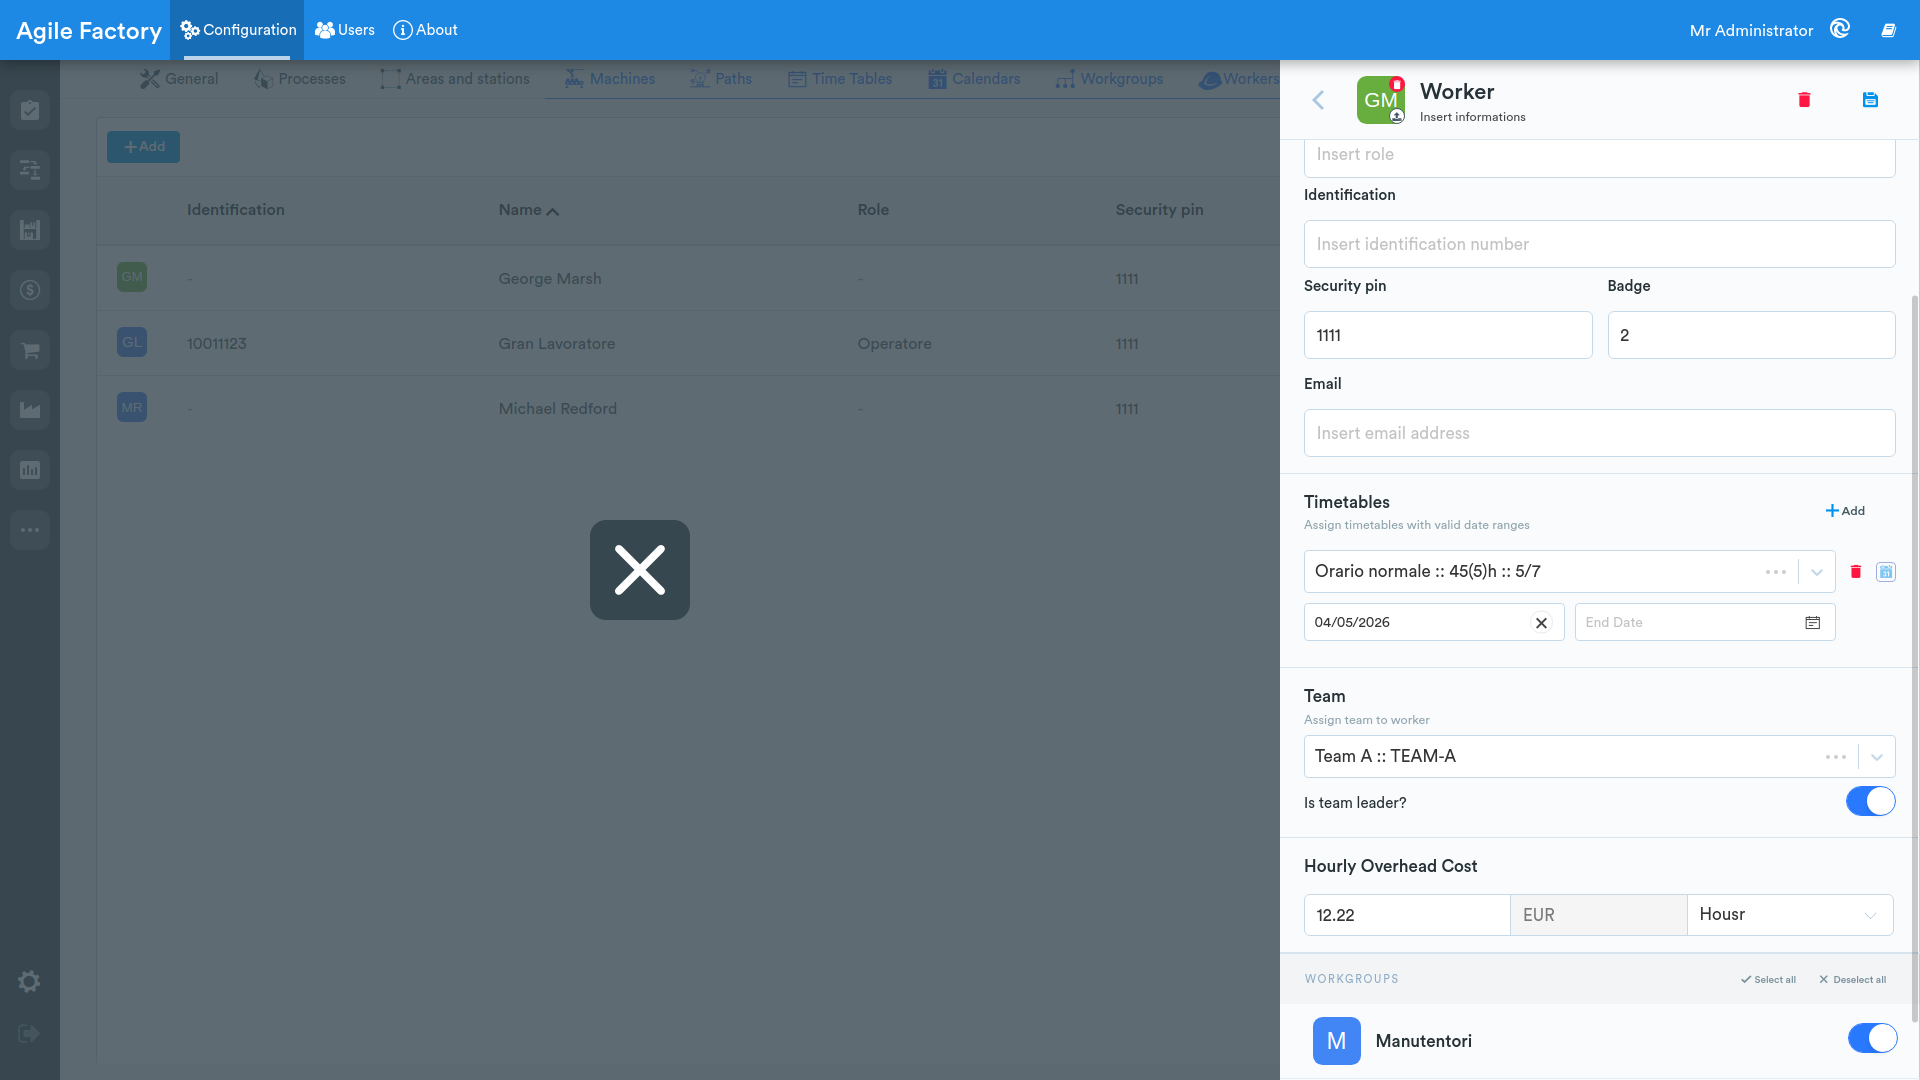
You can also assign a worker to a specific production station from this menu. Don't forget to save after entering the required information.
Teams
By selecting Teams you can view the list of configured production teams. Teams are used to group operators and assign them working schedules for shift planning.

Click + to create a new team and enter its code, name and description.

By selecting a team you can view its details: the assigned working schedules and the operators who are part of it. To add an operator to the team, press the Add button and select the operator from the list.

Users
This section allows you to view users who have access to the Agile Factory manager interface.
Click on the Add button to add a new user and enter their information.
At the bottom of the data entry form, you can select user permissions.
Users with an Administrator role will be able to modify everything in the Settings section.
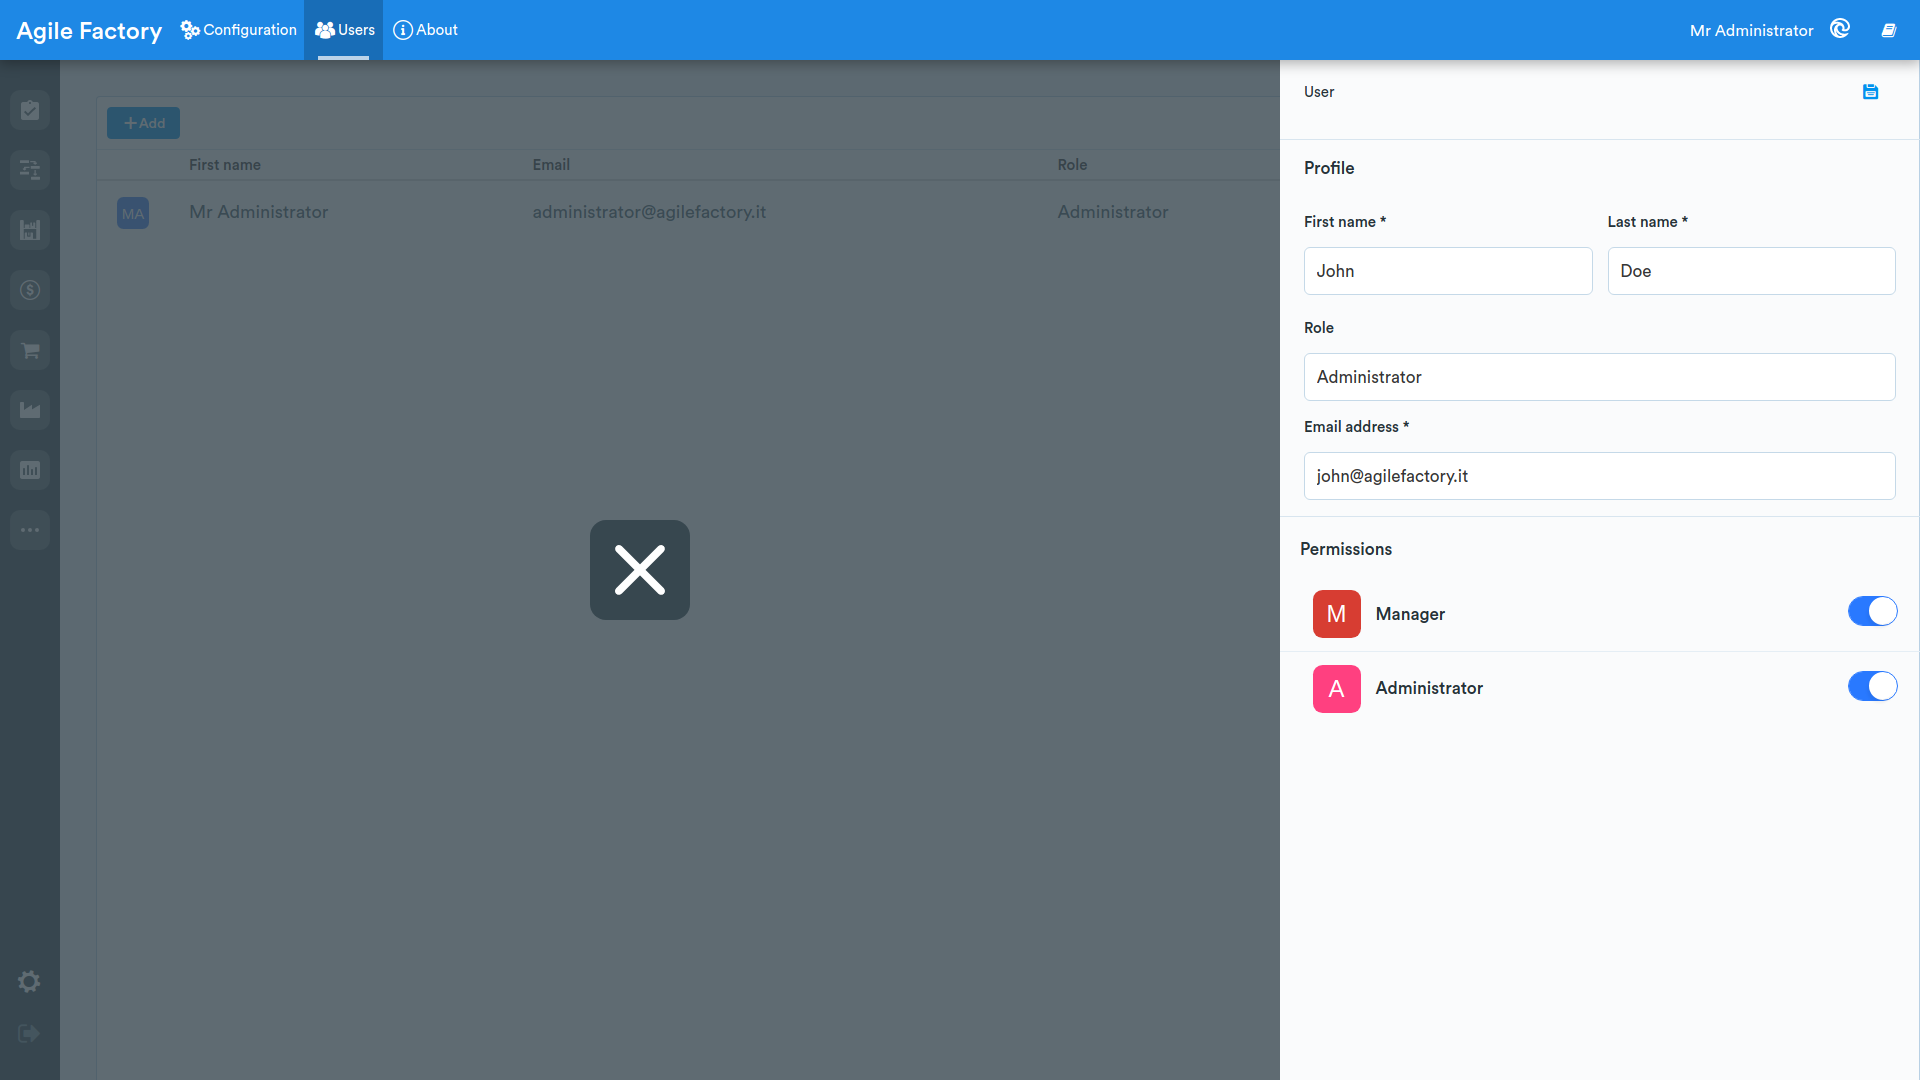
By clicking on an already created user, you can modify the user's information. By clicking on the icon in the upper right corner that represents a padlock, you can change the login password.
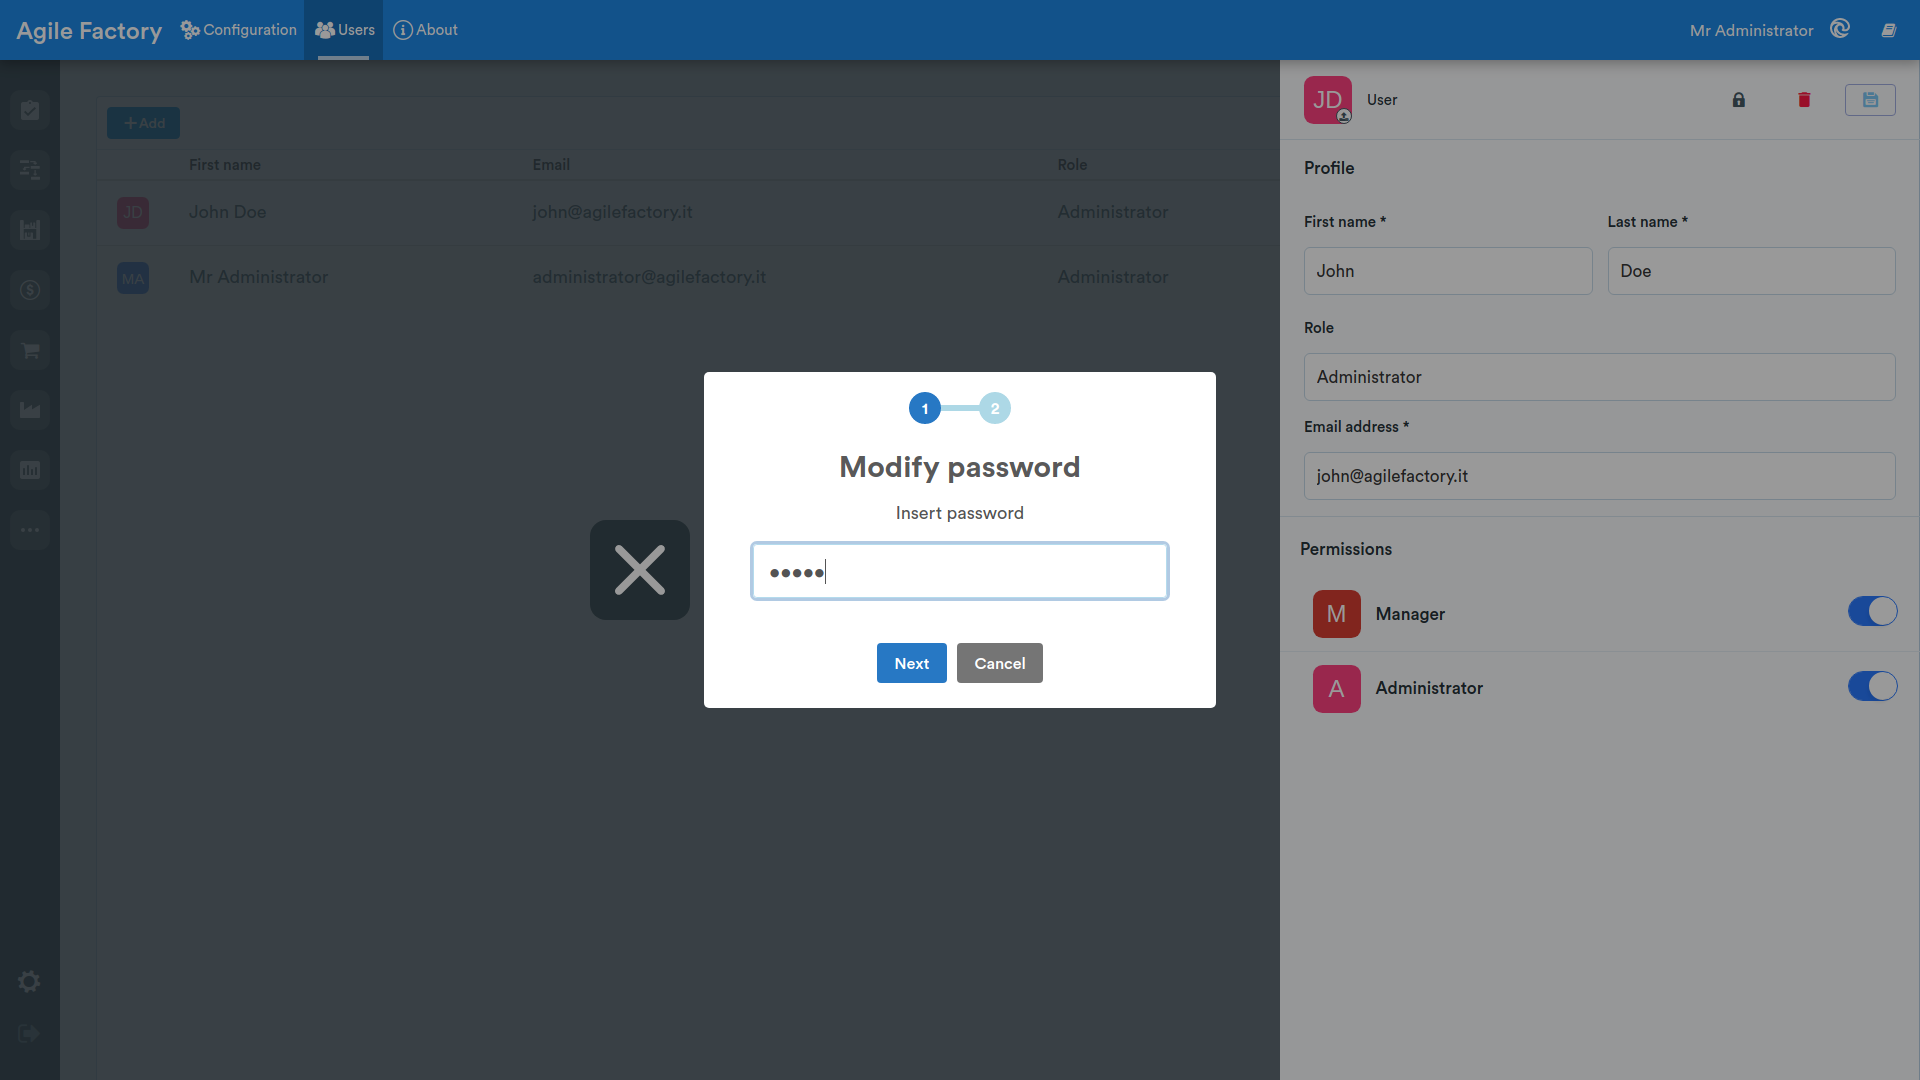
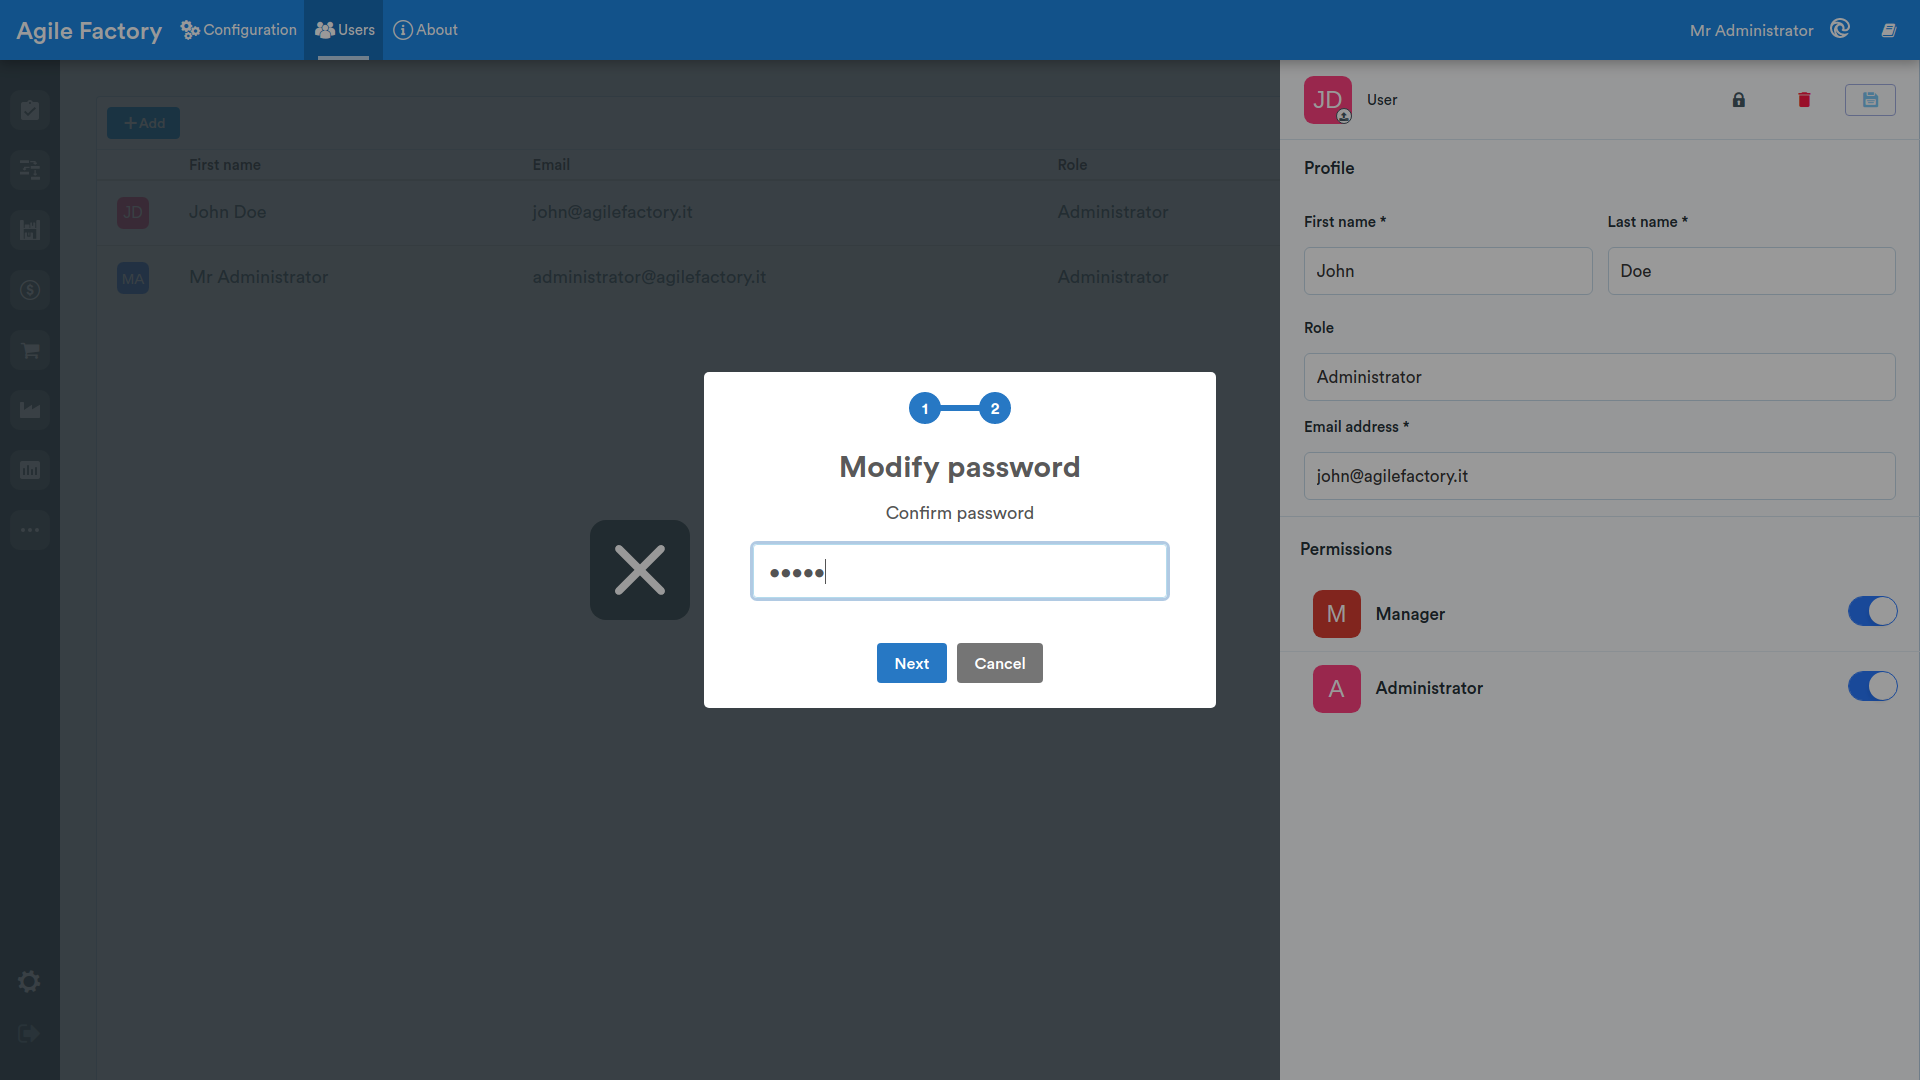
Confirmation is required once the change is completed.
To delete a user, simply click on the trash icon in the edit menu.
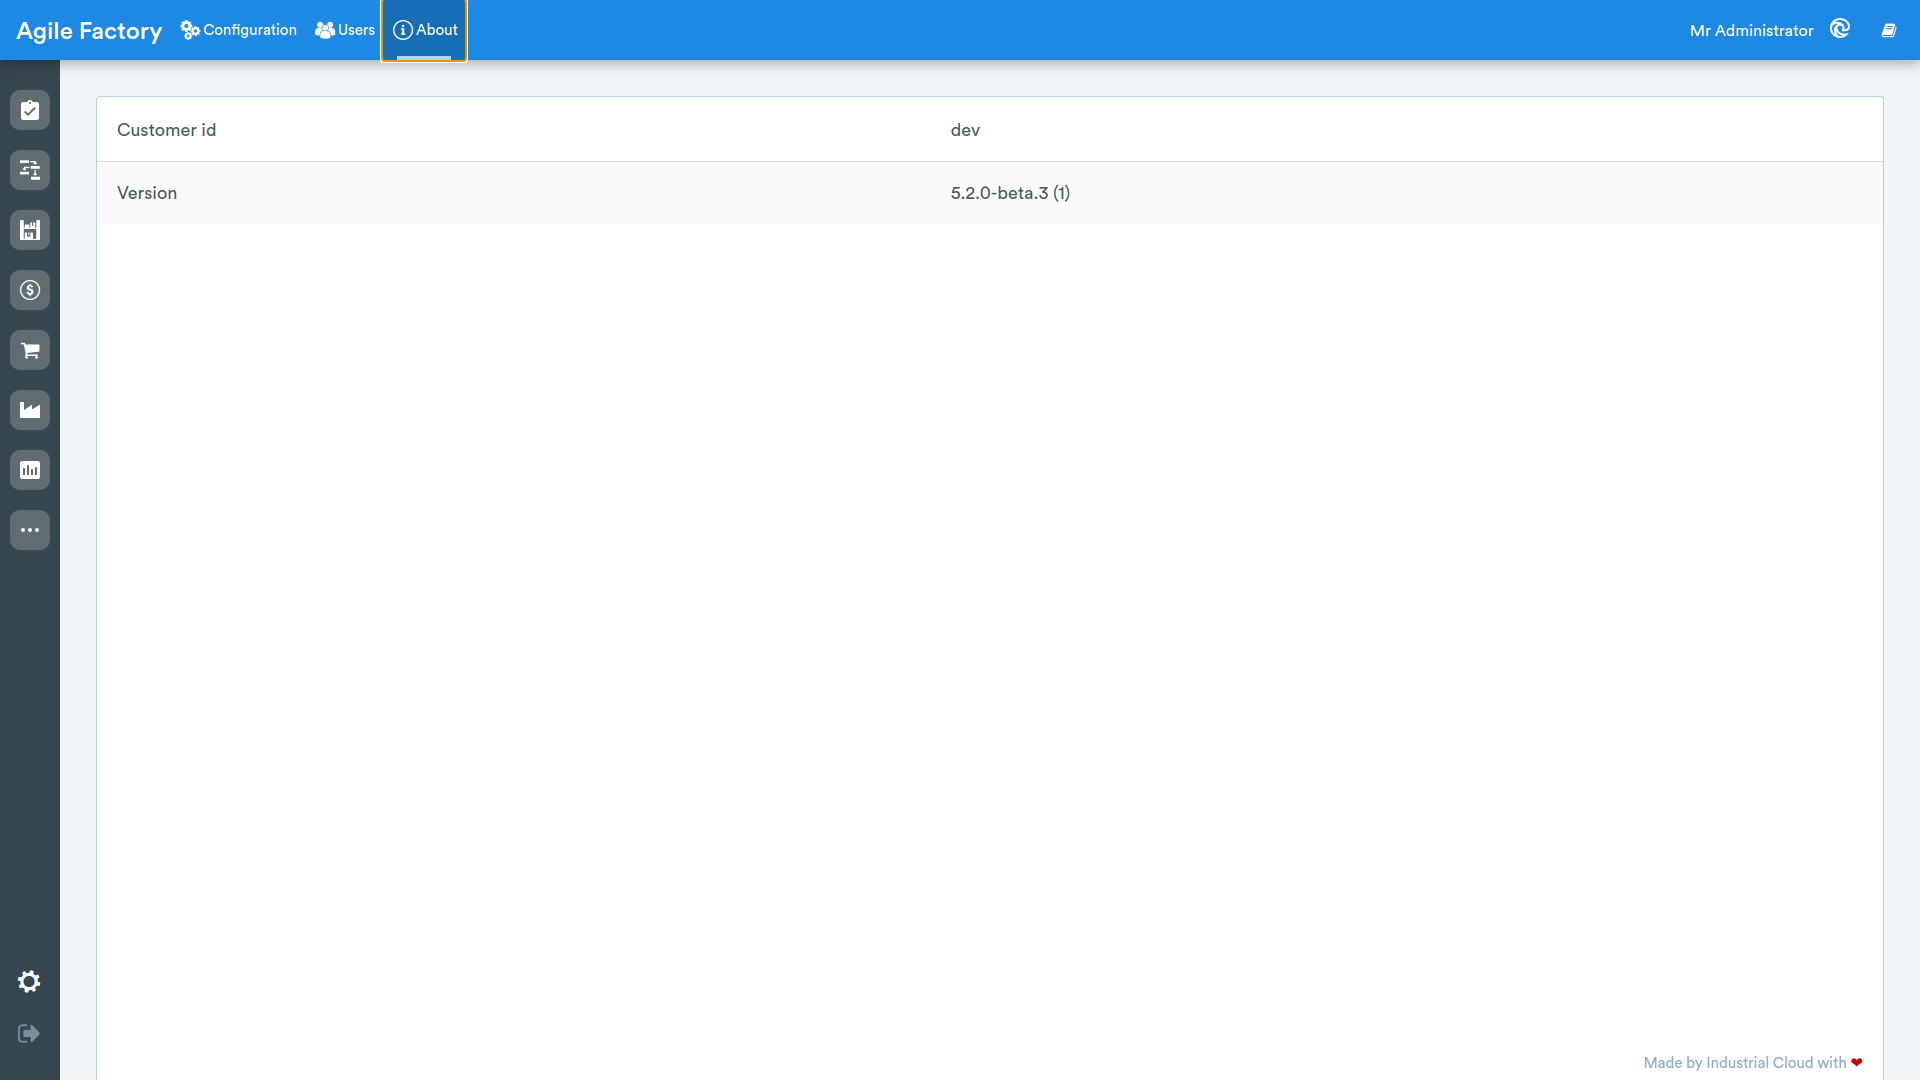
About
This section provides information about the software version used in your factory.