Listings
This section is dedicated to recording:
- items that the company produces;
- customers
- suppliers
- safety data sheets to show to operators.
and also for viewing (if activated)
- batches
- resources
Items
In this subsection, information related to items is entered.
The items list also includes the Suppliers column, which shows the codes of the suppliers associated with each item. Rows of assembled items can be expanded to display their components; the expanded state is kept when you return to the page.
To add an item, click on the Add button.
A page for entering a new product will open.
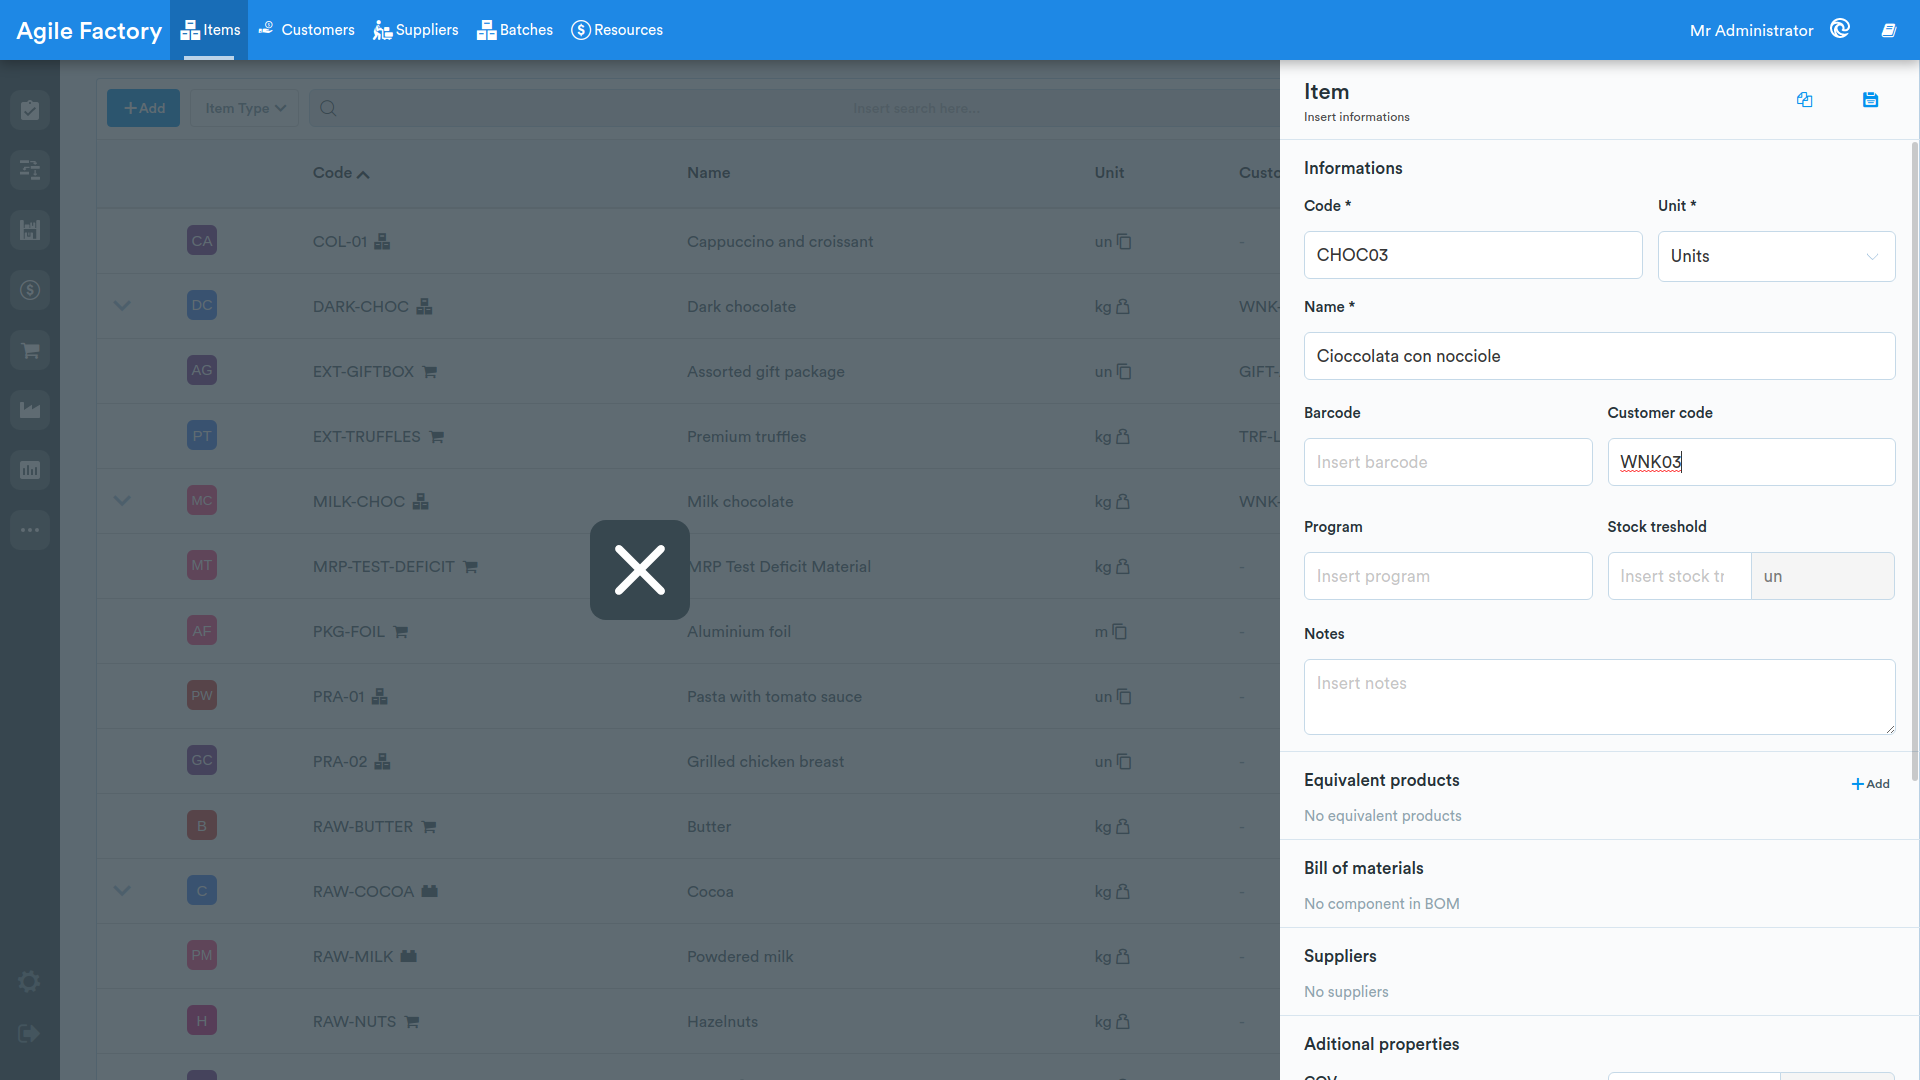
The various fields refer to:
- product code
- product name
- unit of measure
- barcode for product recognition
- identification code of the customer purchasing the product
- average price of the product and the currency used
- location
- notes
Of these fields, only the completion of the first three is mandatory for item registration.
By clicking on a created item, a page opens to view the details and upload any documents. The detail page also shows the Suppliers section with the list of suppliers associated with the item. If the item includes semi-products, you can click on a semi-product to open its detail card.
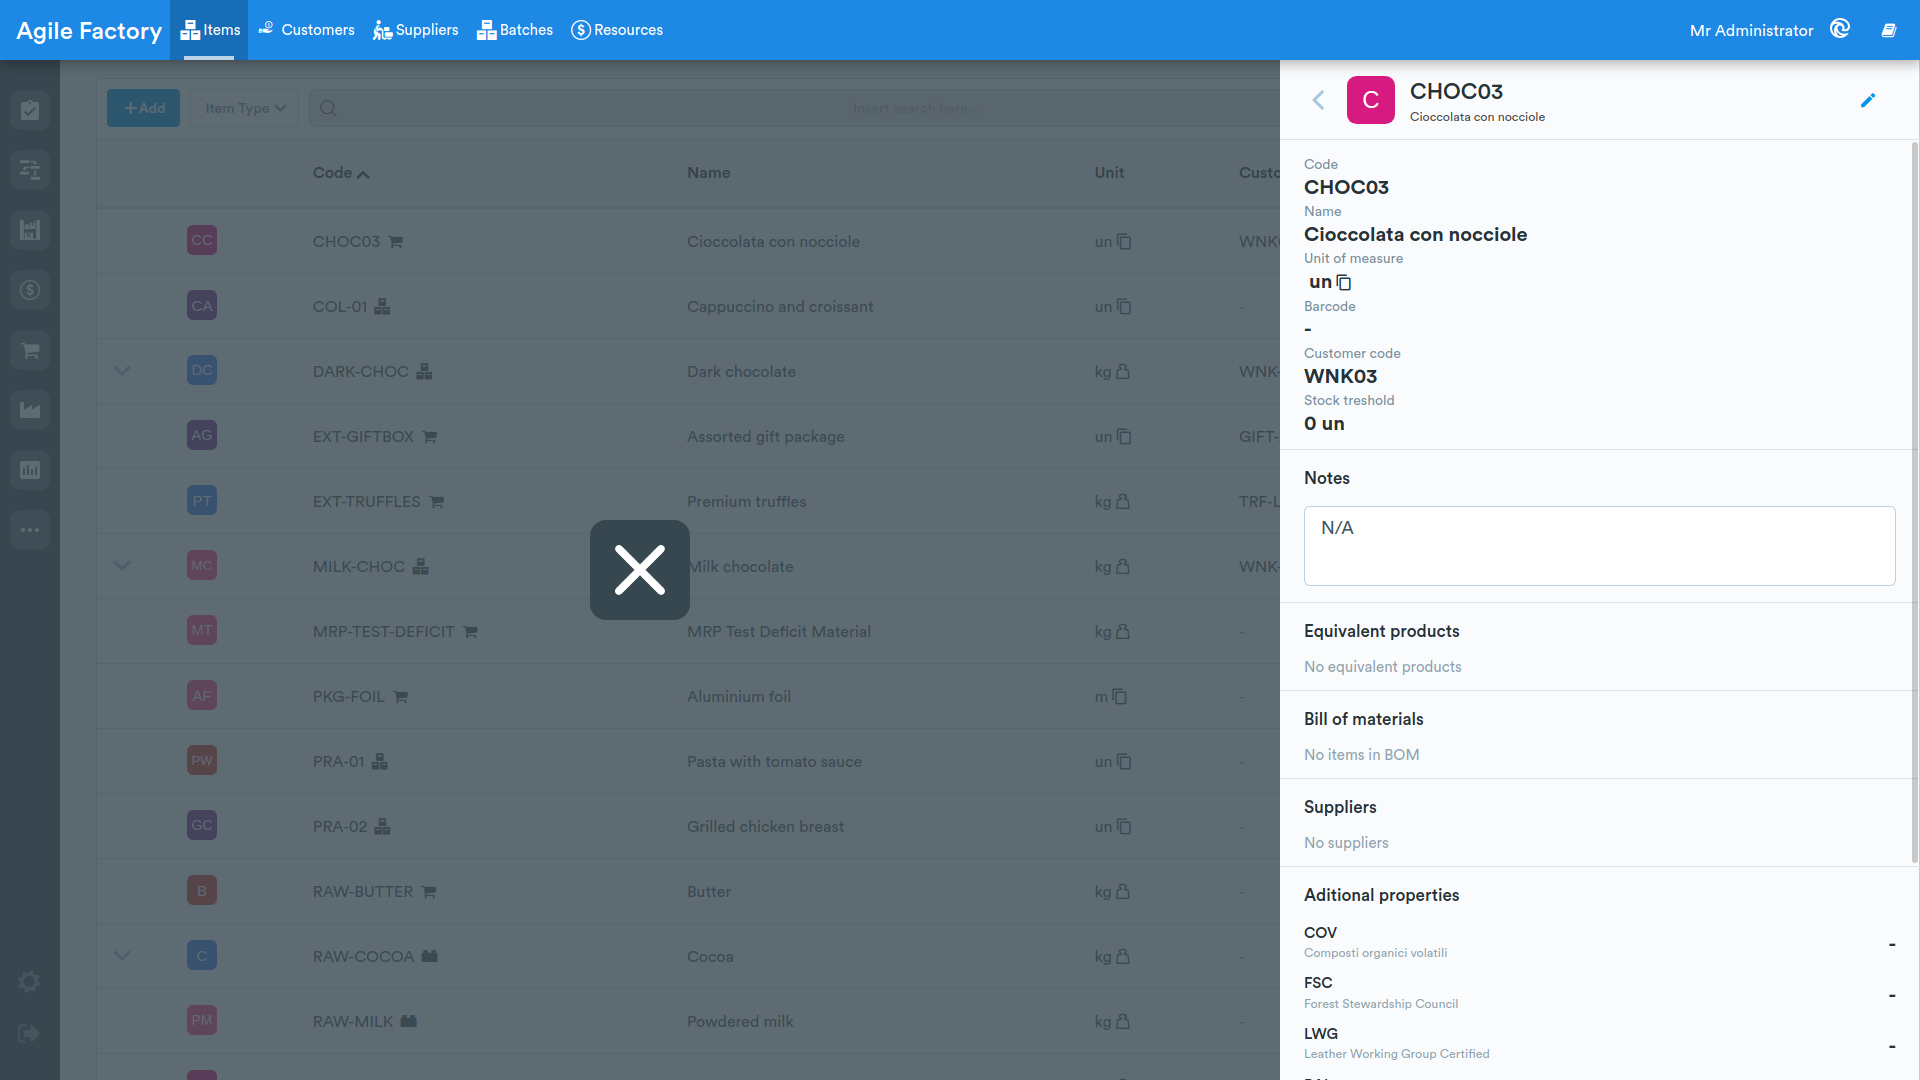
By clicking at the top right, the item editing page will open again.
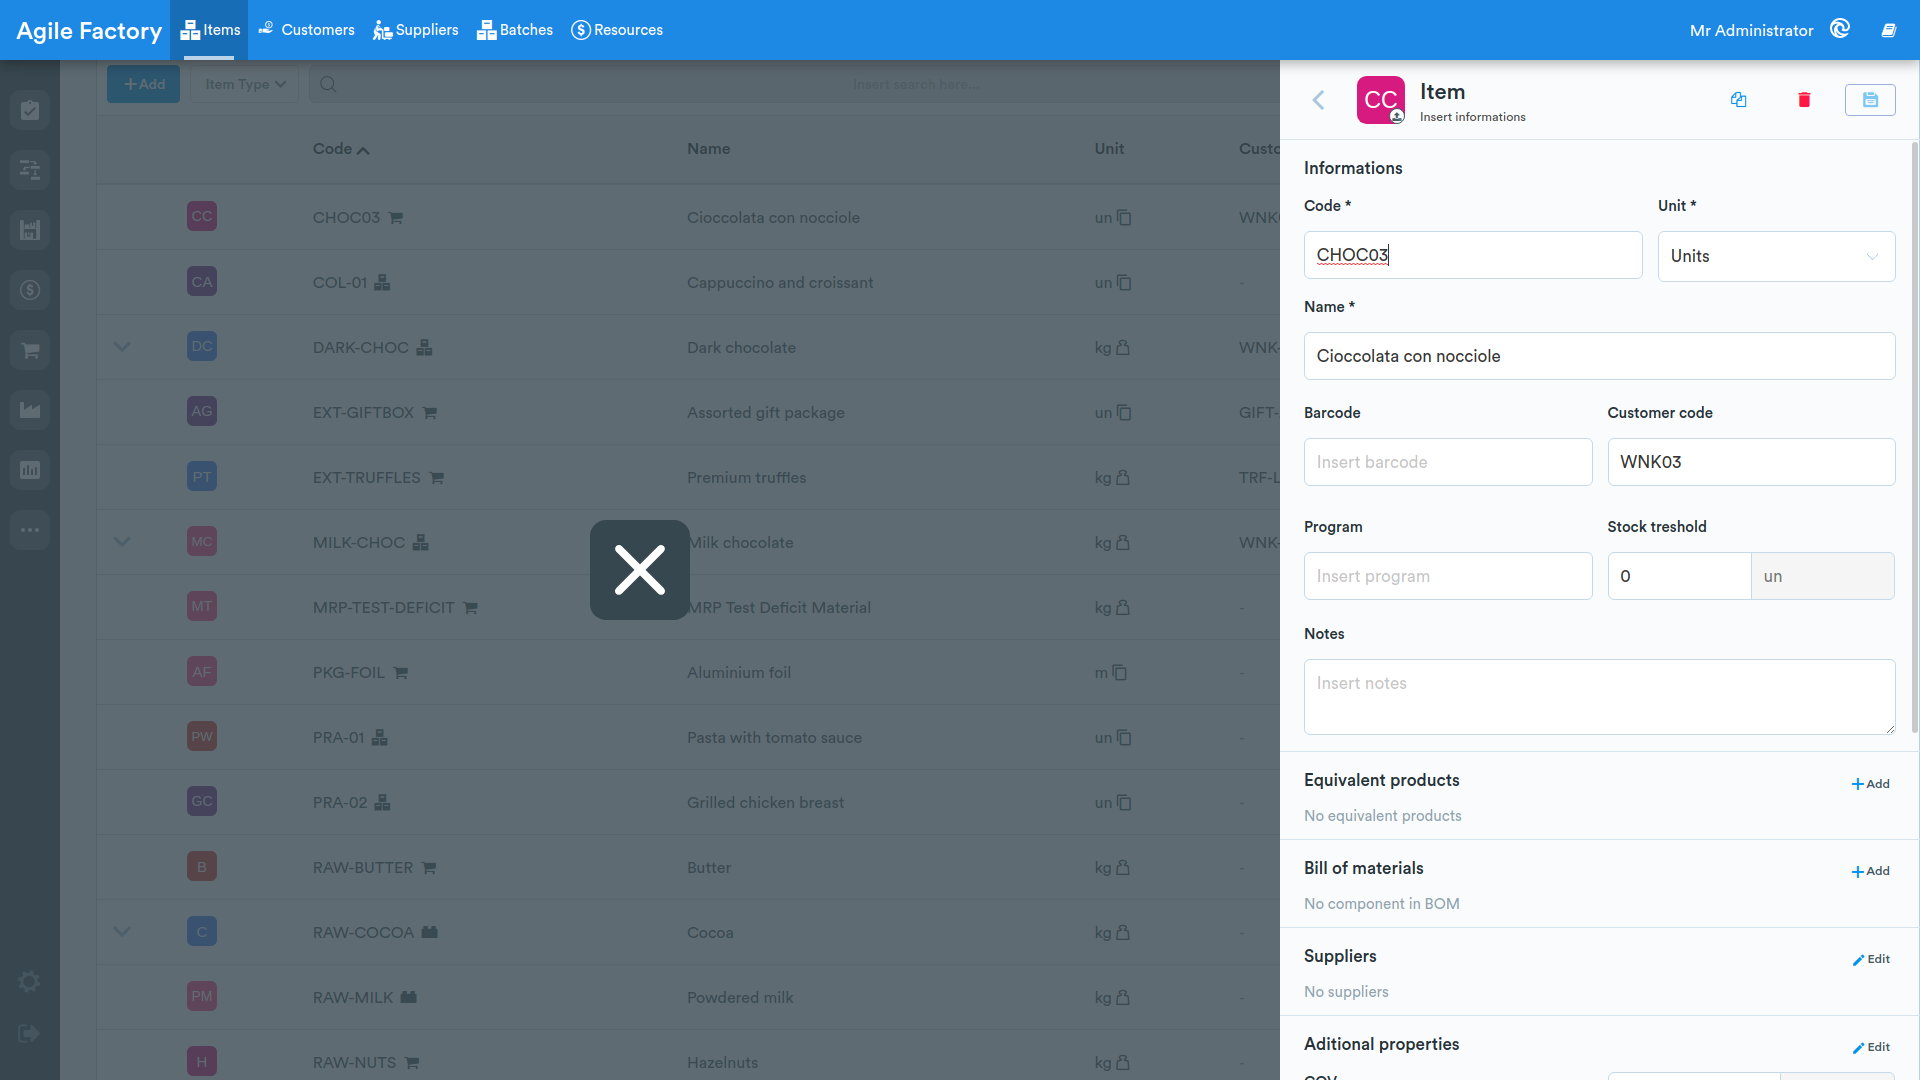
In the action bar at the top, besides saving, the Duplicate item button is available, which creates a copy of the item after confirmation and opens the editing card of the new item directly. The delete button is enabled only when the item can actually be removed: if the item is used by other elements (it has dependencies) the button is disabled and shows the message Cannot delete: item has dependencies.
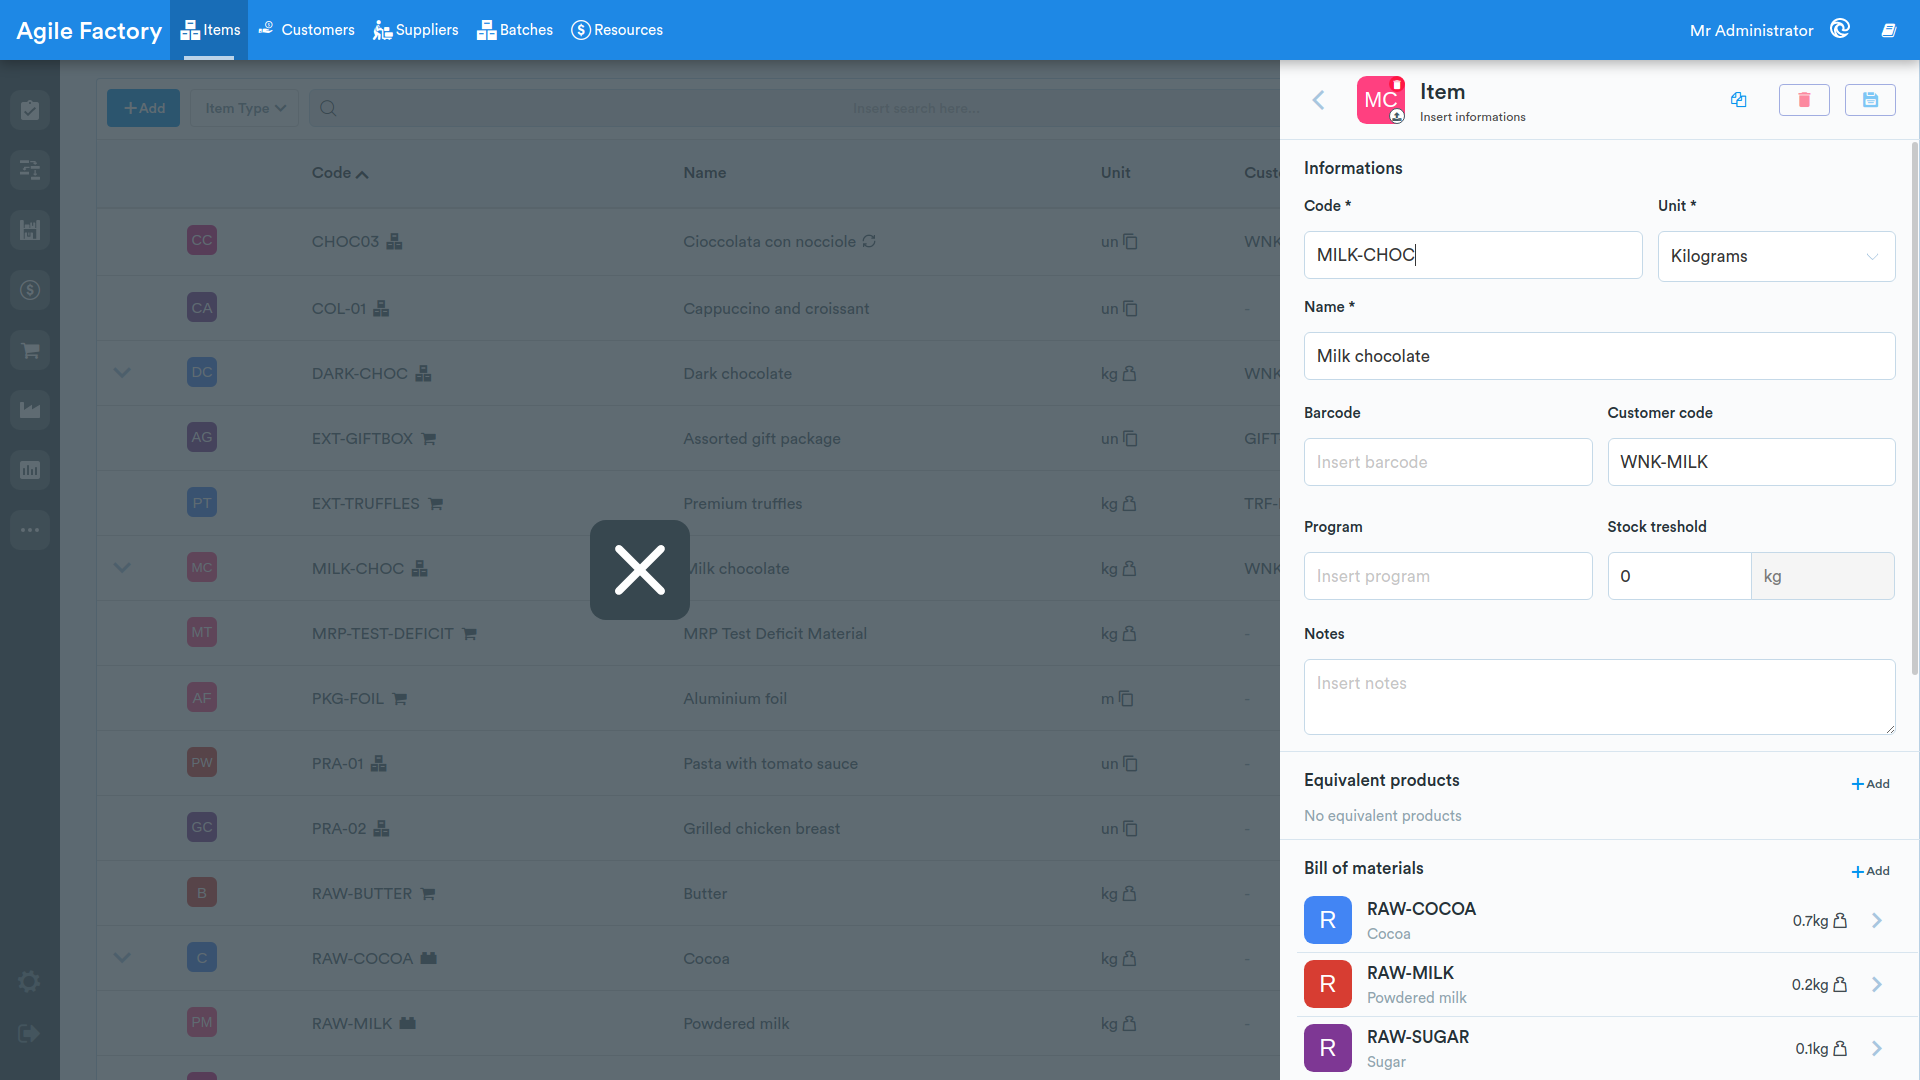
In particular, there will now be the option to add the materials that make up the item's bill of materials.
To add components to a product's bill of materials, they must first be created.
Only then will they appear in the list available for entry.
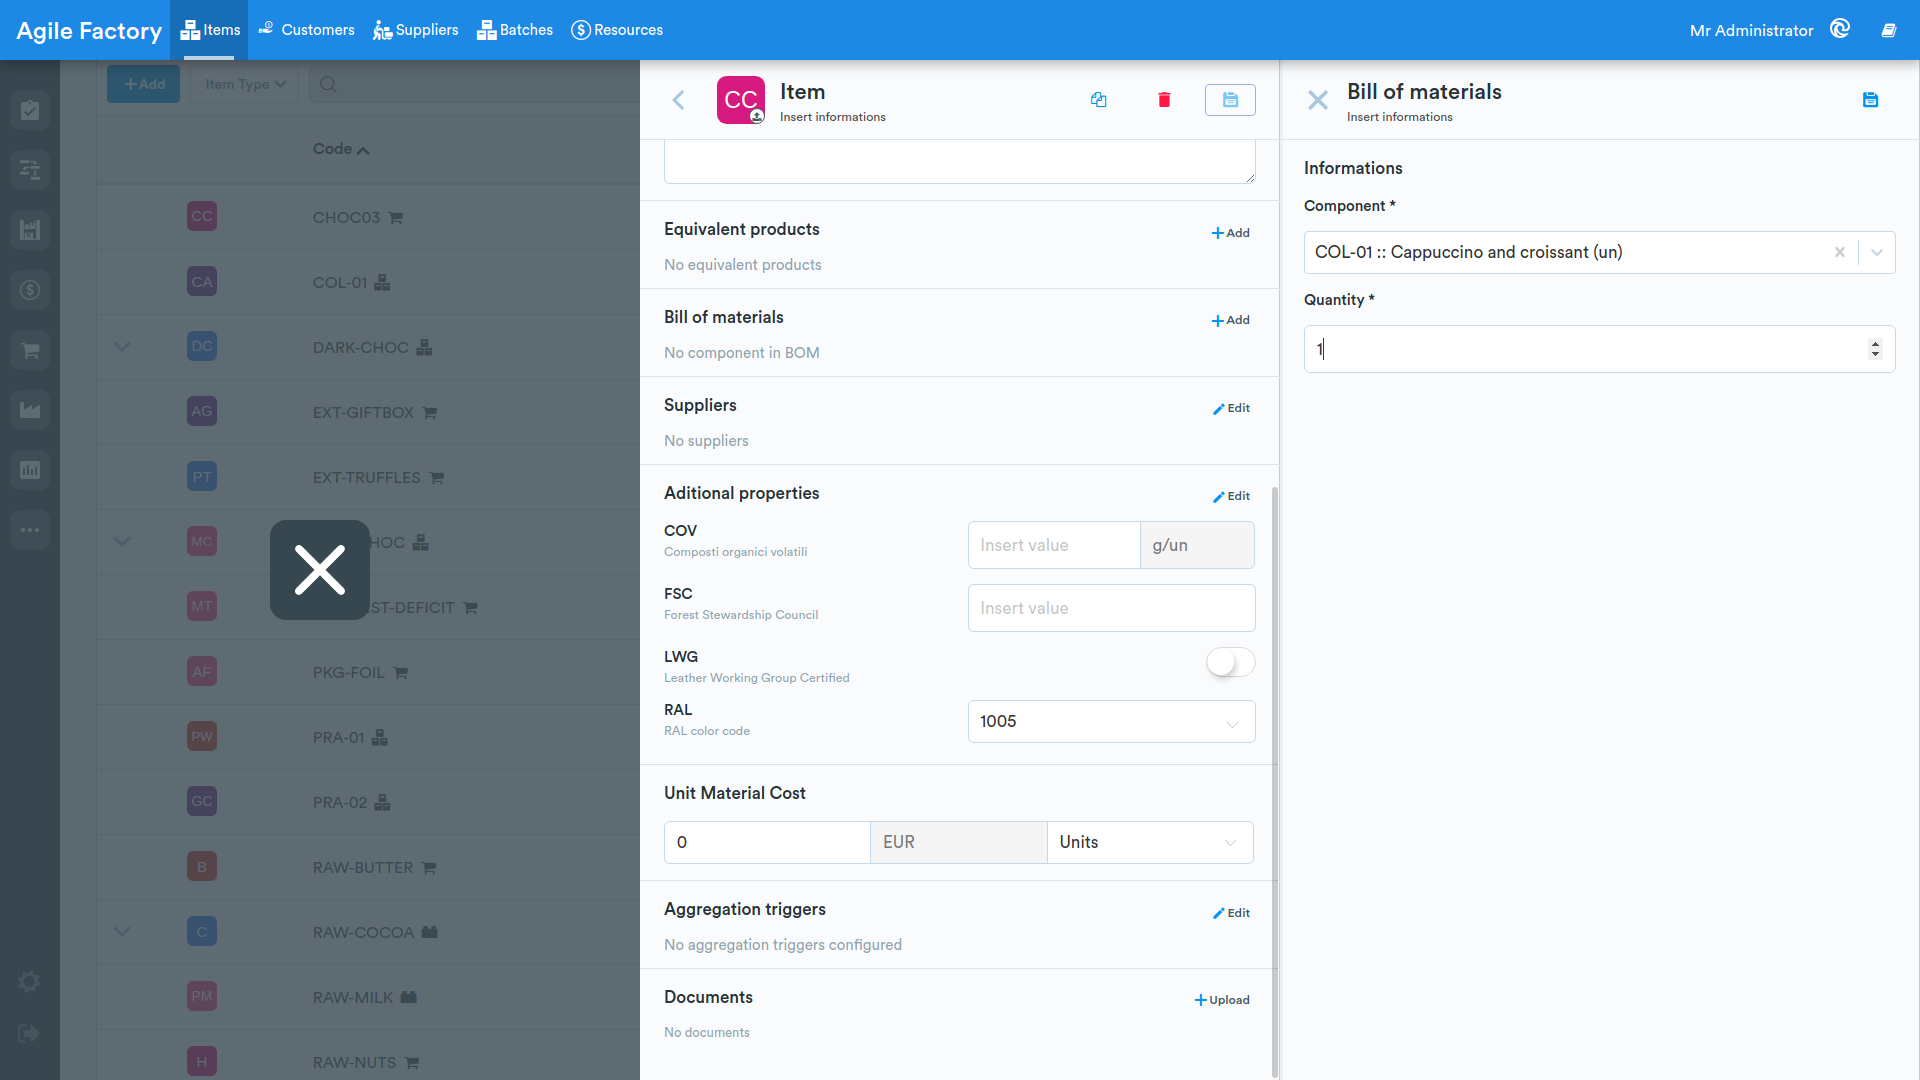
The bill of materials entry form includes:
- A right part where there are fields dedicated to entering the component type and the respective required quantity
- A left part where there is information related to the reference item and the list of components previously entered in the bill of materials. By clicking on the one of interest, the appropriate editing form will open where it will be possible to make changes to the component or remove it from the bill of materials
At the end of each operation, it is necessary to click on the save option.
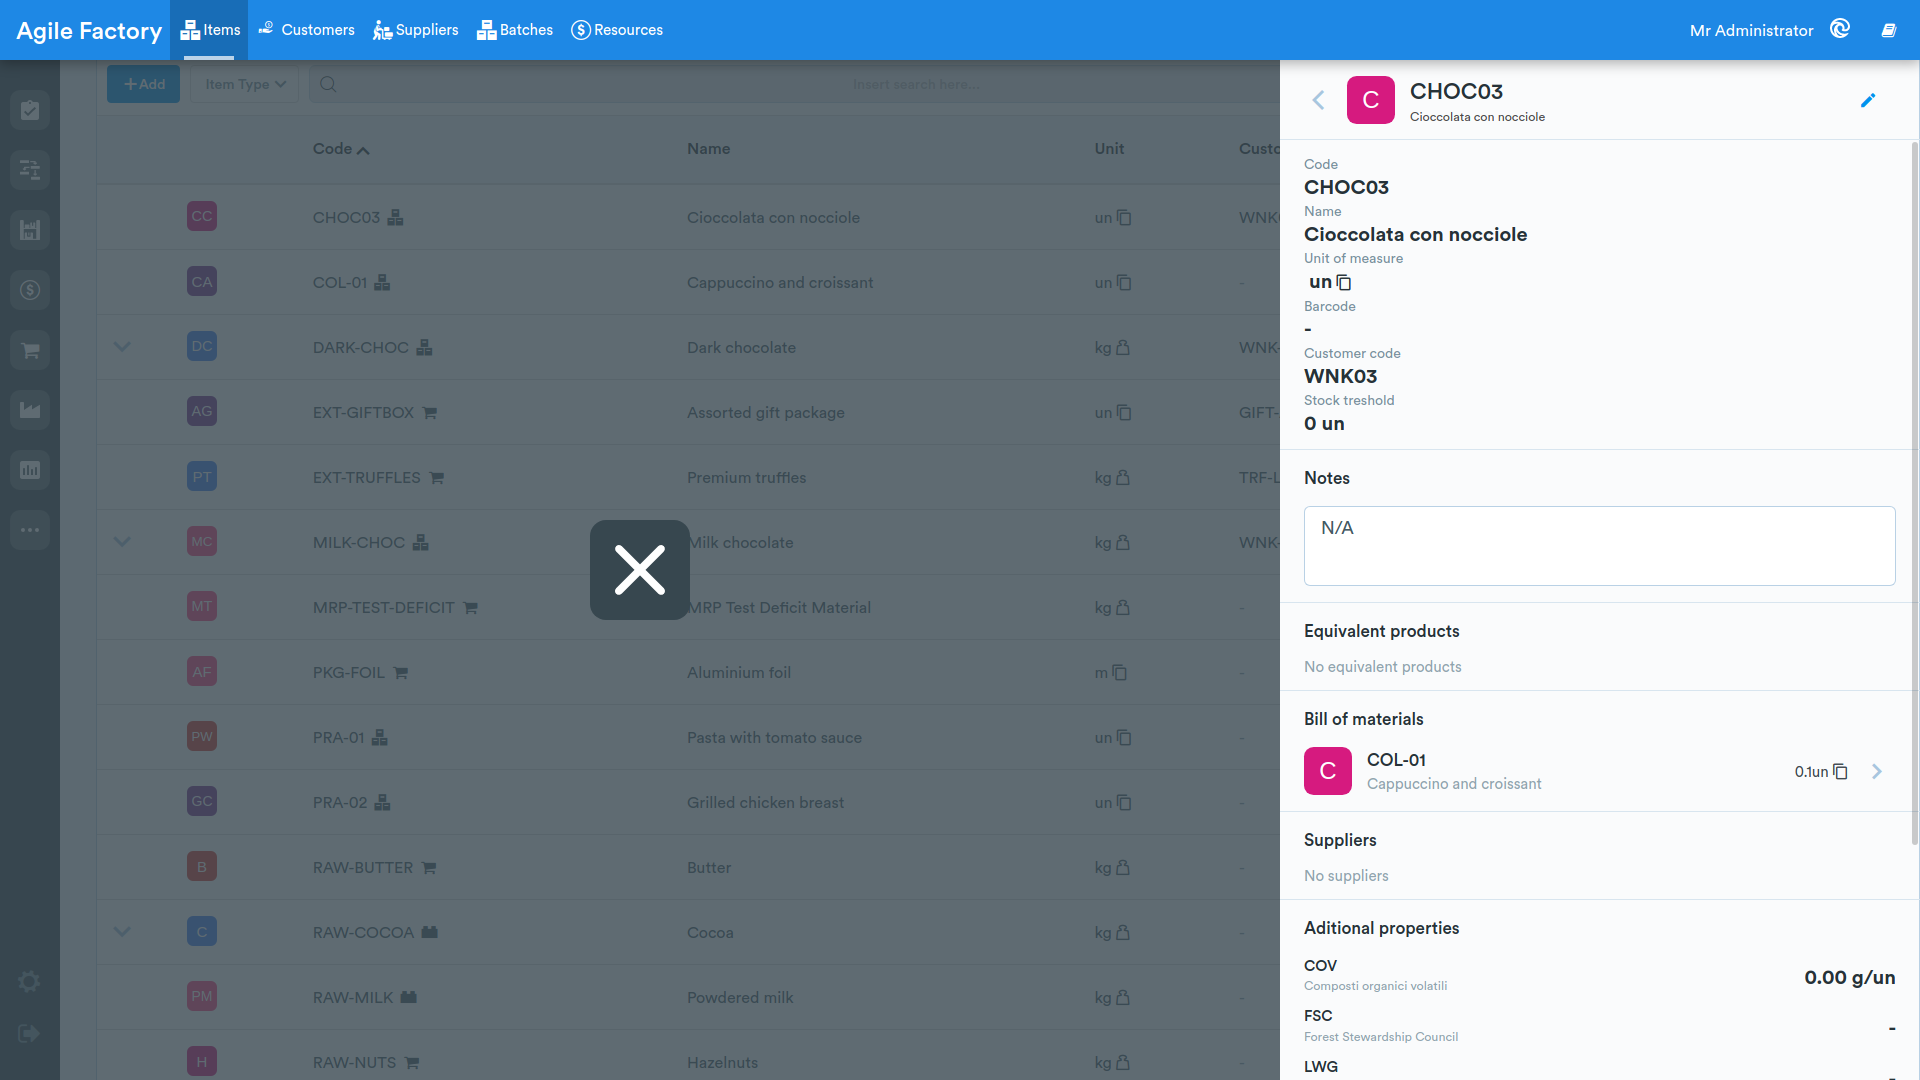
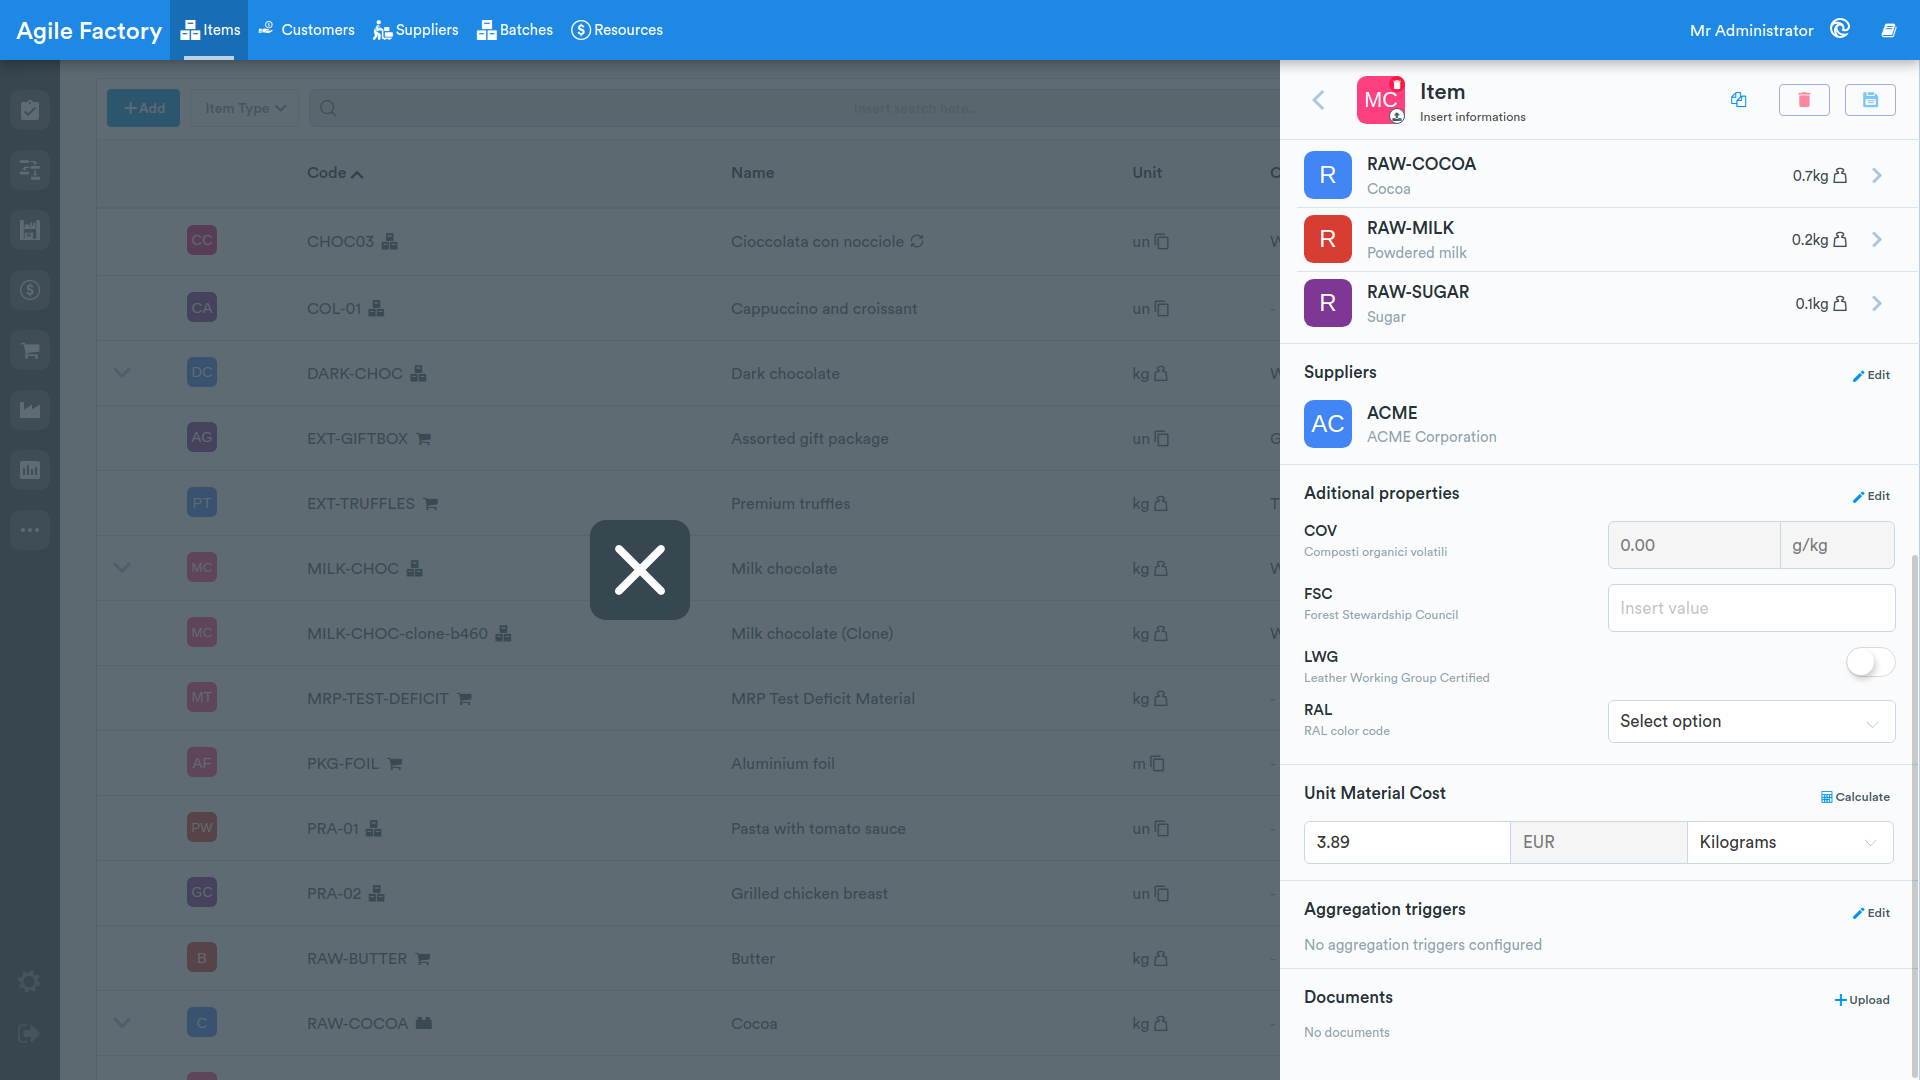
Below the materials list section, it is possible to manage additional product properties, which may include weight, dimensions, specific indicators (this set of indicators can be configured and customized according to your needs).
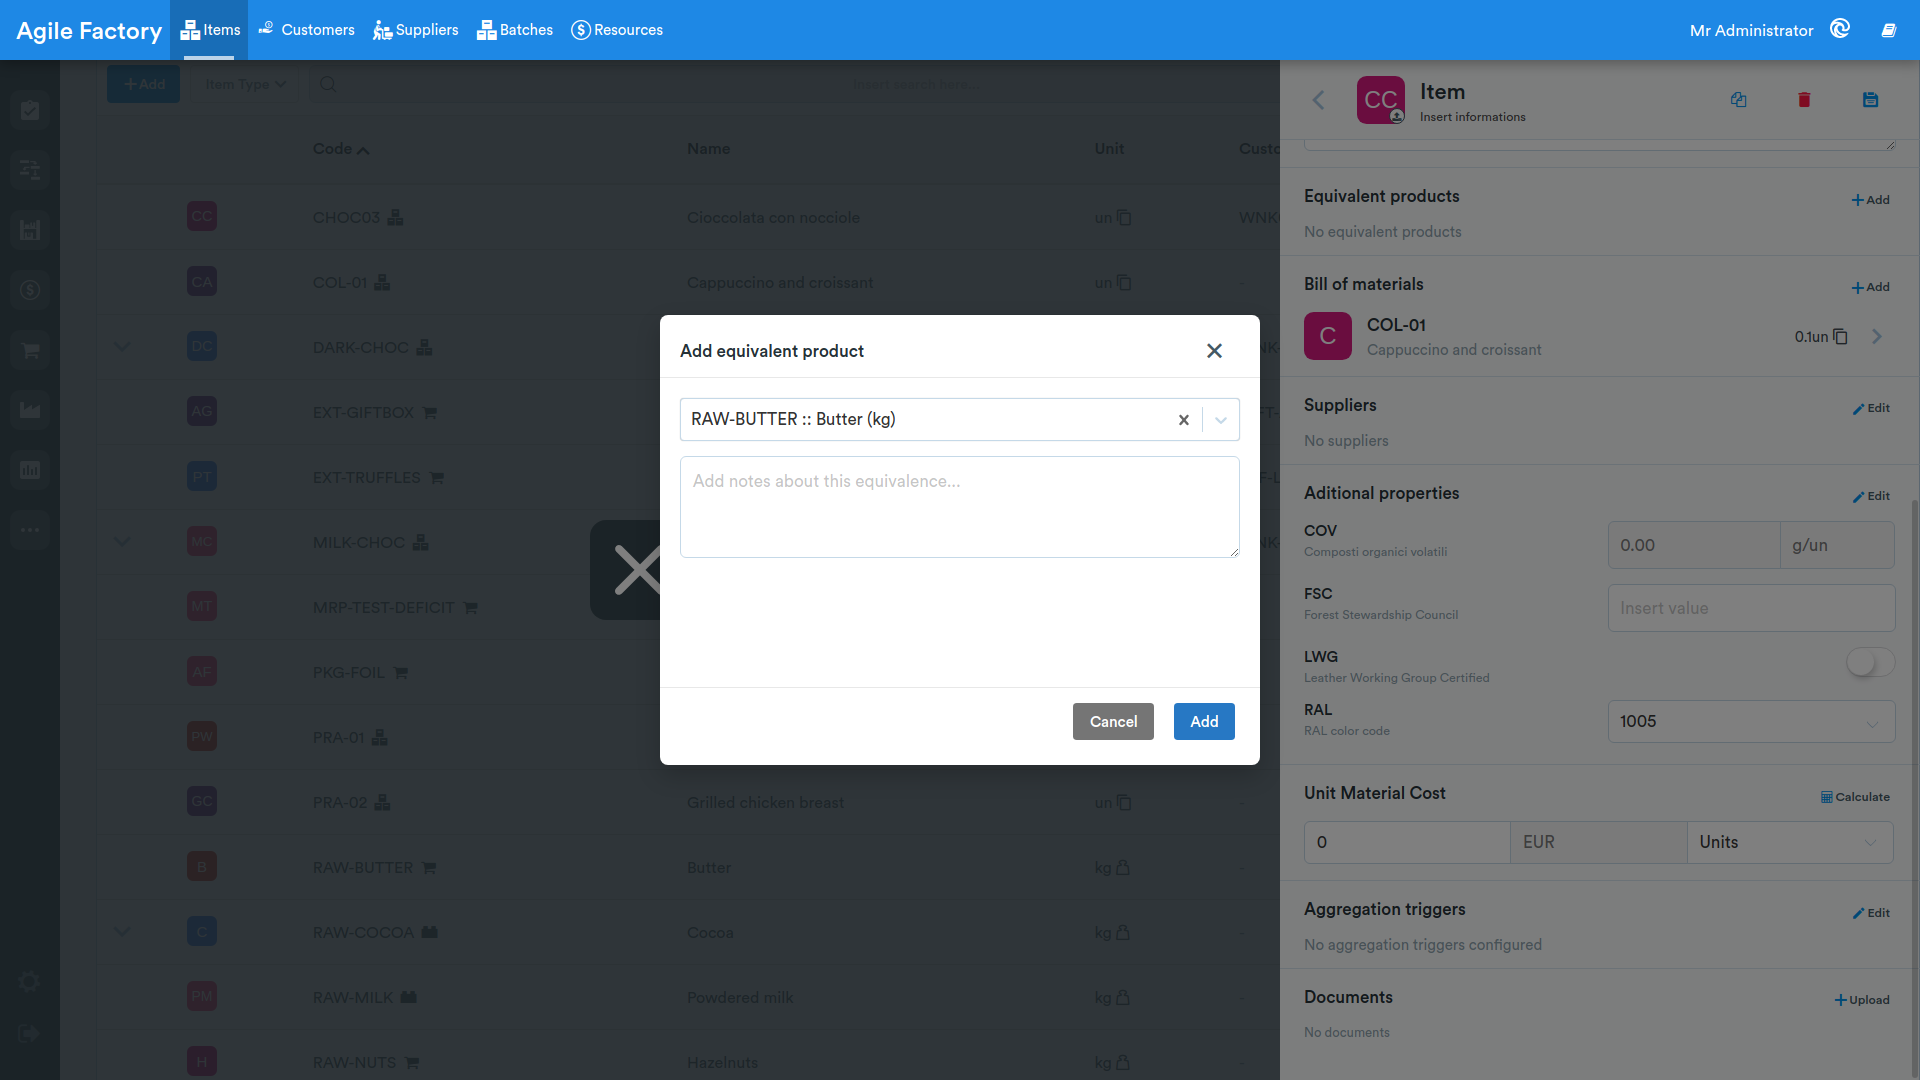
MES allows you to set an equivalence status between products/materials, for example, in case of unavailability of one, it is possible to use another. To do this, click on +Add and select one or more equivalent products for the specified product.
Item suppliers
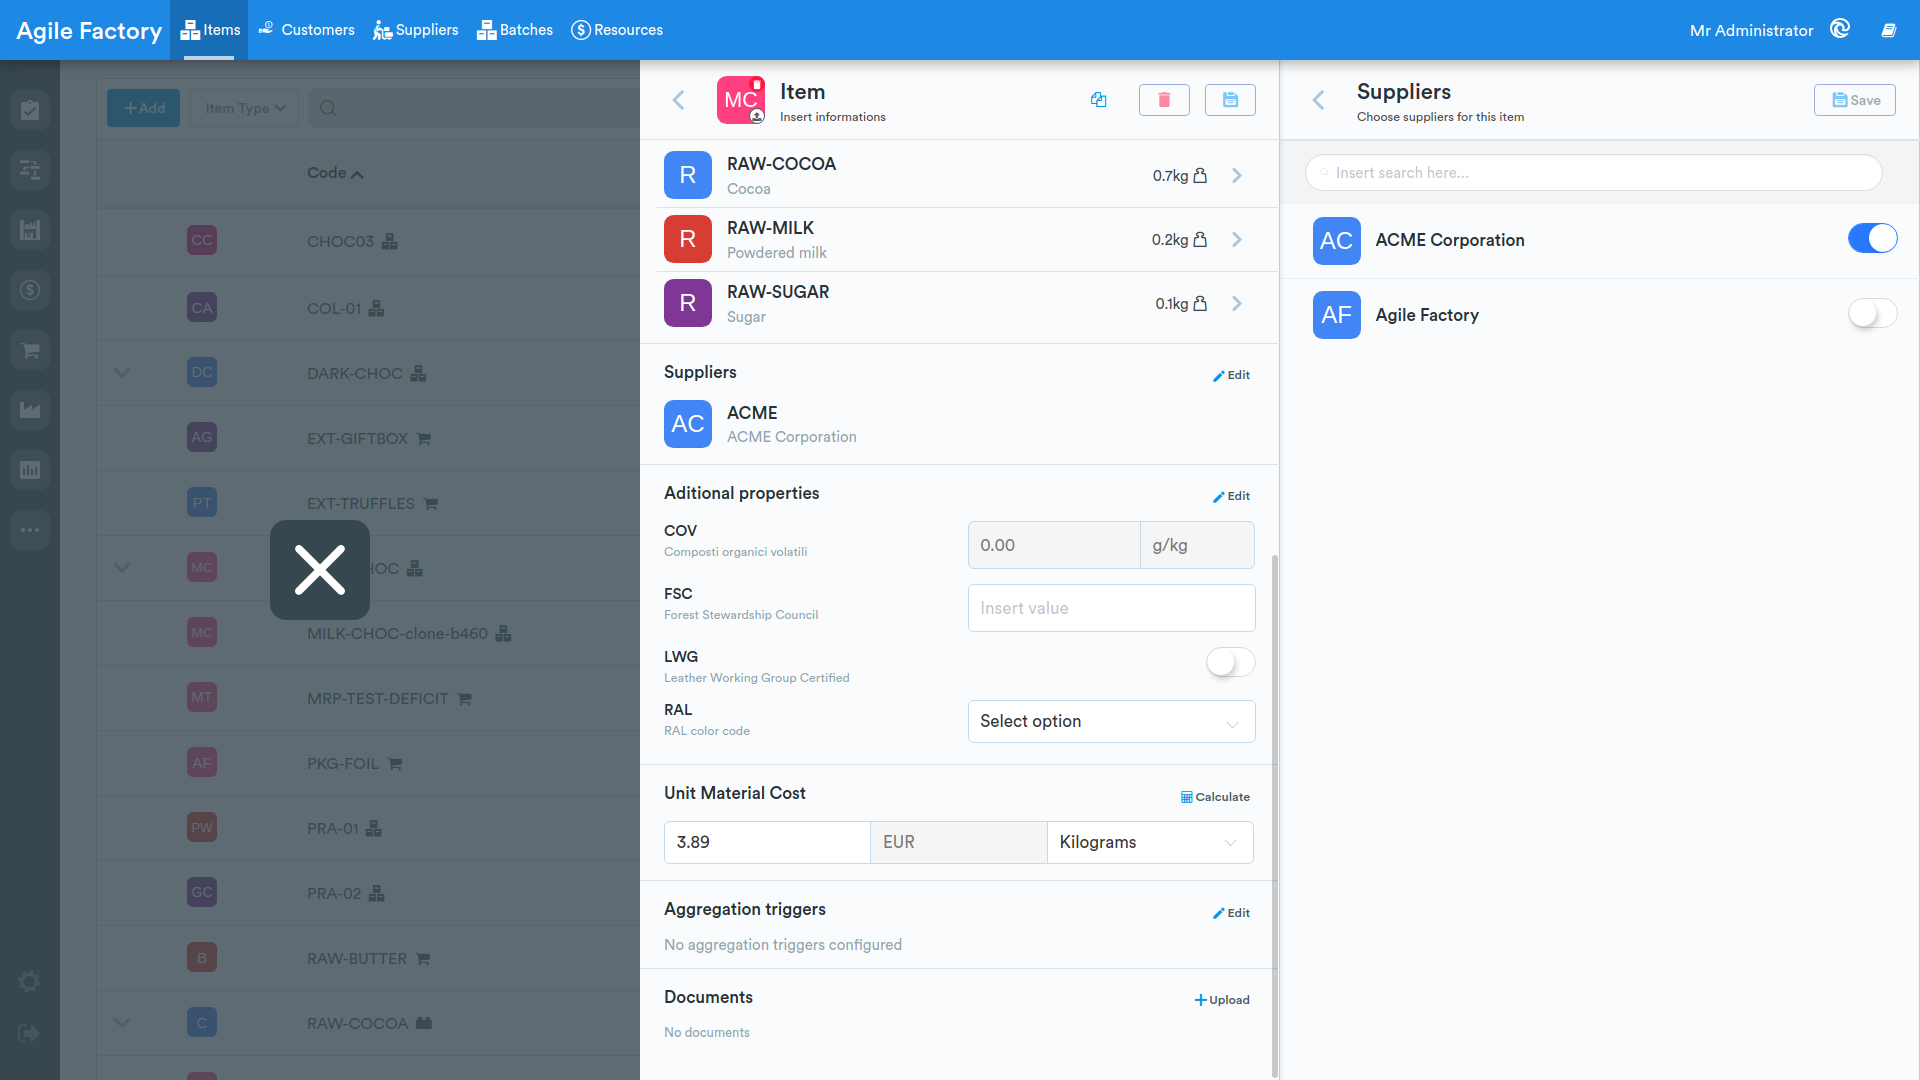
In the item editing page there is the Suppliers section, which lists the suppliers associated with the item. By clicking the Edit button, the Suppliers card opens (subtitle Choose suppliers for this item), where you can search and select, through checkboxes, one or more suppliers to link to the item. When no supplier is associated, the message No suppliers is shown.
Cost
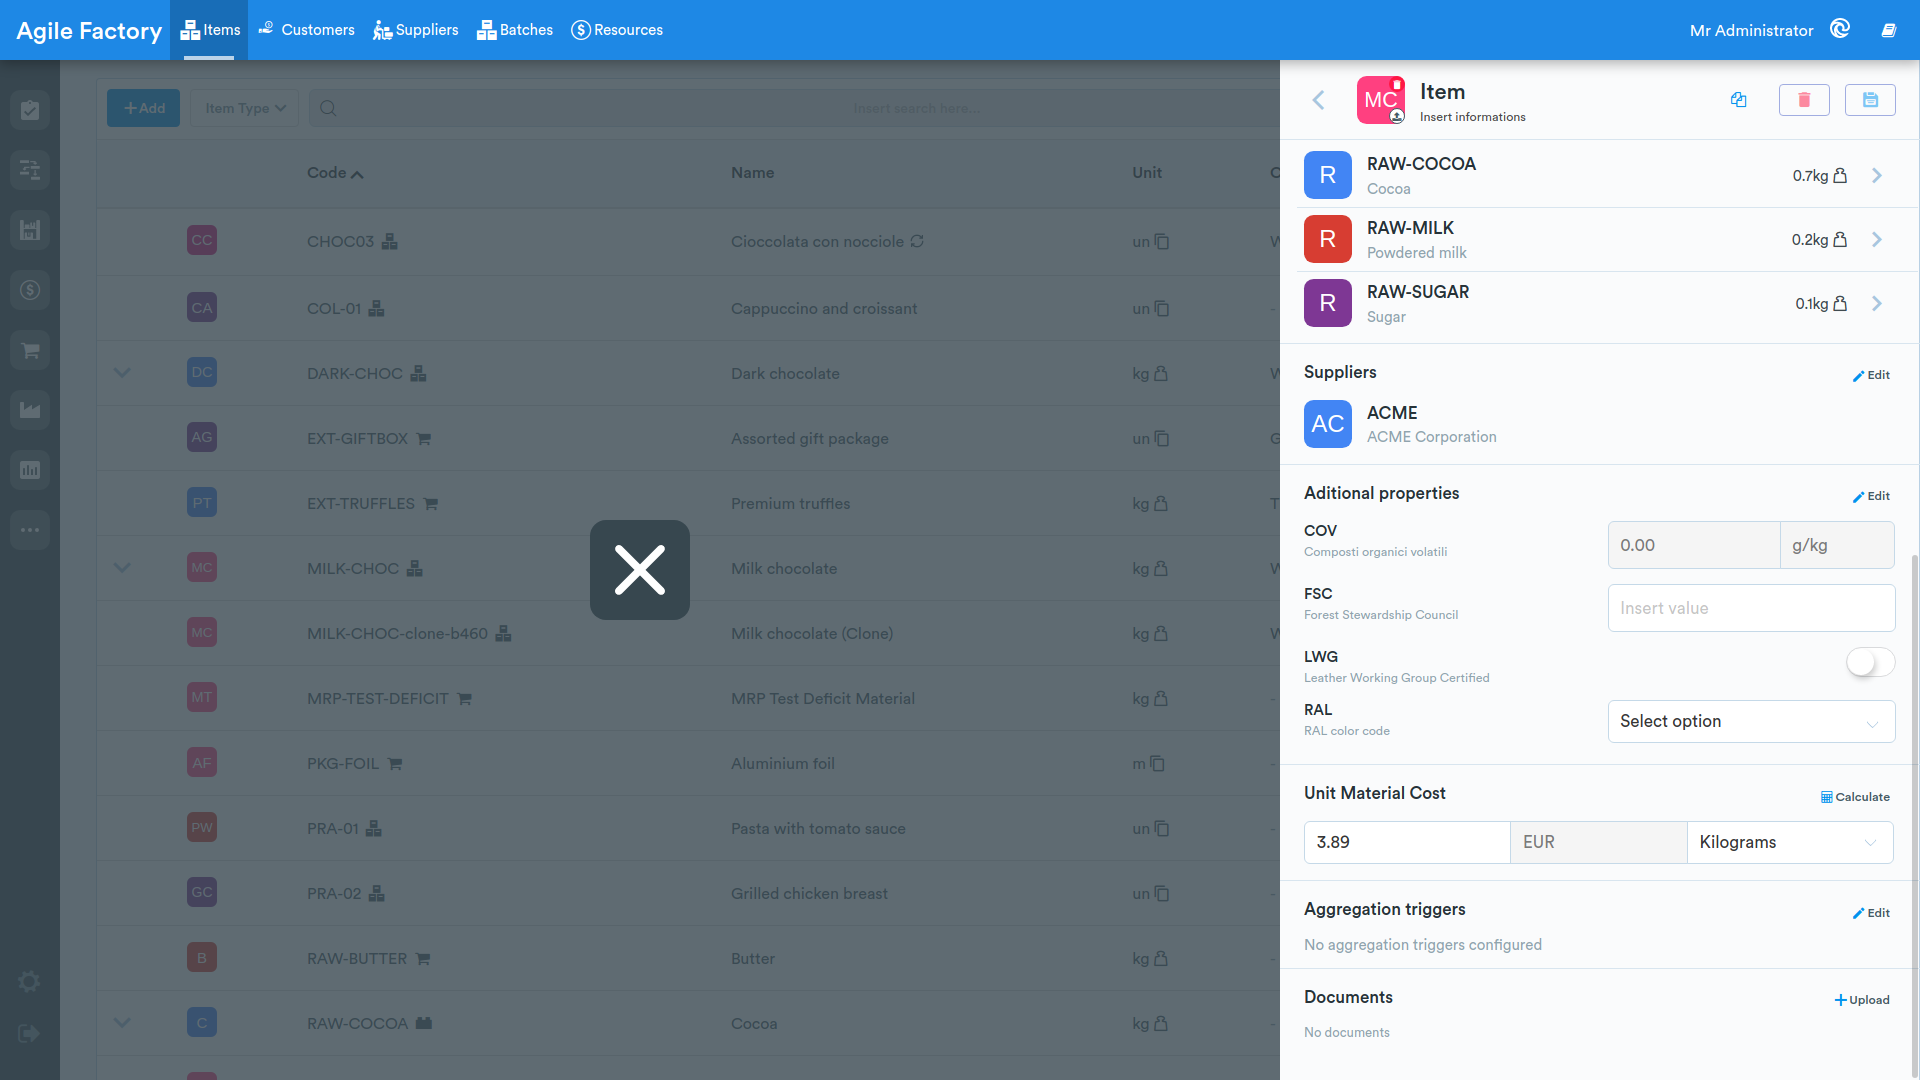
For the product it is also possible to set a cost that is used for a special Industrial Accounting🔥 algorithm, as well as aggregation parameters used for a special algorithm for automatic aggregation of production orders based on product code (for more information on aggregation, see the Aggregations section).
For assembled items, when the related engine configuration is active, the Calculate button appears in the cost section, which automatically recalculates the item cost starting from the costs of the bill-of-materials components.
Customers
In this subsection, customer data is entered.
To add a customer, click on the Add button.
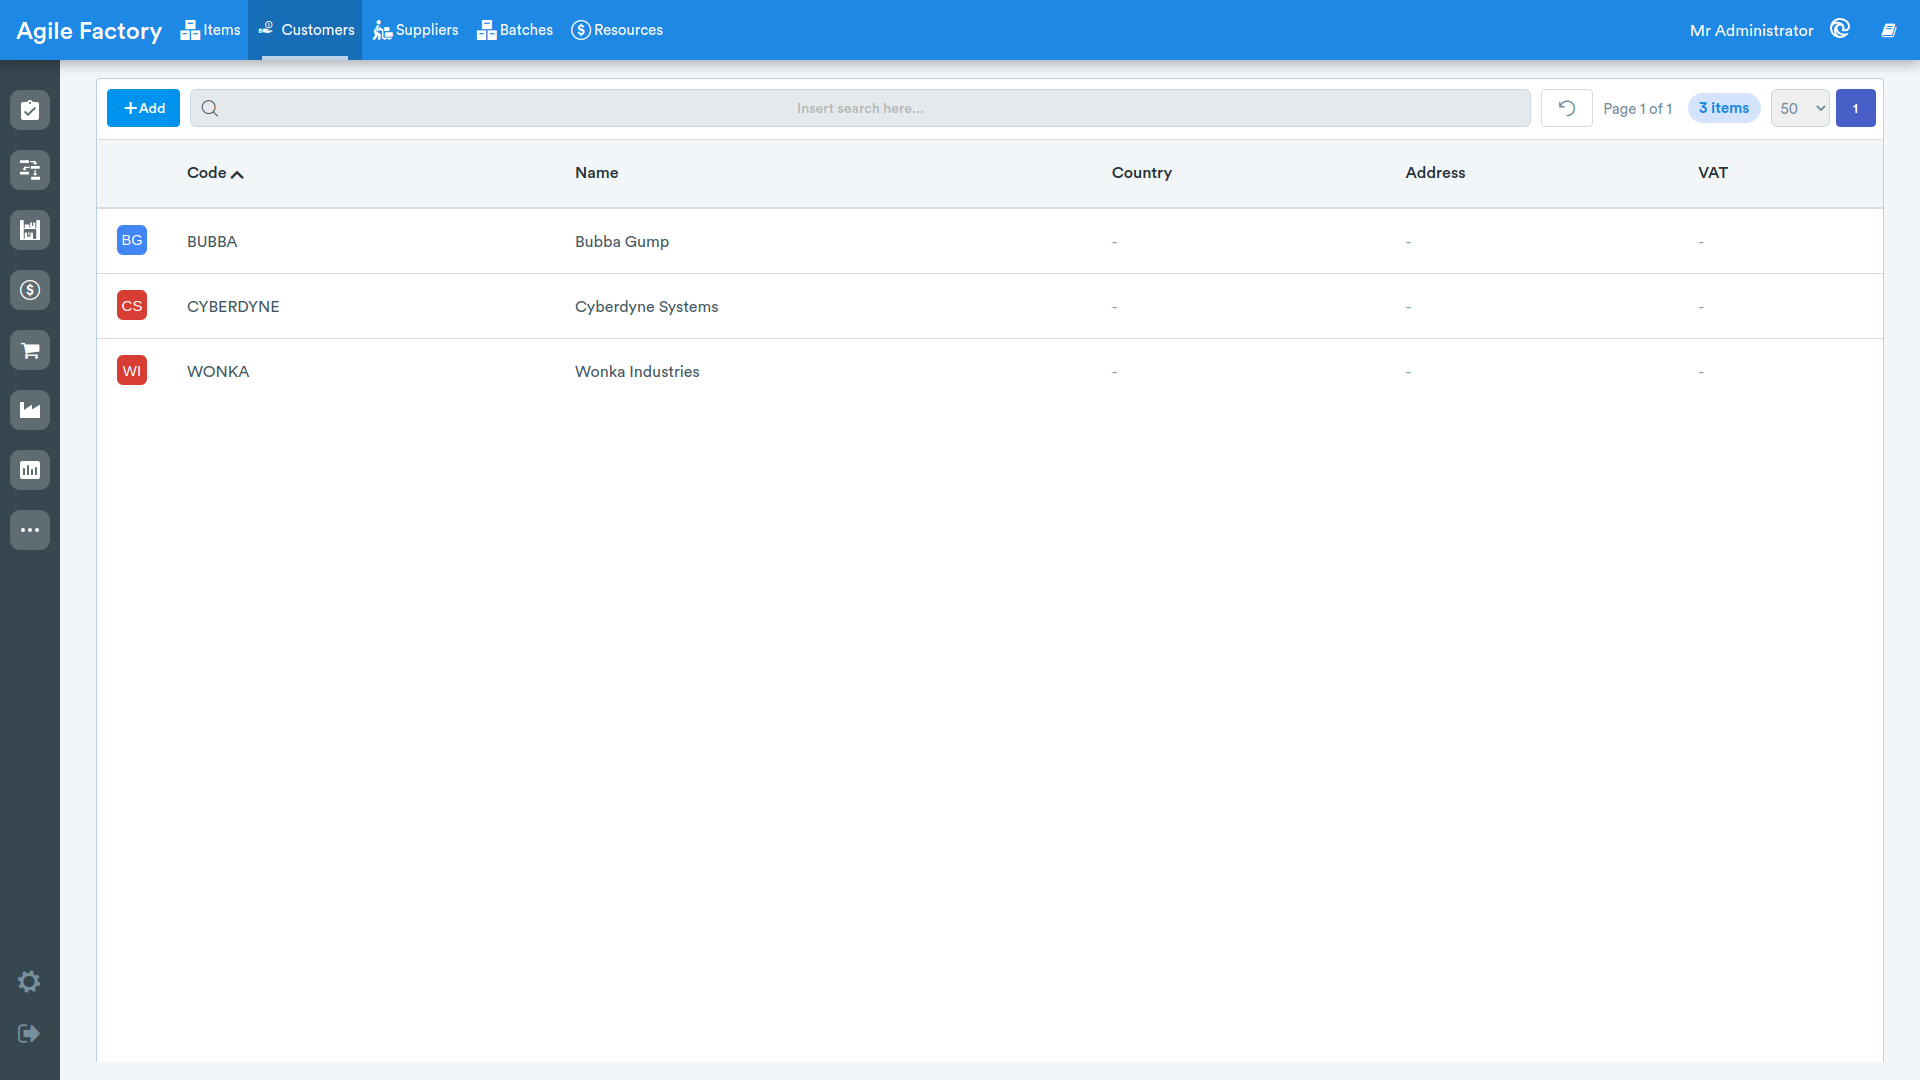
A page for entering a new customer will be opened.
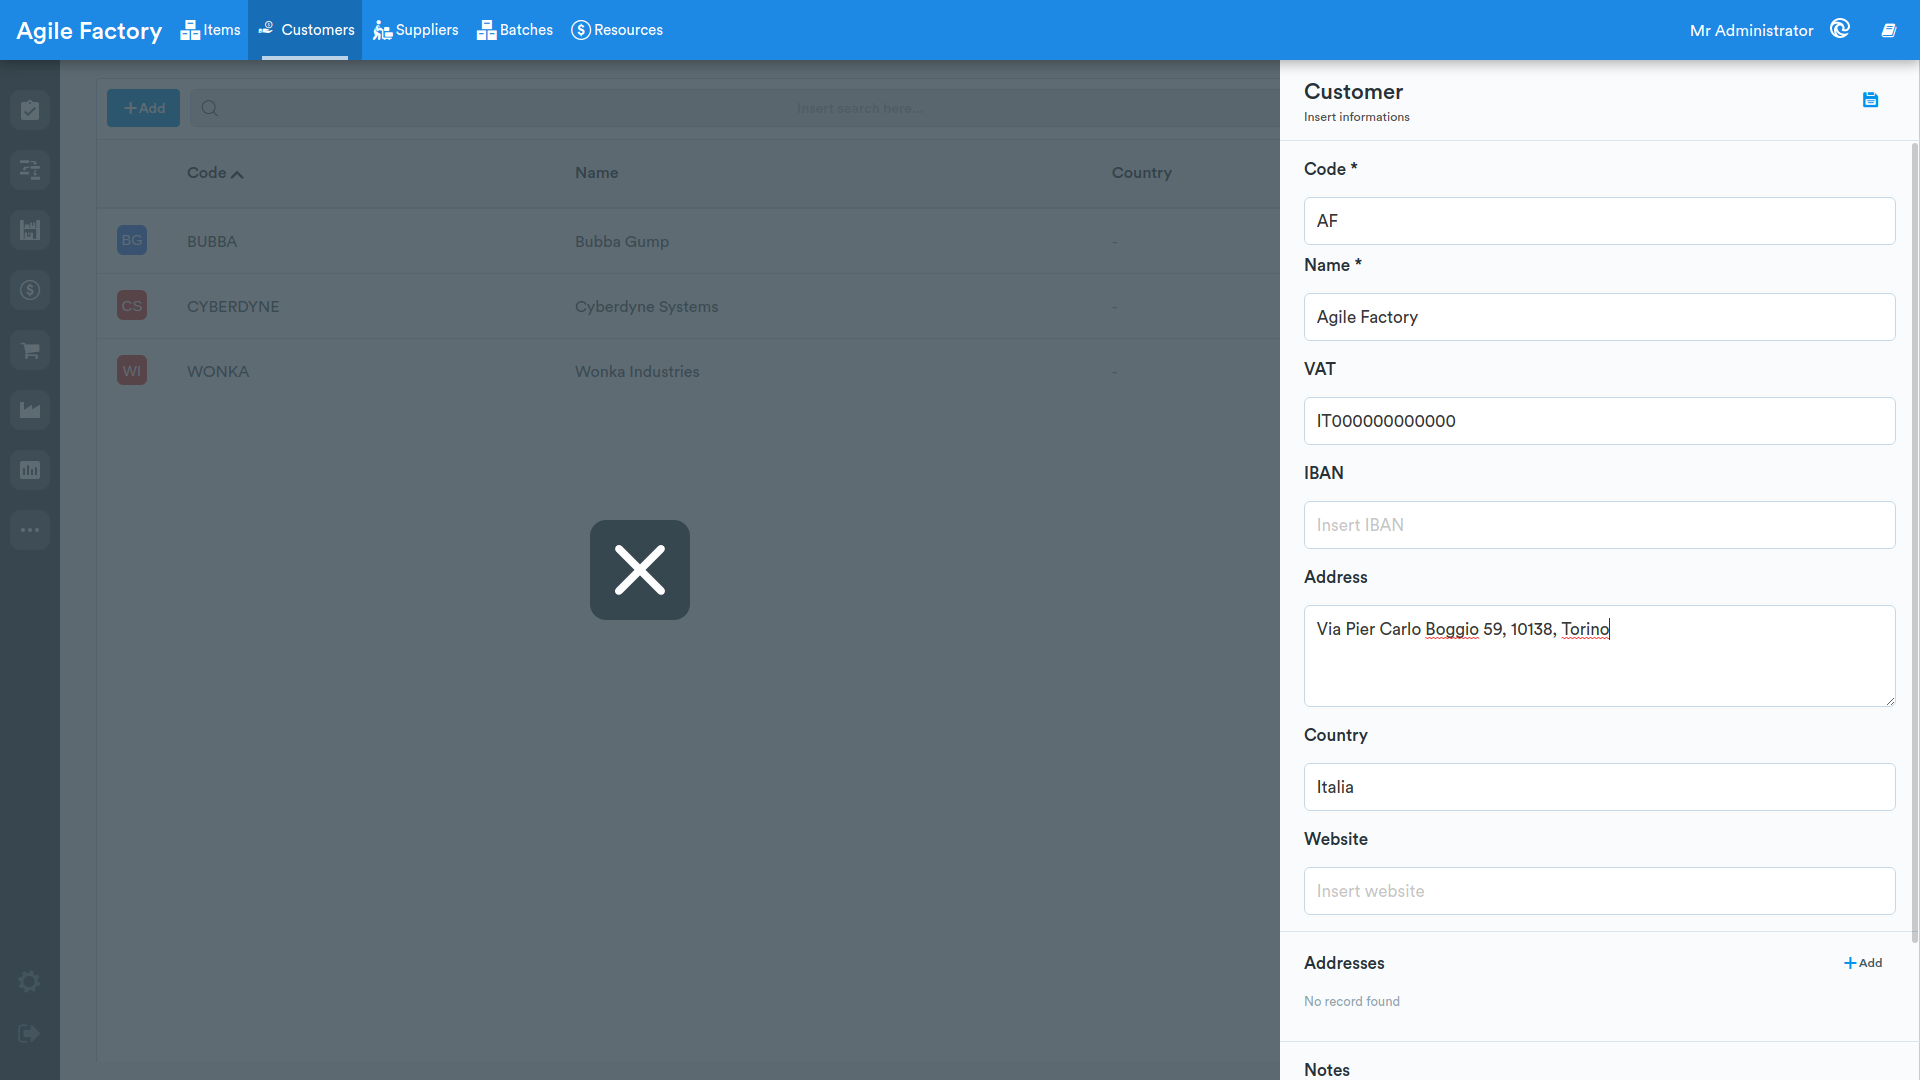
By clicking on a customer, a page opens to view their information and upload any documents.
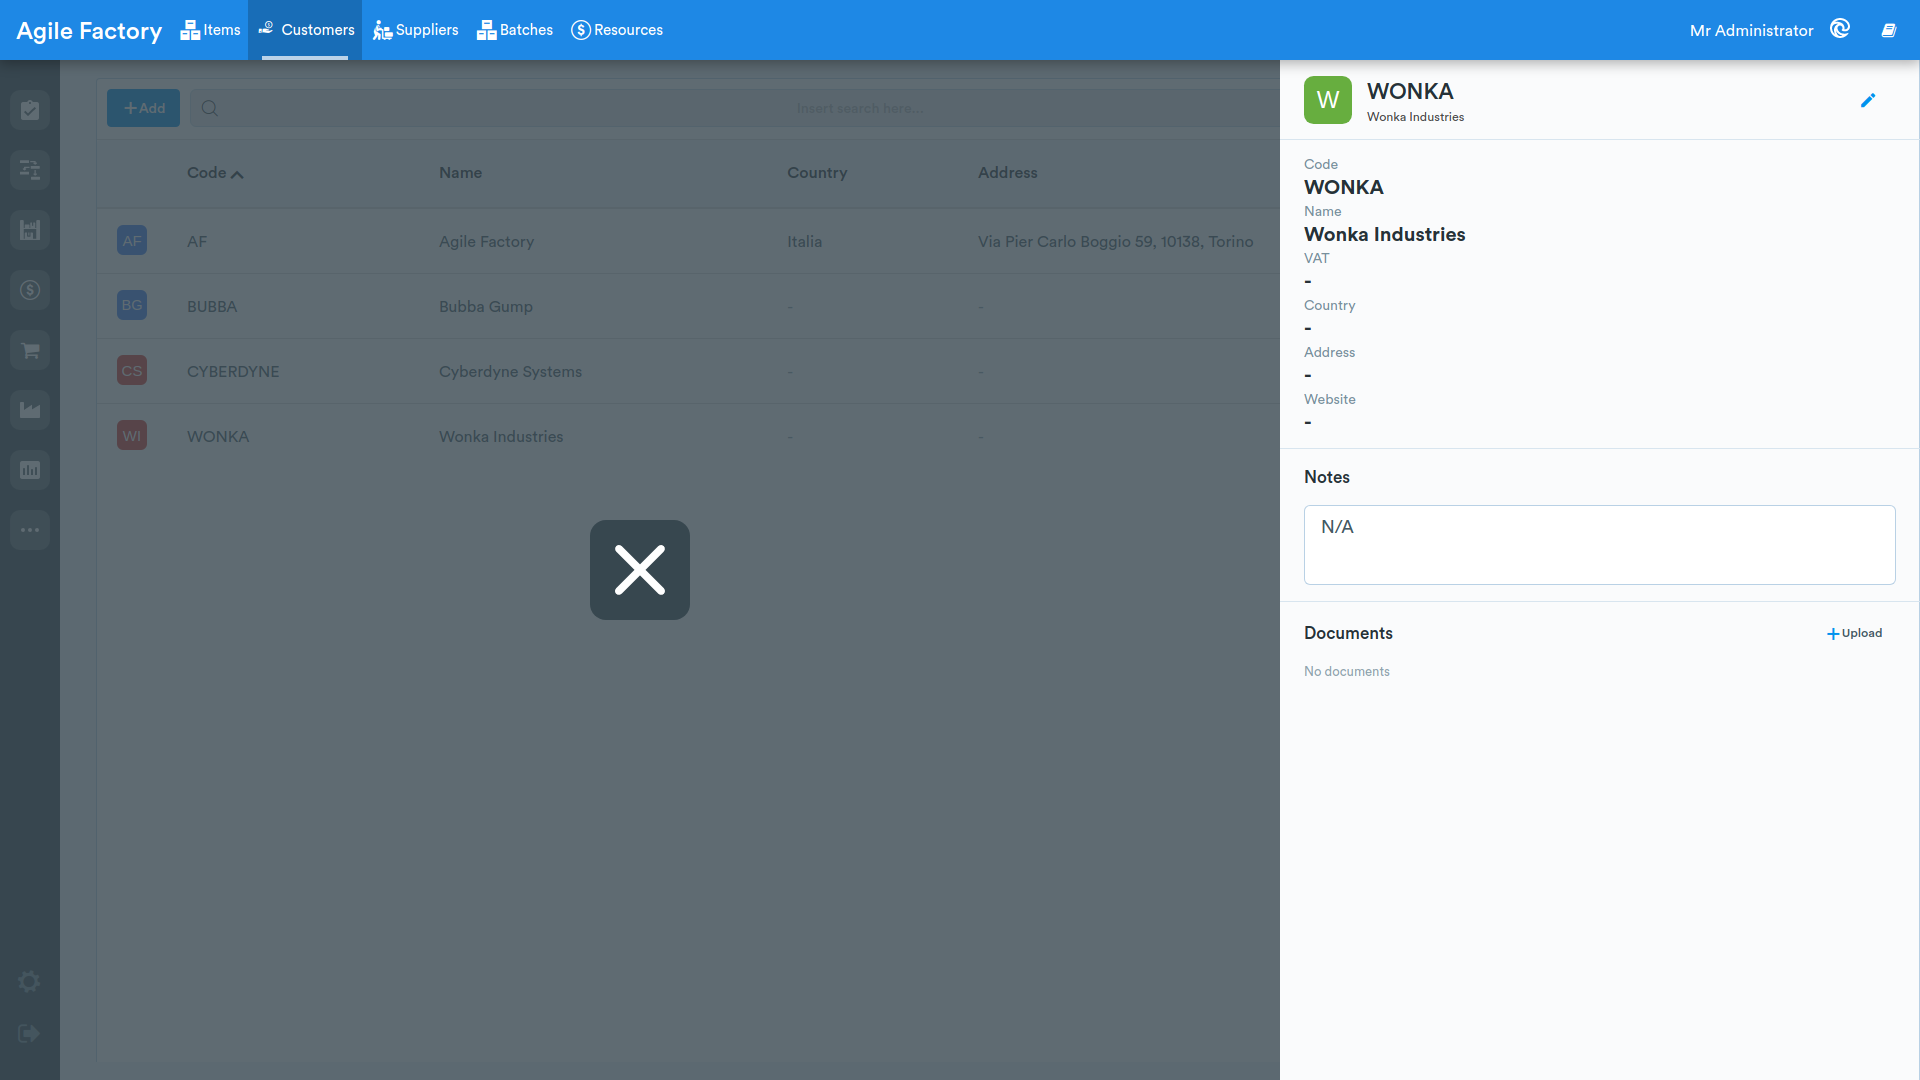
By clicking at the top right, the customer editing page will open.
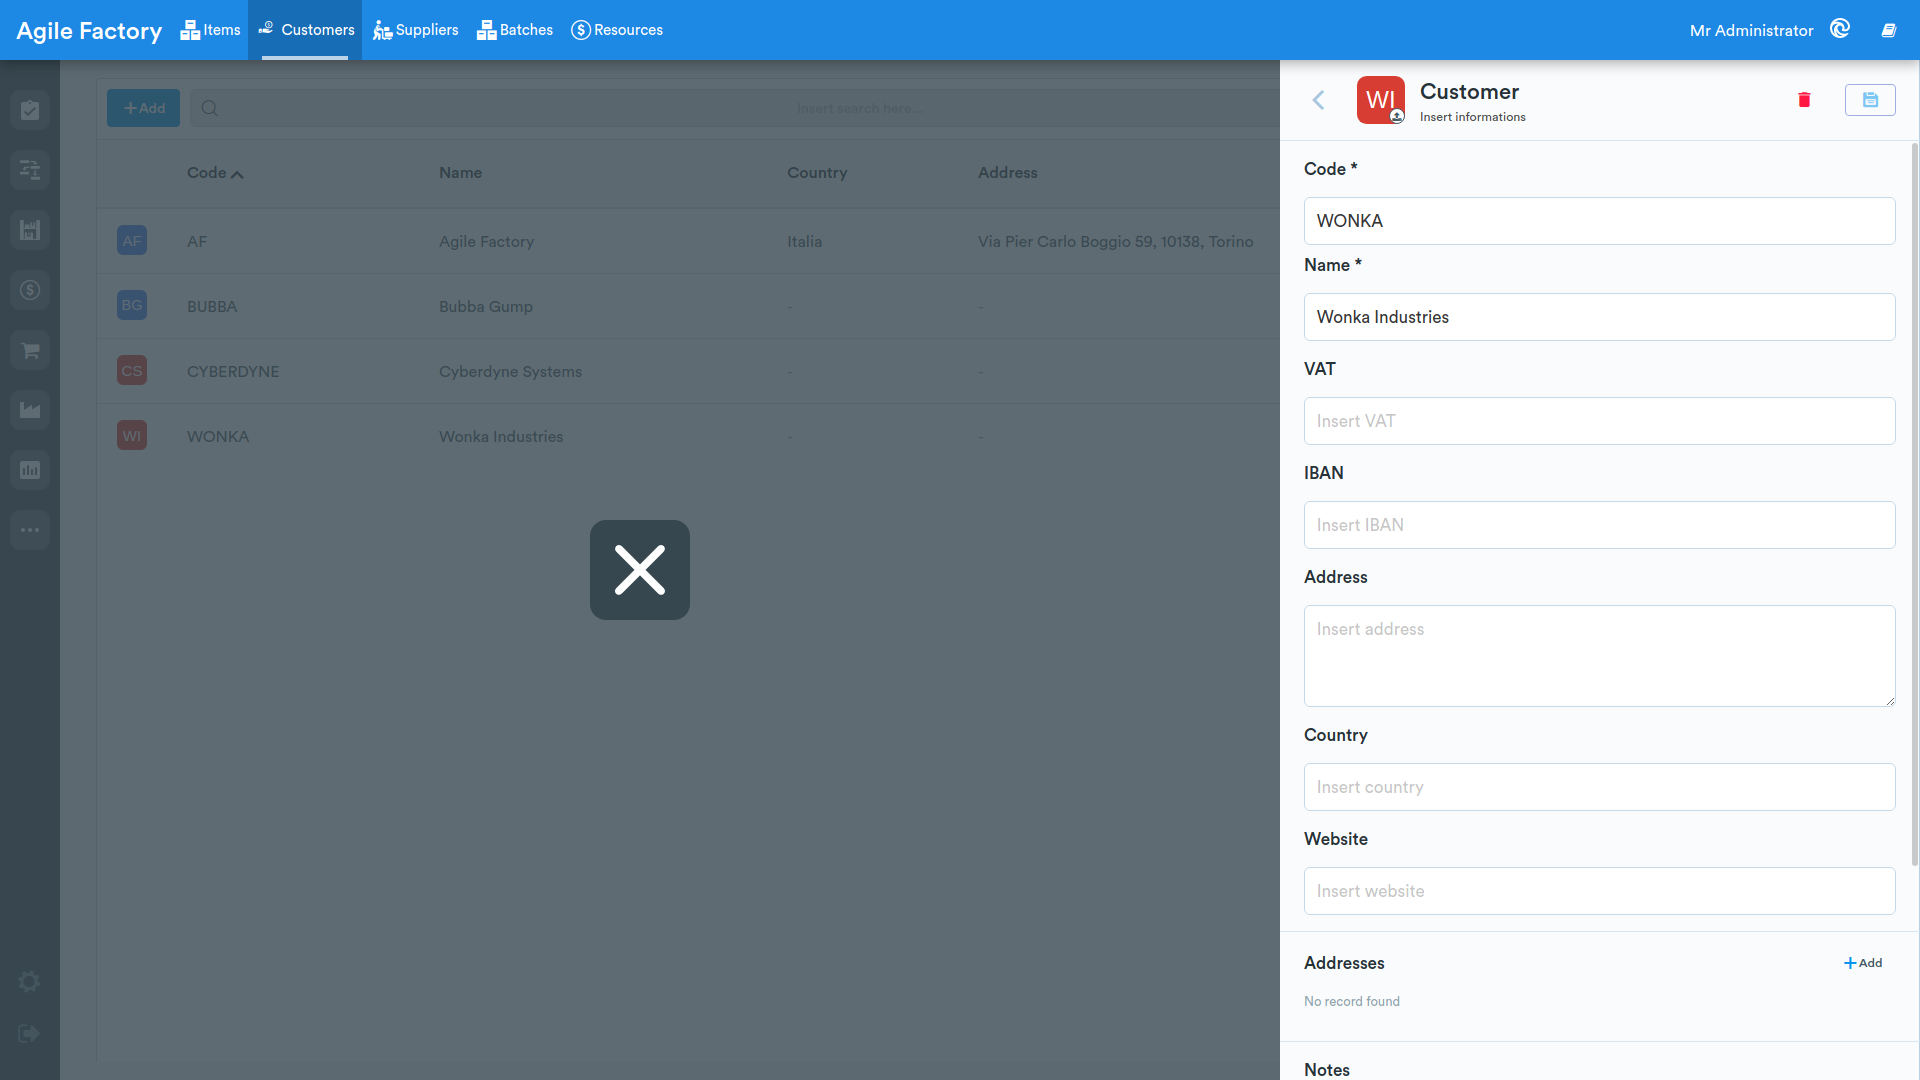
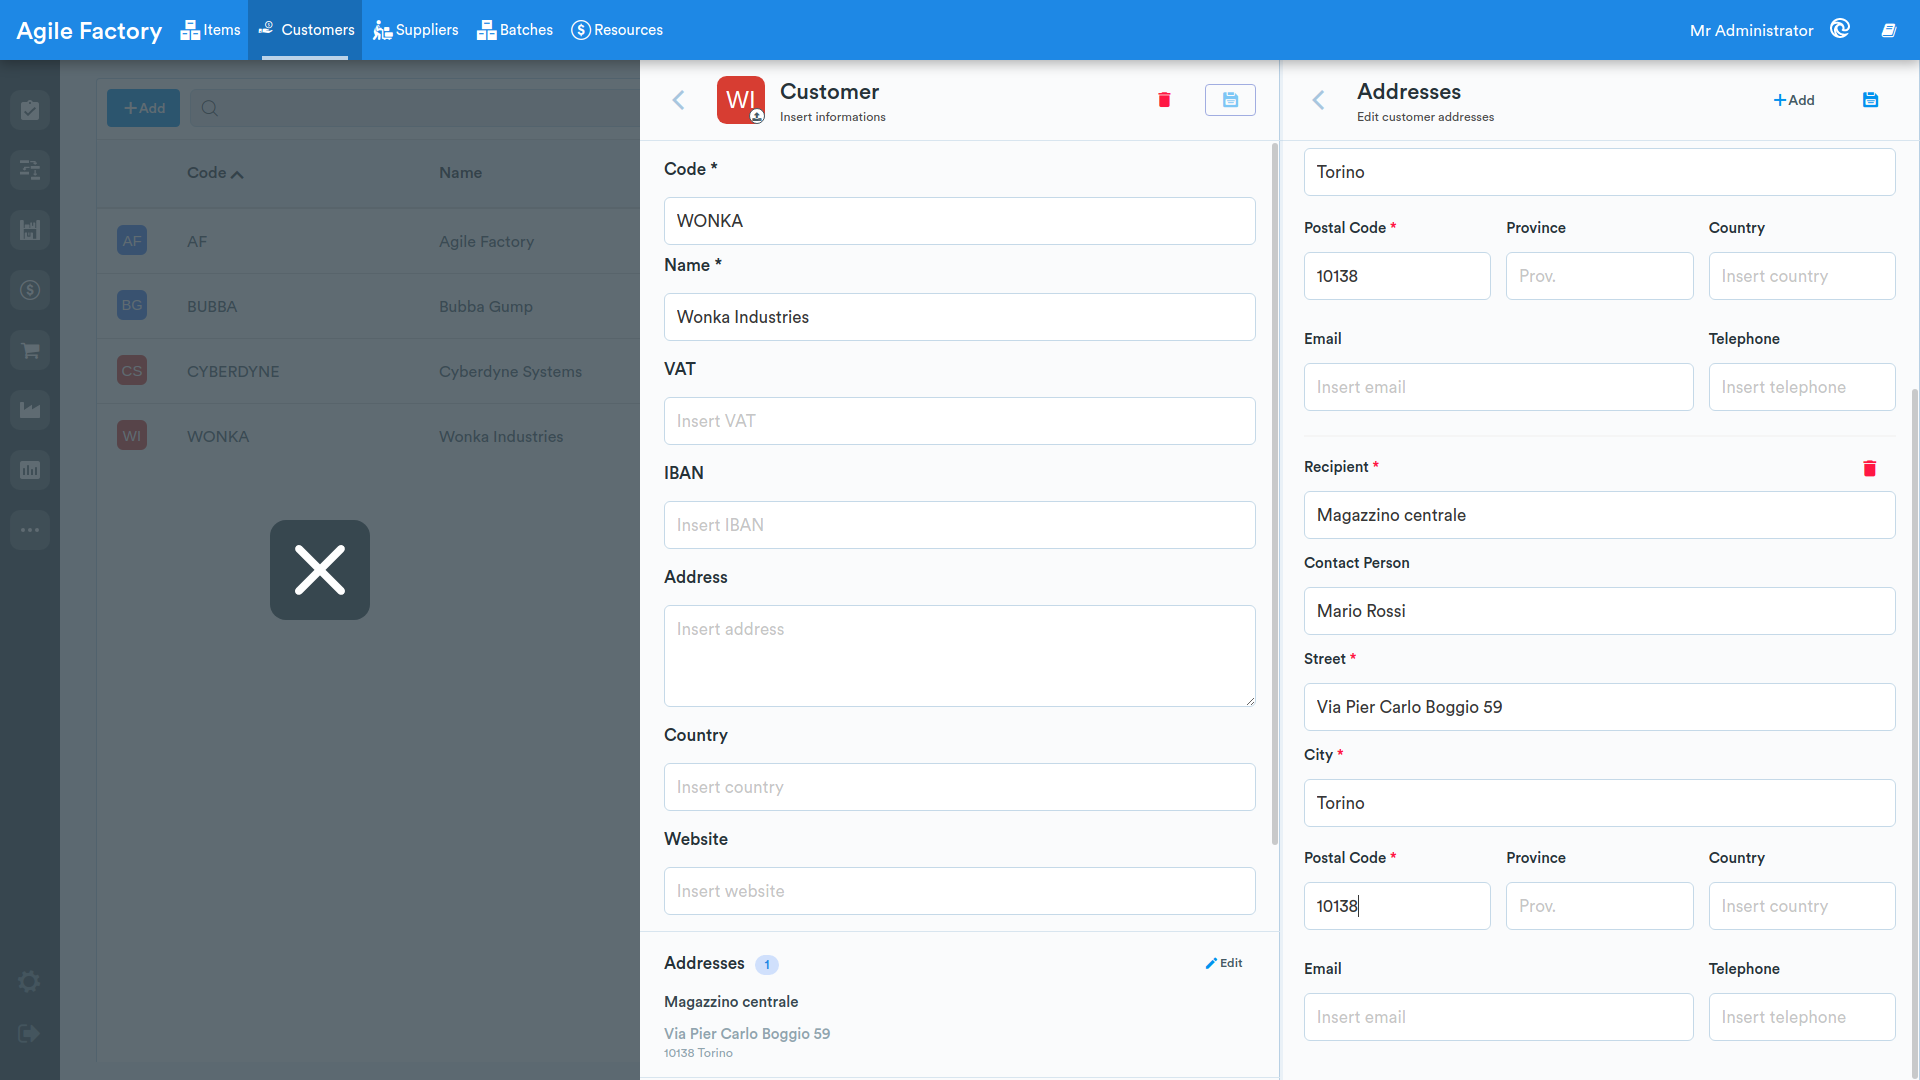
From the customer editing page it is now possible to manage addresses directly, without opening a separate card. For each address, besides the recipient, the contact person field is now available.
Suppliers
In this subsection, supplier data is entered.
To add a supplier, click on the Add button.
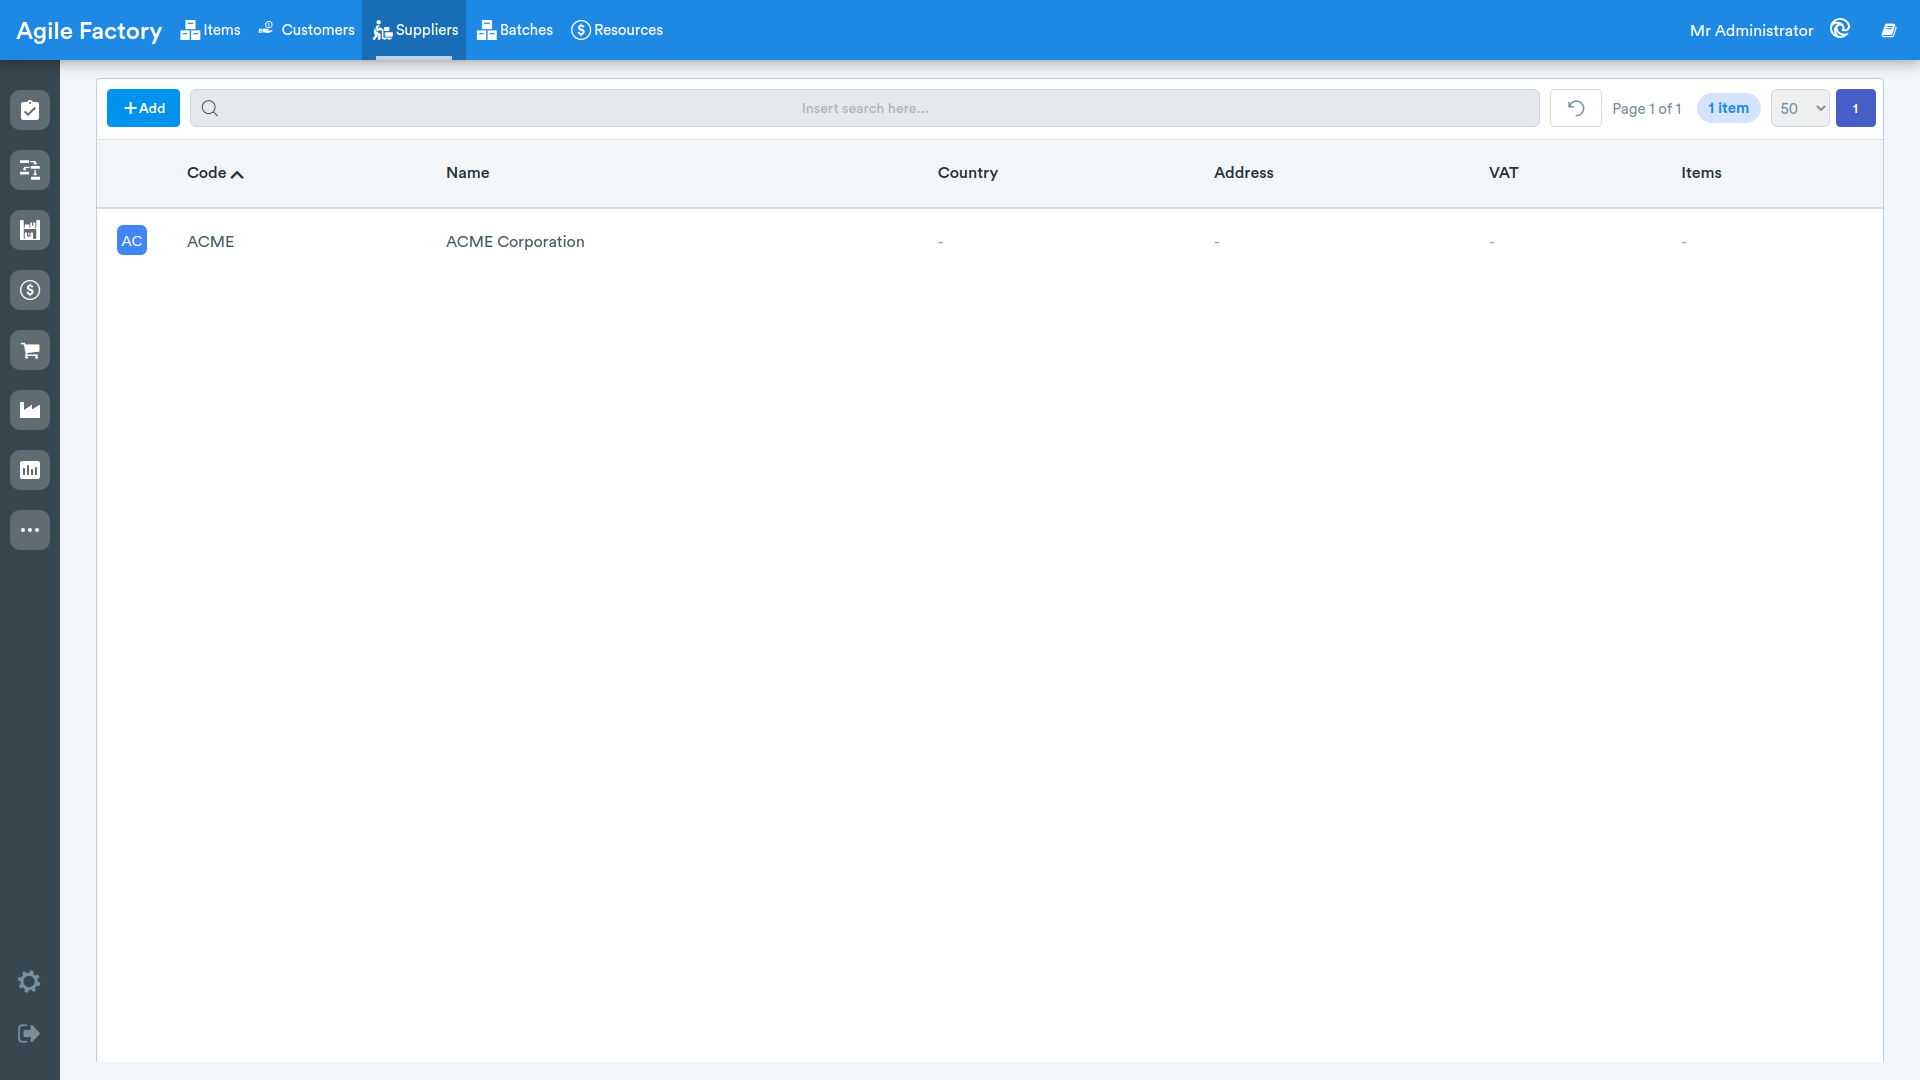
The suppliers list also includes the Items column, which shows the codes of the items associated with each supplier.
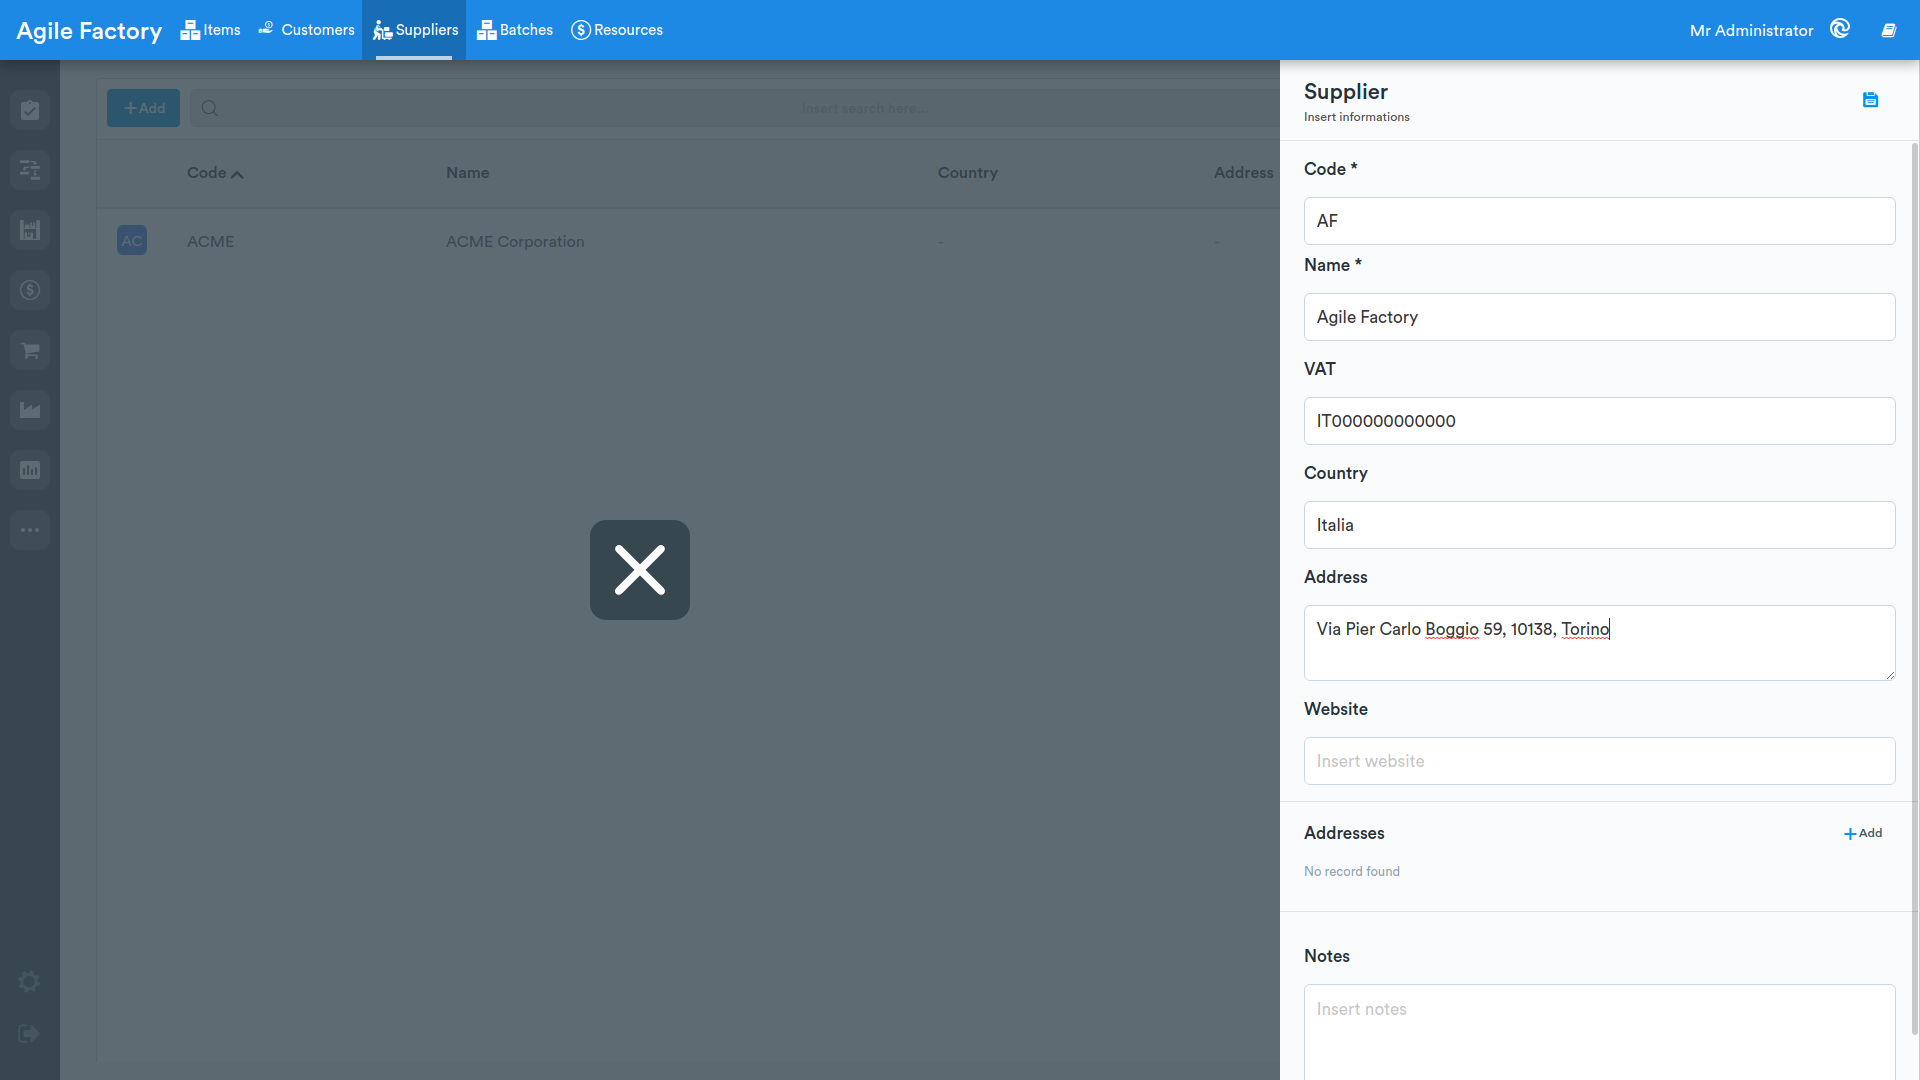
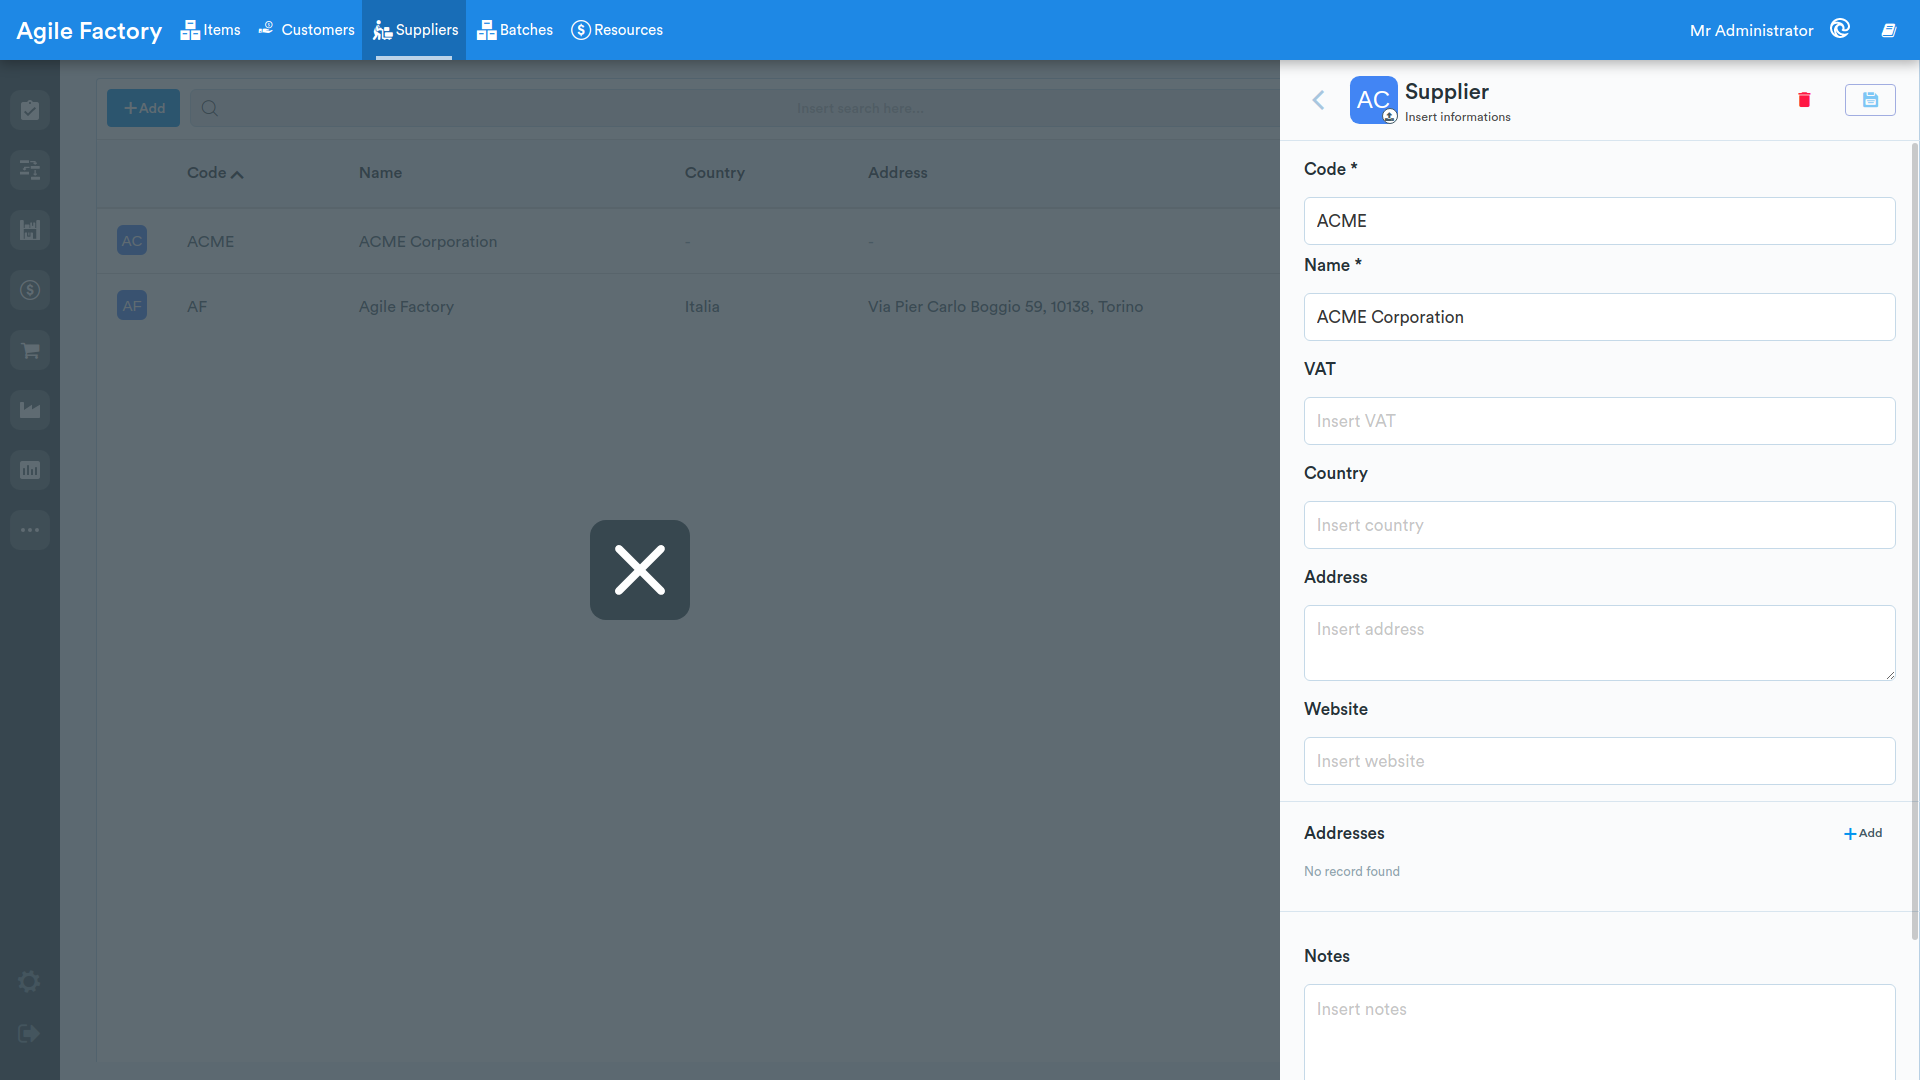
A page will be opened for entering a new supplier and related data.
By clicking on an already created supplier, a page opens to view their information and upload any documents.
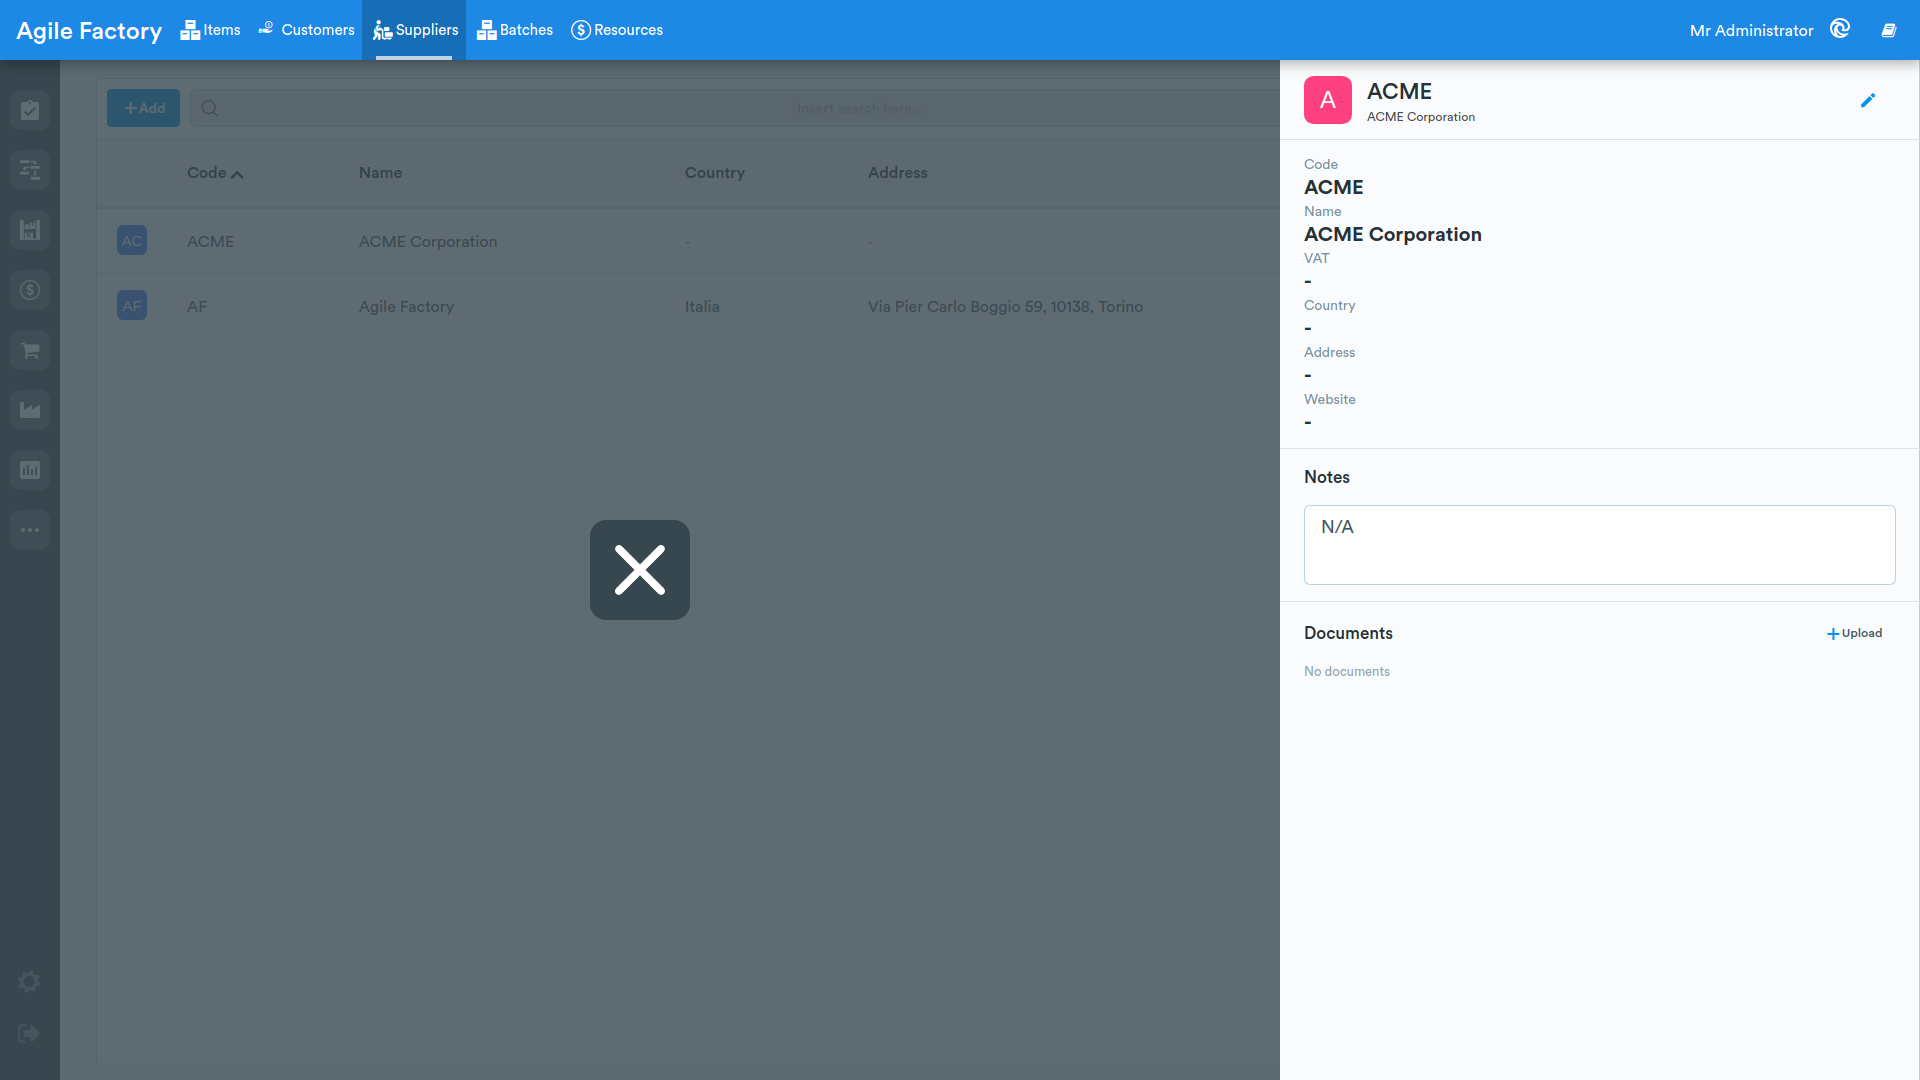
At the top right there is the edit option. By clicking on it, a form opens where it is possible to make changes to previously entered data or delete the supplier. For suppliers too, addresses can now be edited directly from the editing page and, as for customers, the contact person field is available for each address.
Batches
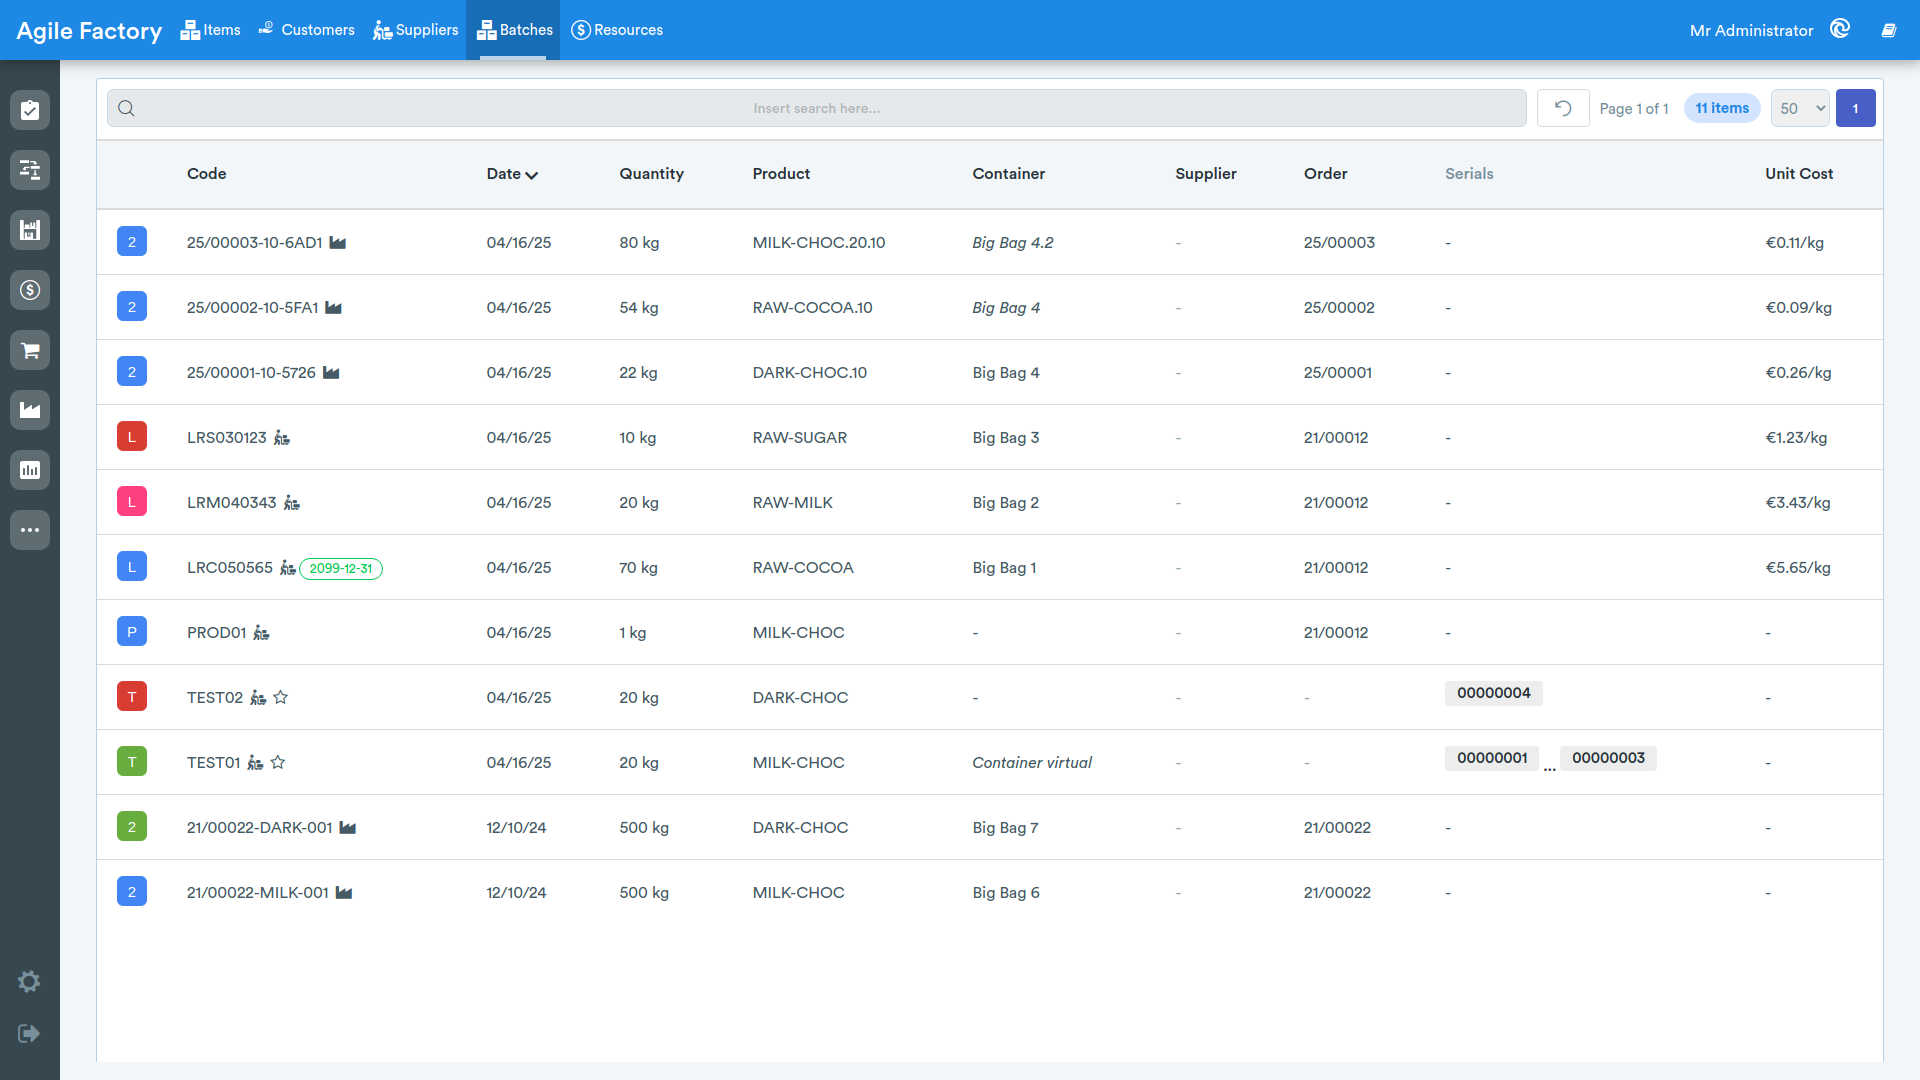
If batch management is active, in this subsection it is possible to consult the recorded batches.
For batches subject to expiration, the list highlights the expiration directly on the batch tag. By opening the detail of a supply batch, the Expiration date field is also present, which shows the date and the days remaining until expiration, with a warning indication when expiration is near.
Safety Data Sheets
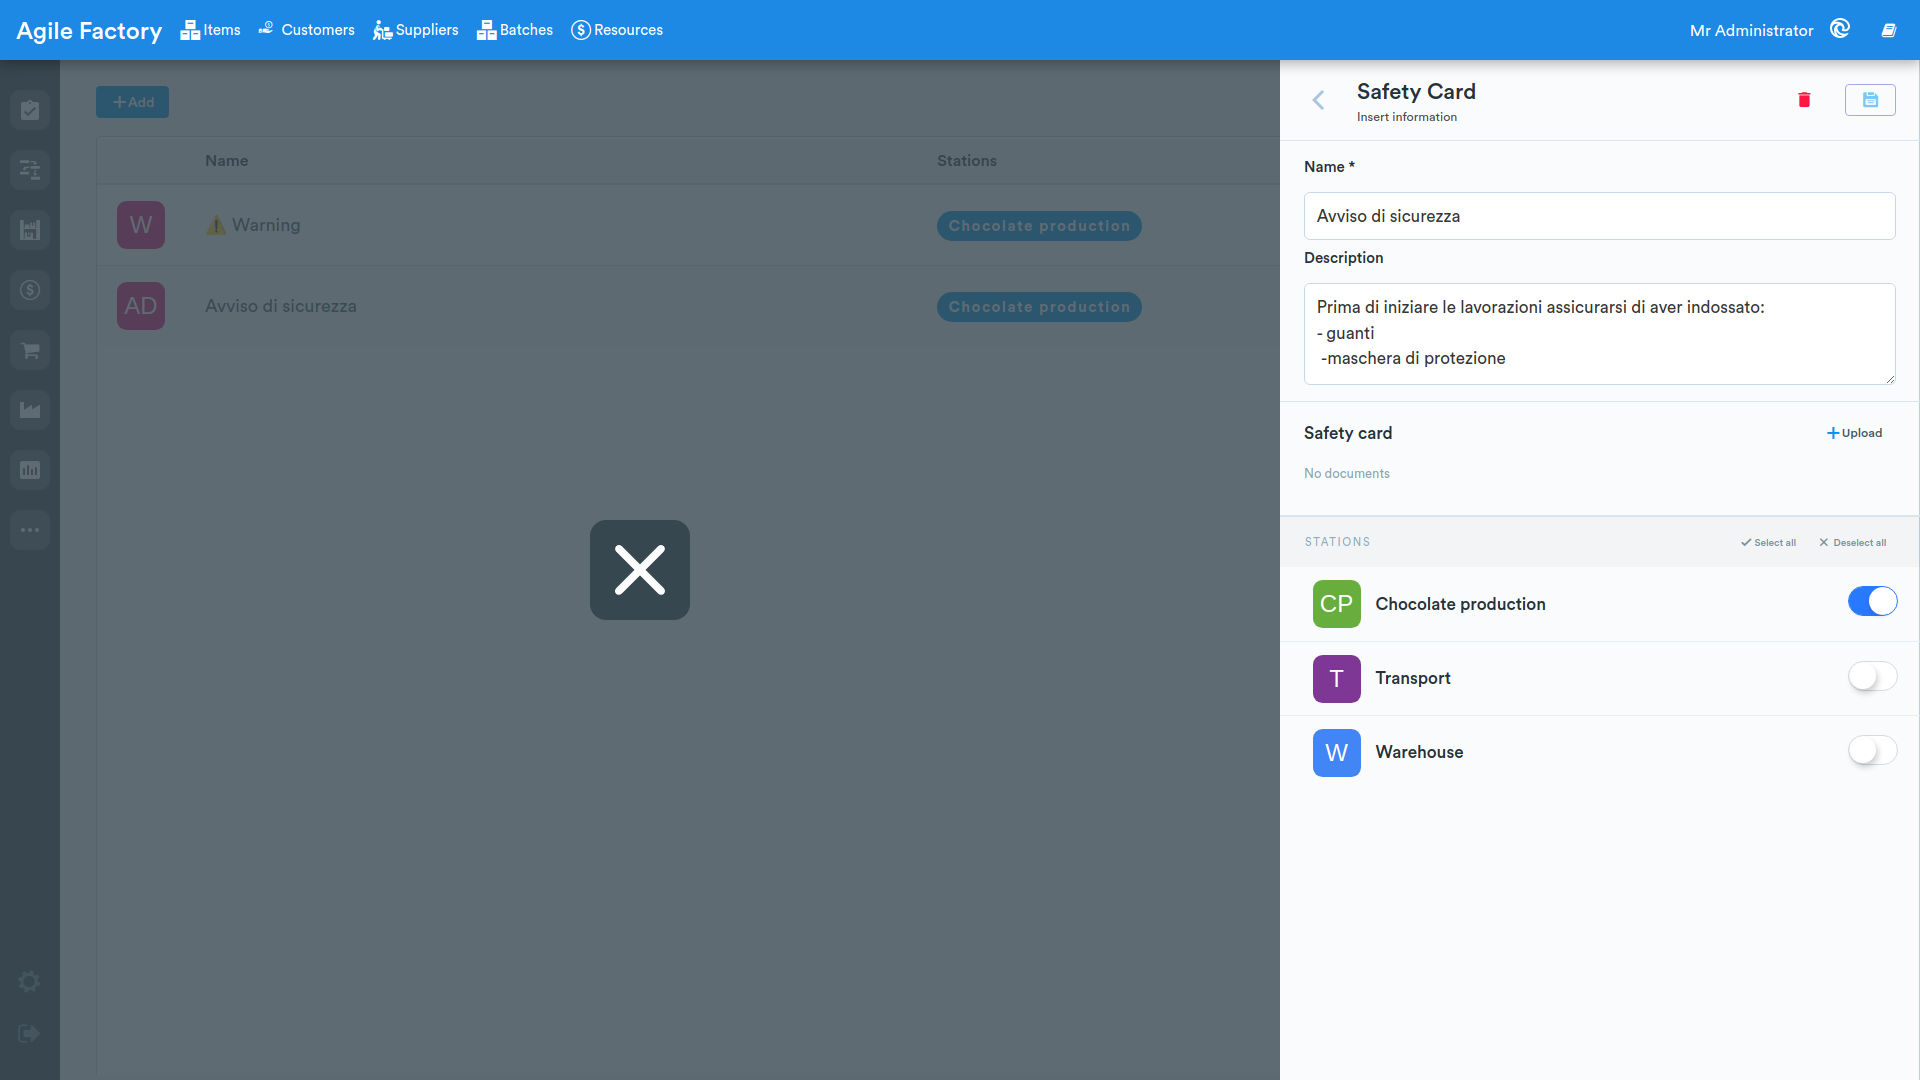
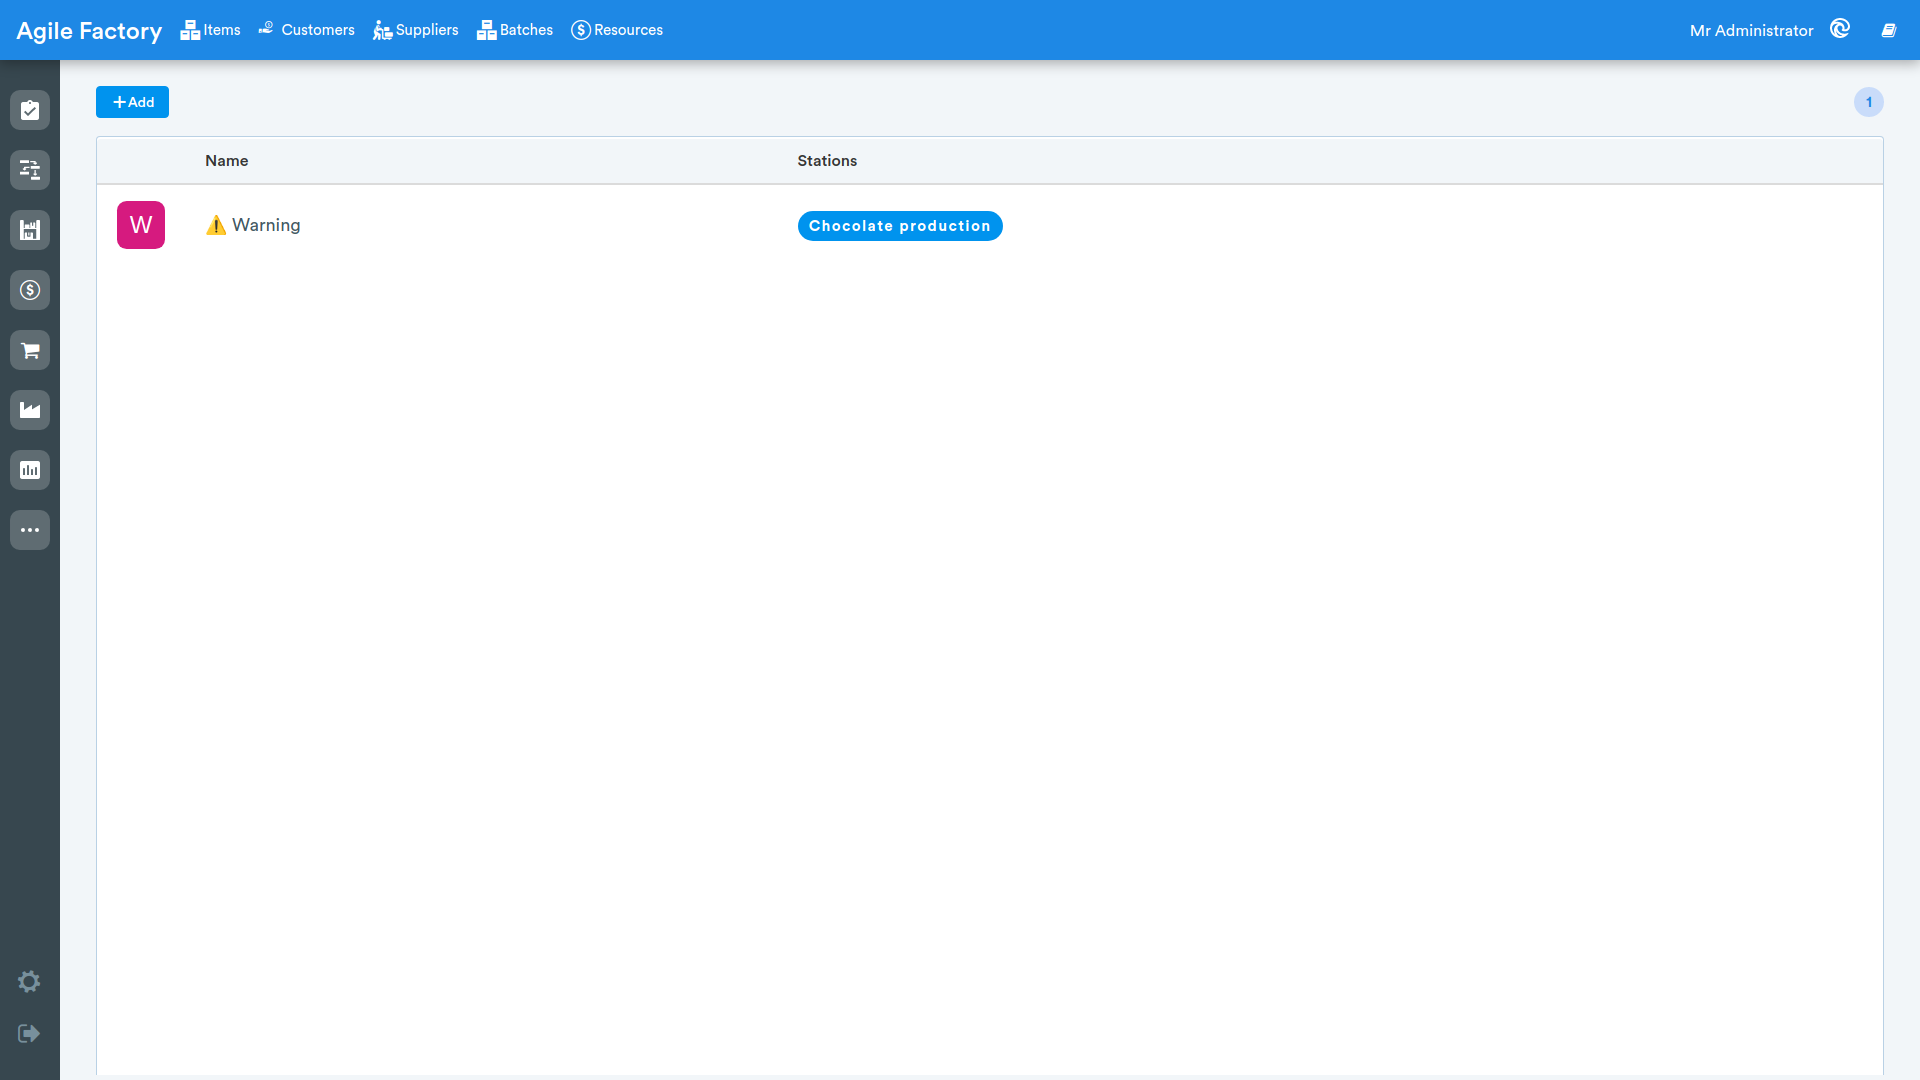
In this subsection, data related to safety data sheets to be assigned to the respective stations is entered.
These are documents where it is possible to indicate the correct safety measures that the operator must respect in order not to harm themselves and others (clothing or instructions for the correct use of certain work tools).
By assigning the sheets to the stations, the operator will automatically view them via the HMI every time before the start of their work session.
To add a sheet, click on the add button.
A page will open for entering a new sheet for which it will be possible to indicate a name, a description and then assign it to one or more workstations.
Only after saving the information regarding the created sheet, it will be possible to insert the related document.
It can be a PDF file or an image, but it is not mandatory if the entered description is sufficient.
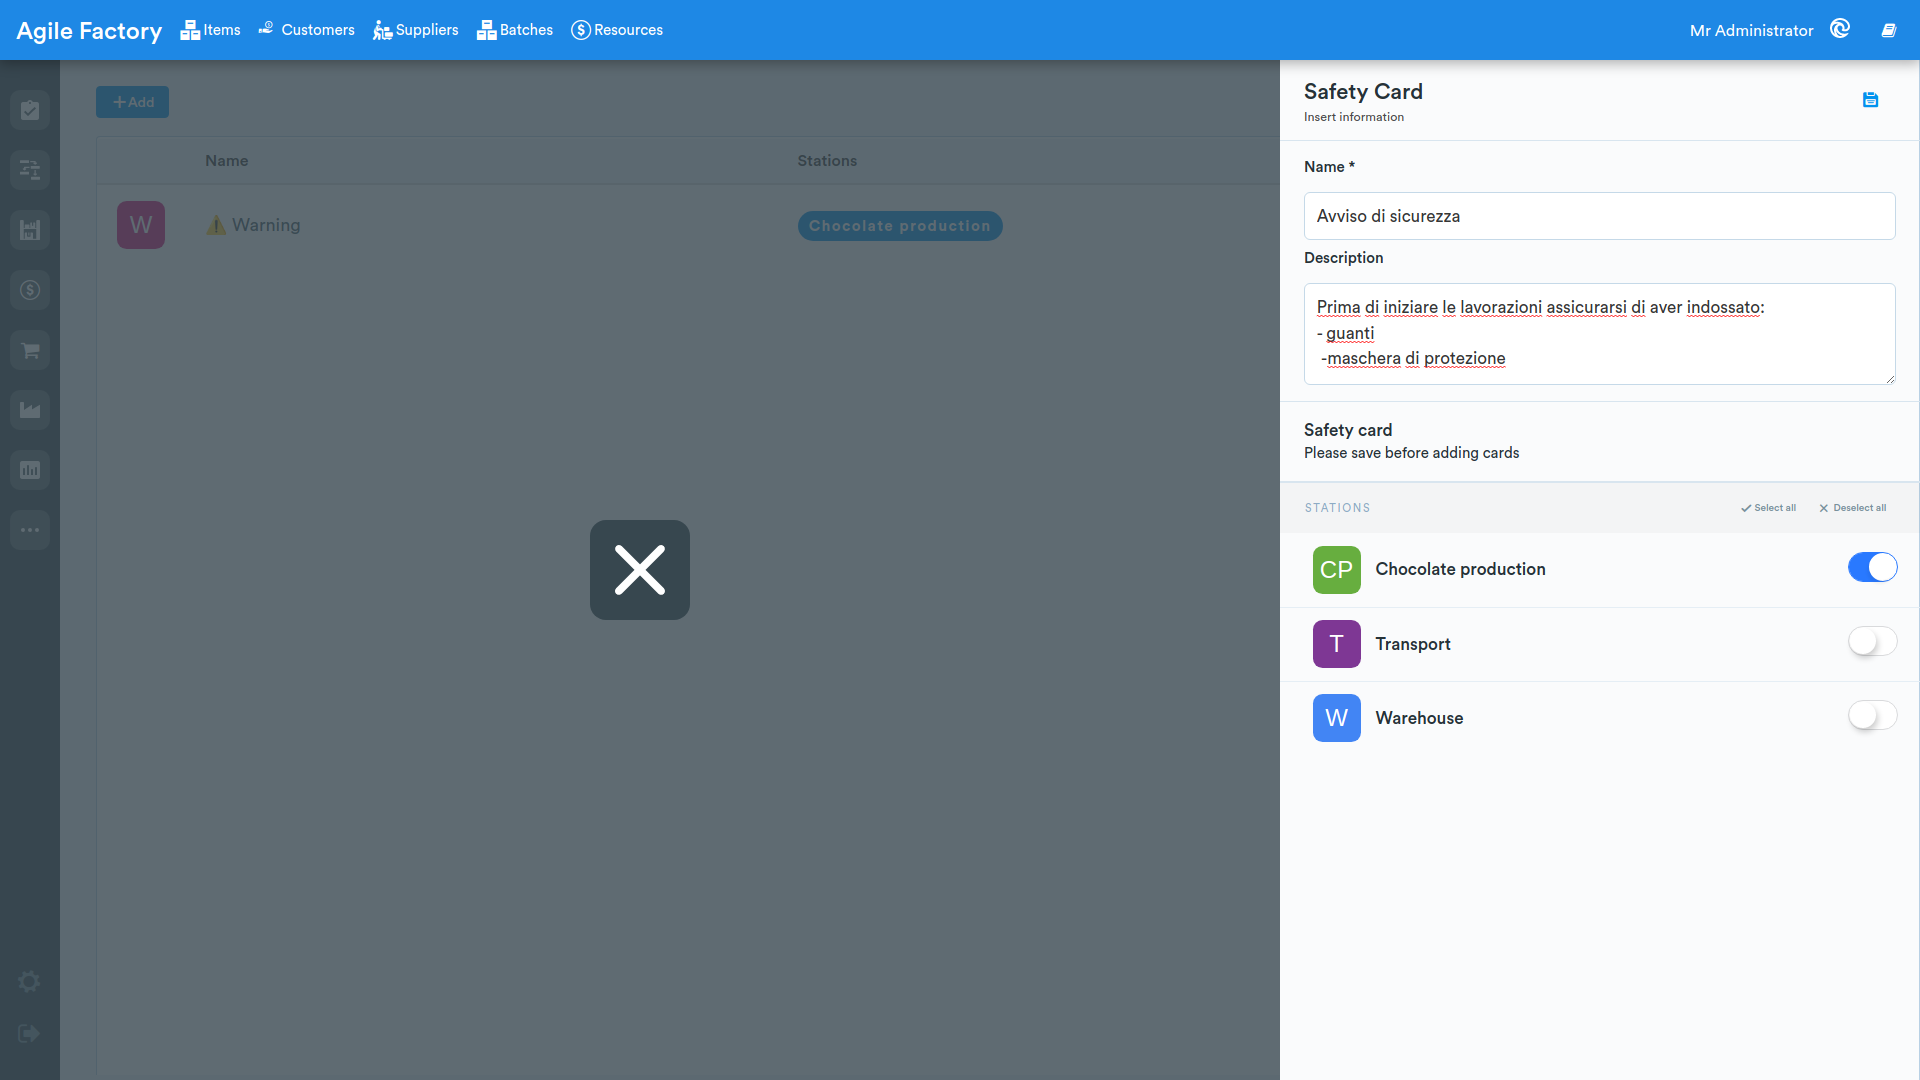
By selecting an already created sheet, a page opens to view its details.
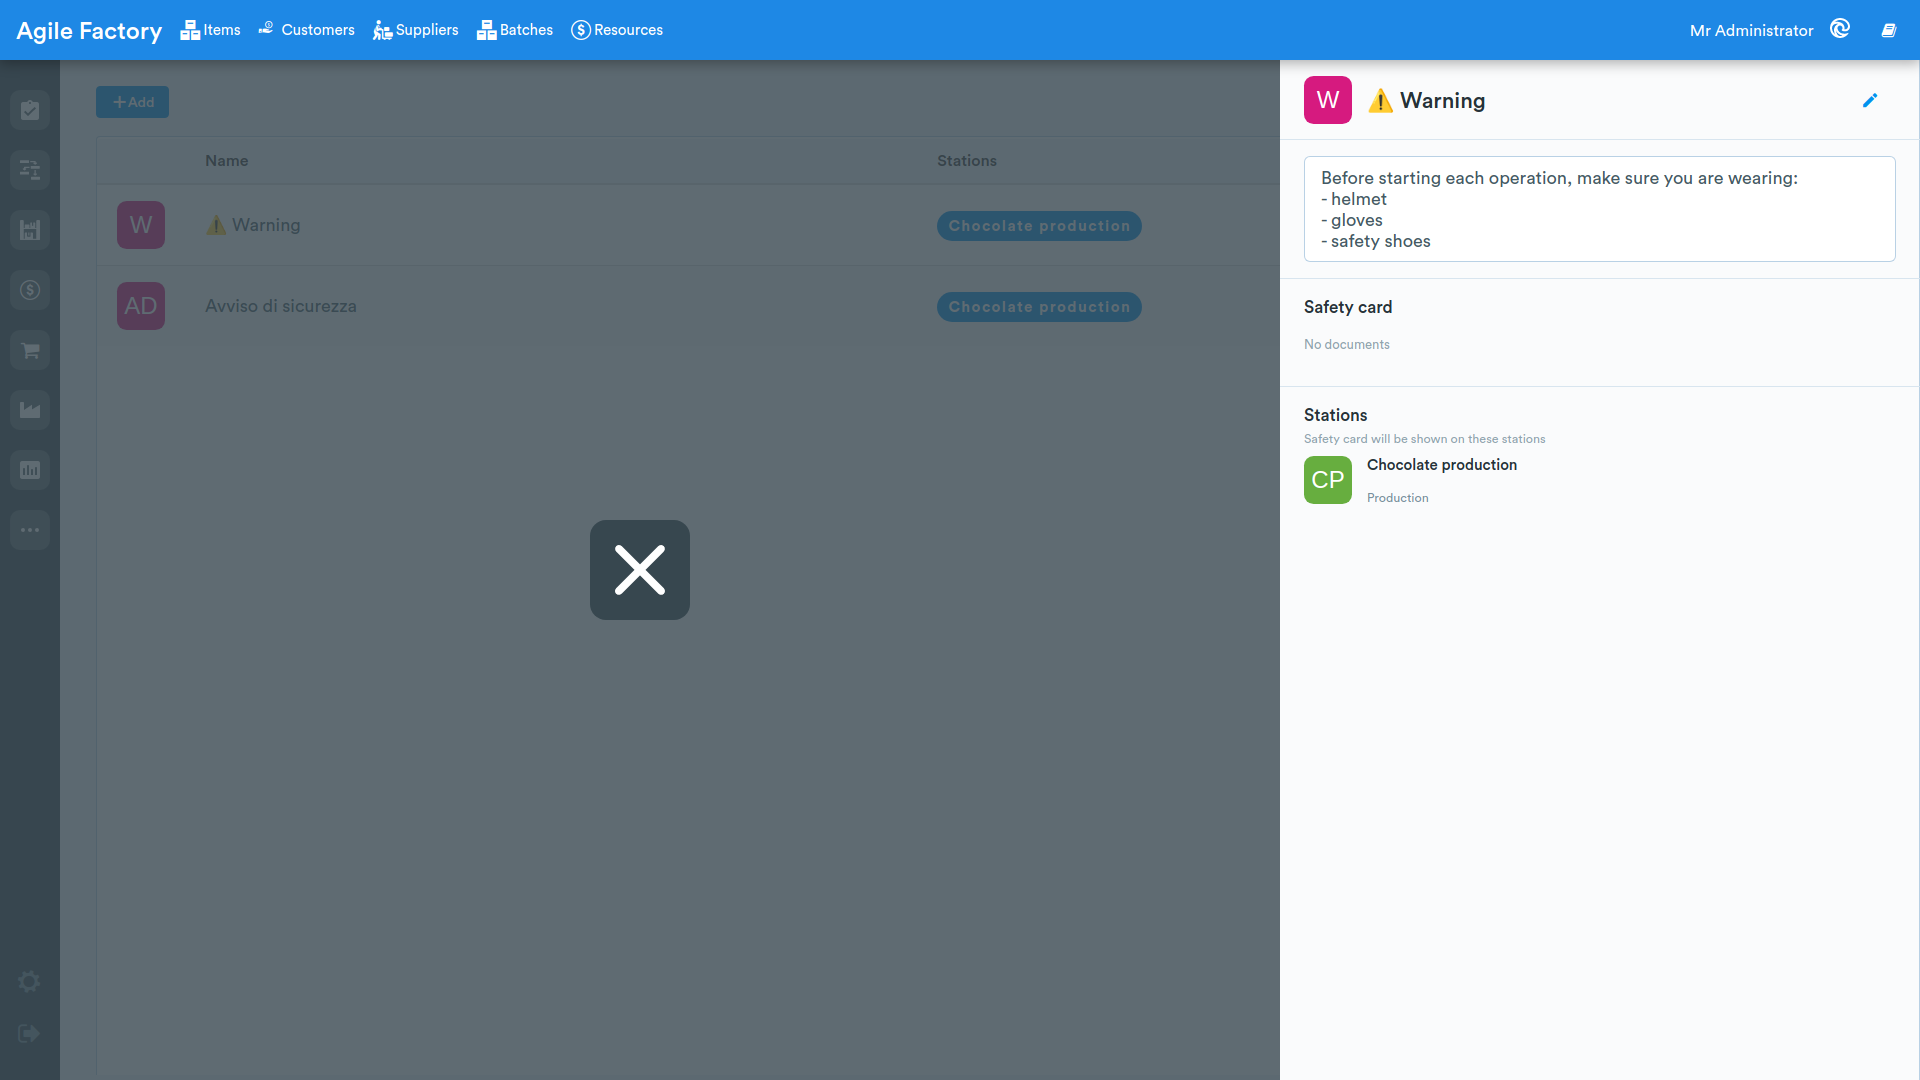
By clicking on the edit option at the top right, a page will open where it will be possible to modify the safety data sheet or delete it.